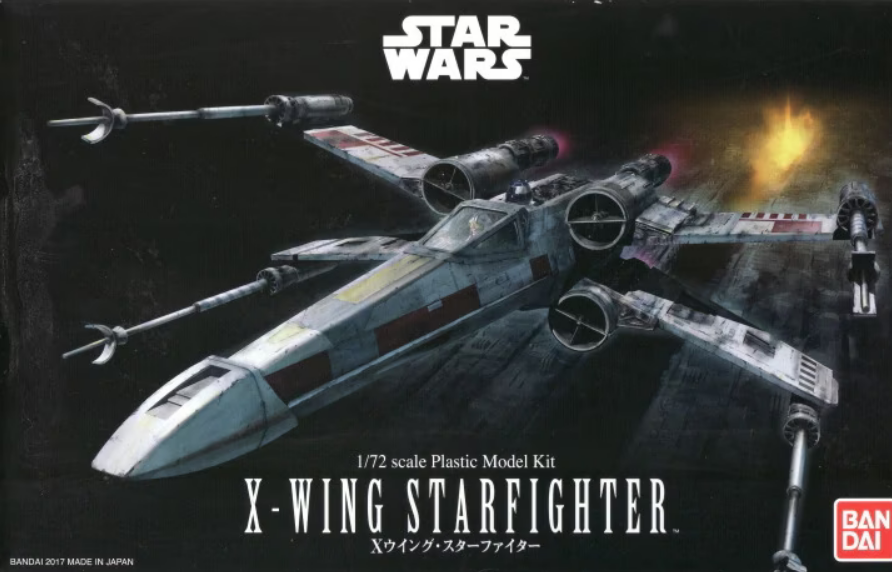
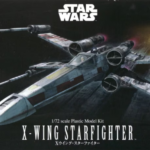
X-Wing Starfighter Bandai | No. 0191406 | 1:72 2014. Let’s start to describe what I did.
There is a video of the unboxing of the model, so if you are interested, just go to the appropriate section.
Just for sake of history, this model was not for me but for one of my friends. I bought it for him during my last trip to Berlin, in Mario’s Modellbaustudio (Spandauer Damm 49, 14059). It’s a nice shop full of old models, mostly planes, tanks and ships; a must if you happen to be in Berlin.
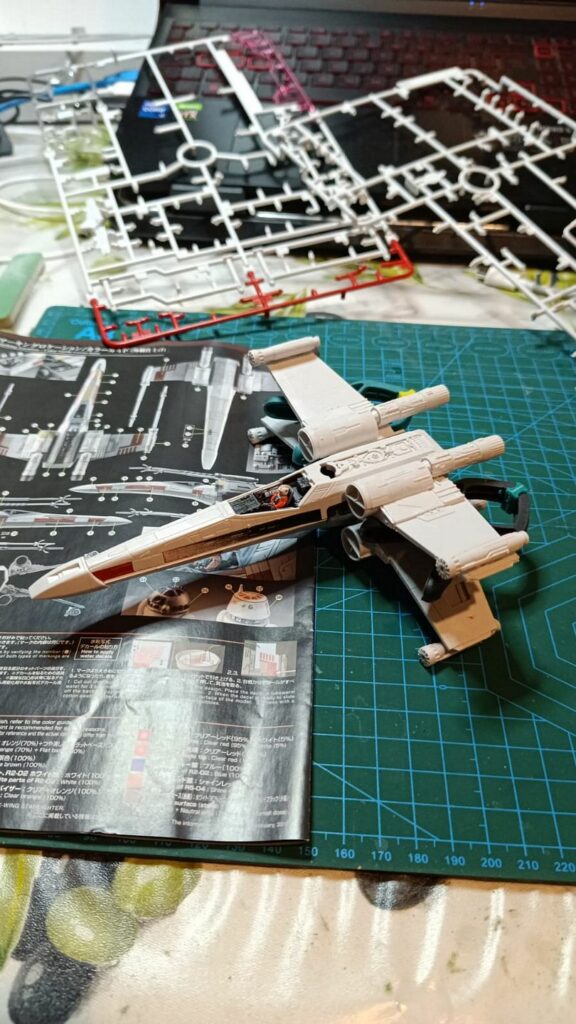
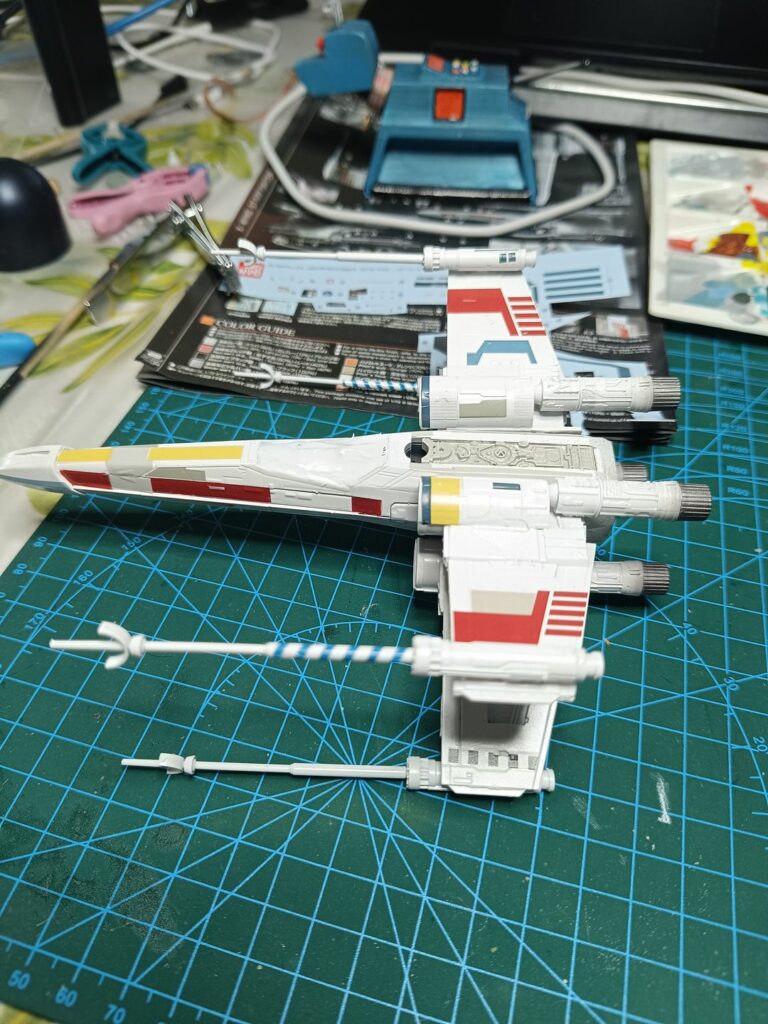
First of all you can see all the parts of the wings. I would say that the parts were really fantastic and very well detailed but what I really never understood of Bandai models is why there are so many tiny parts that could just be embedded in the model without forcing to mount them. I don’t say that this is a bad thing but in general is more for people that wants to build Gunplas and having fun in the assembling but it’s a nightmare for the scale models builders.
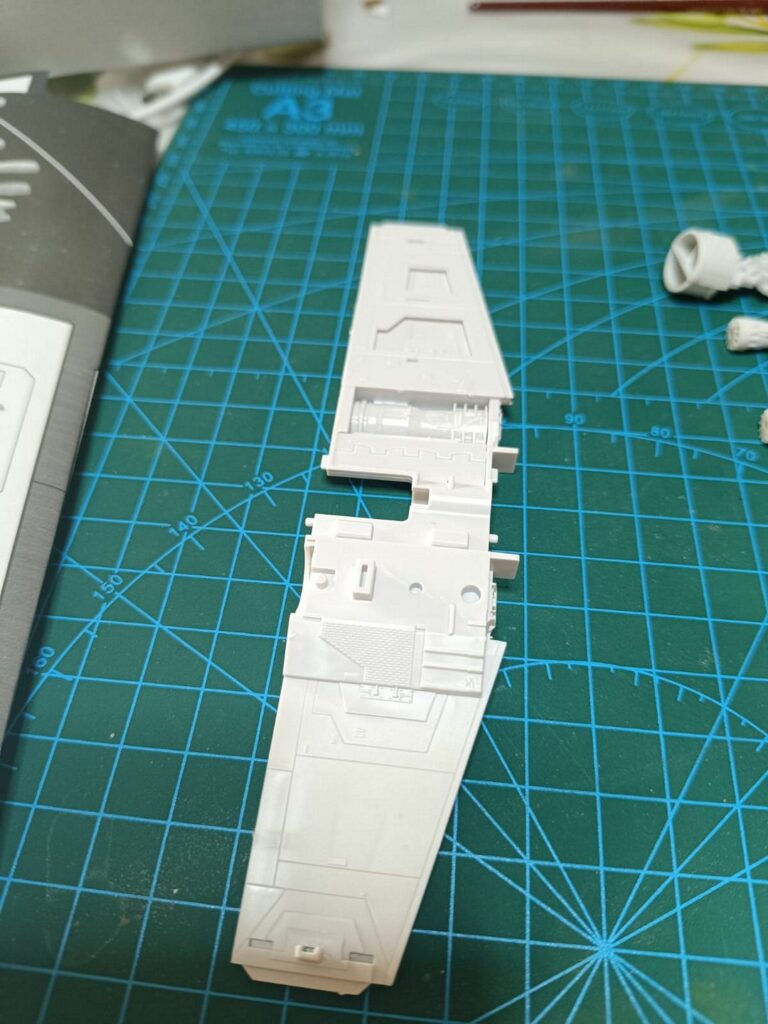
As usual, I just suggest before any painting to rinse all the parts with soap and water. This process eliminates all the traces of silicone oil used for the creation of the parts.
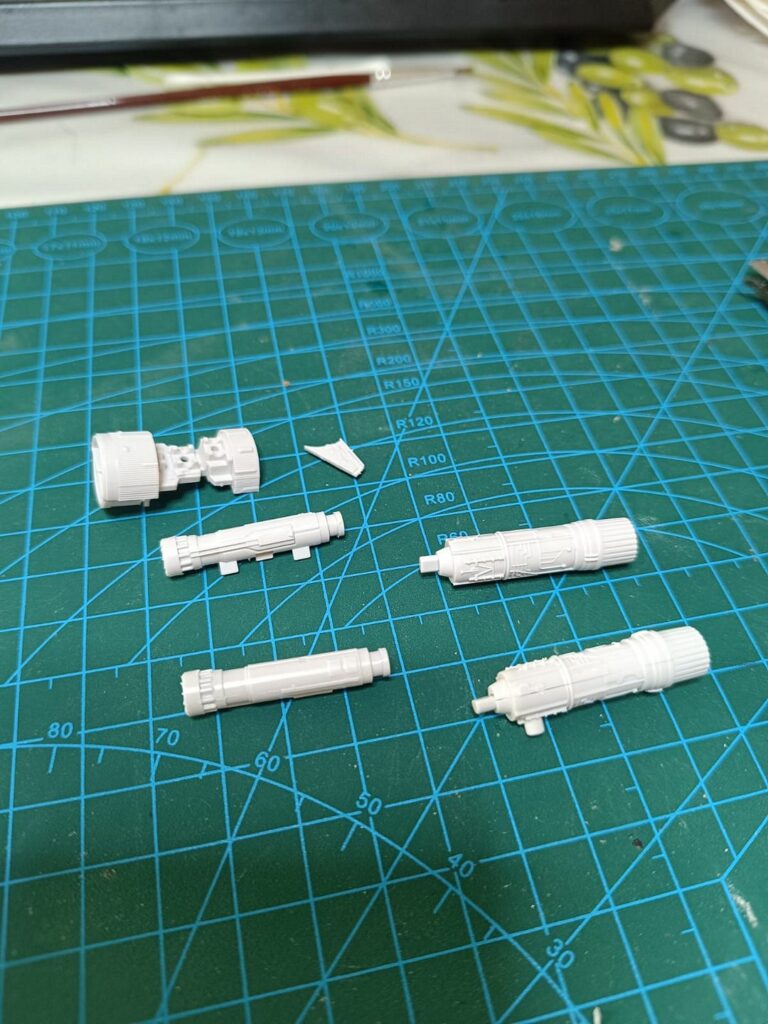
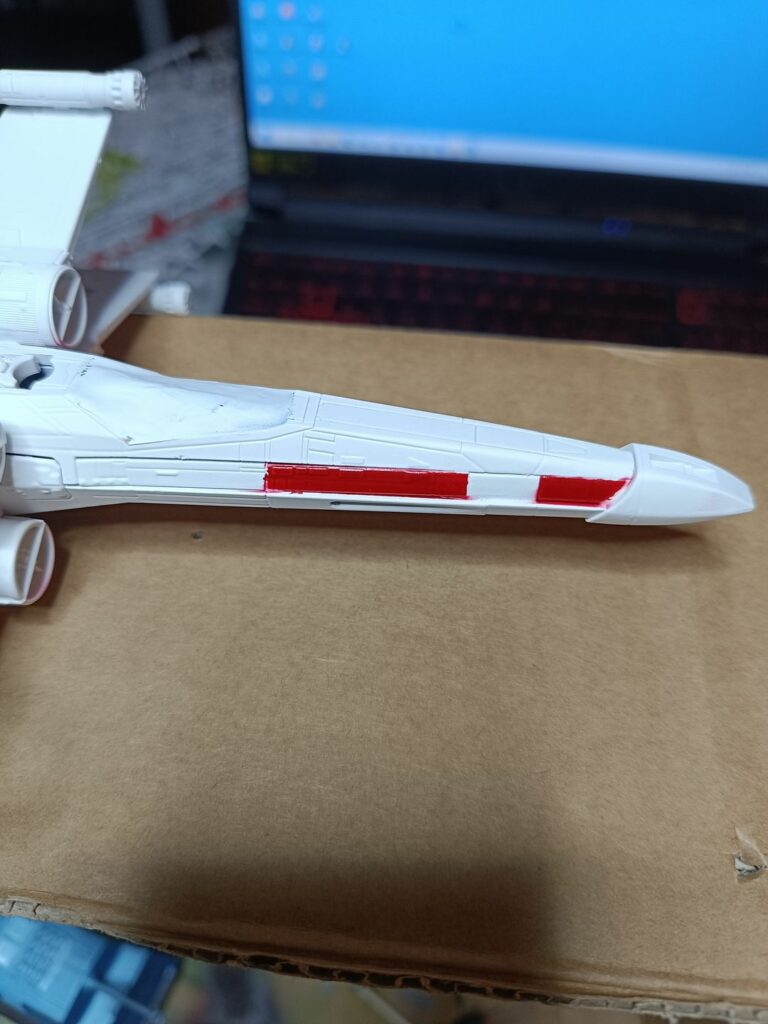
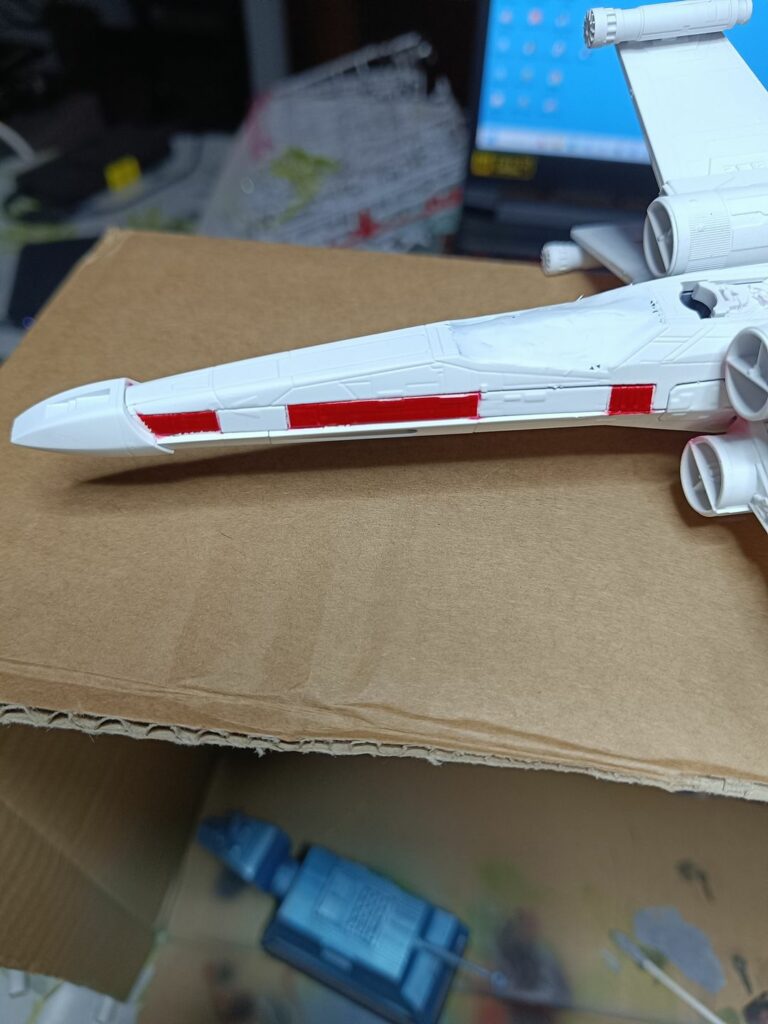
This time I did not use a primer because I wanted to assemble some sections first, due to the numerous tiny pieces and considering that the x wing is essentially almost all white except for some parts of the engines, the cockpit and few other details like the red/ochre bands. Everything else was included in the decals.
.
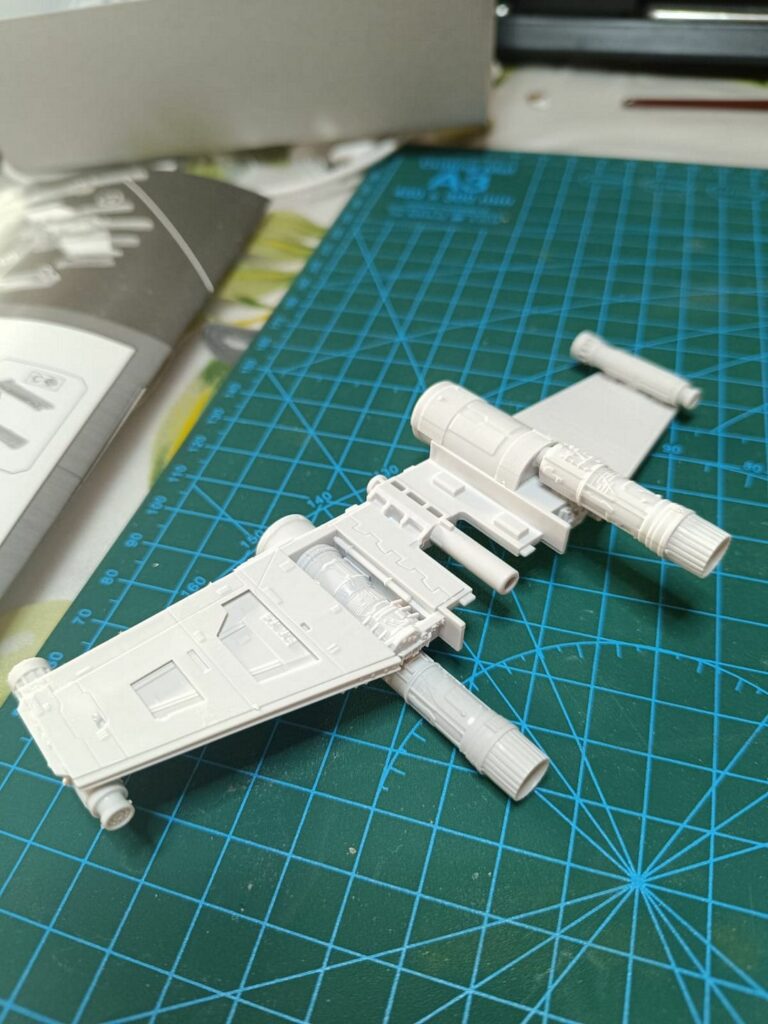
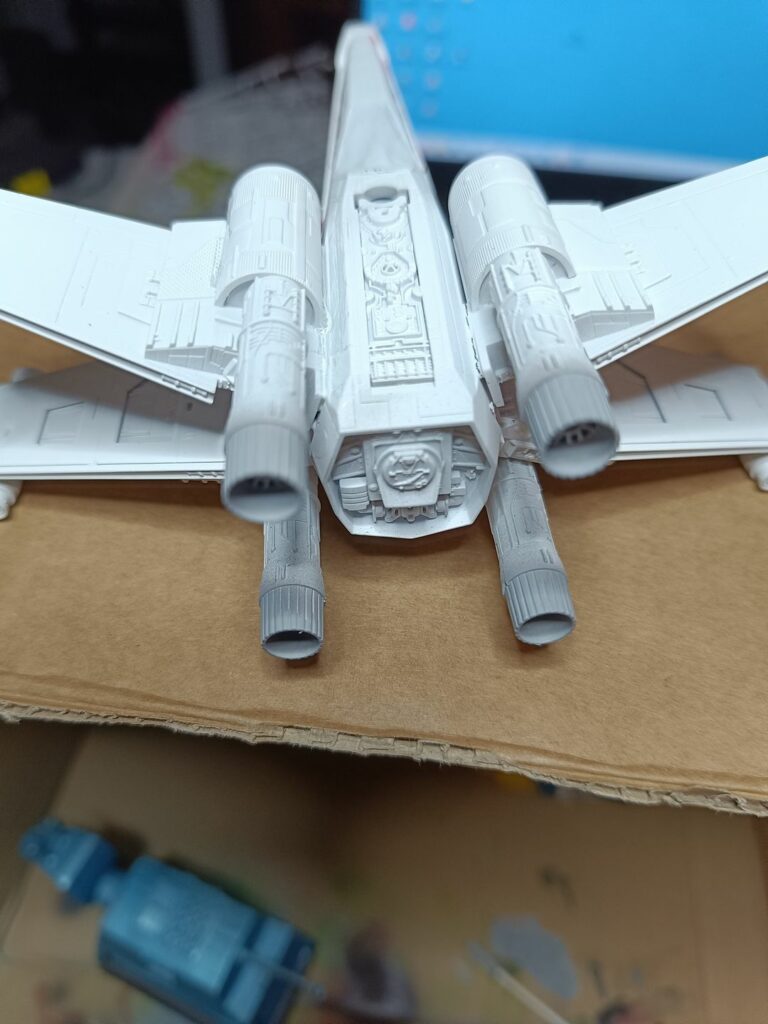
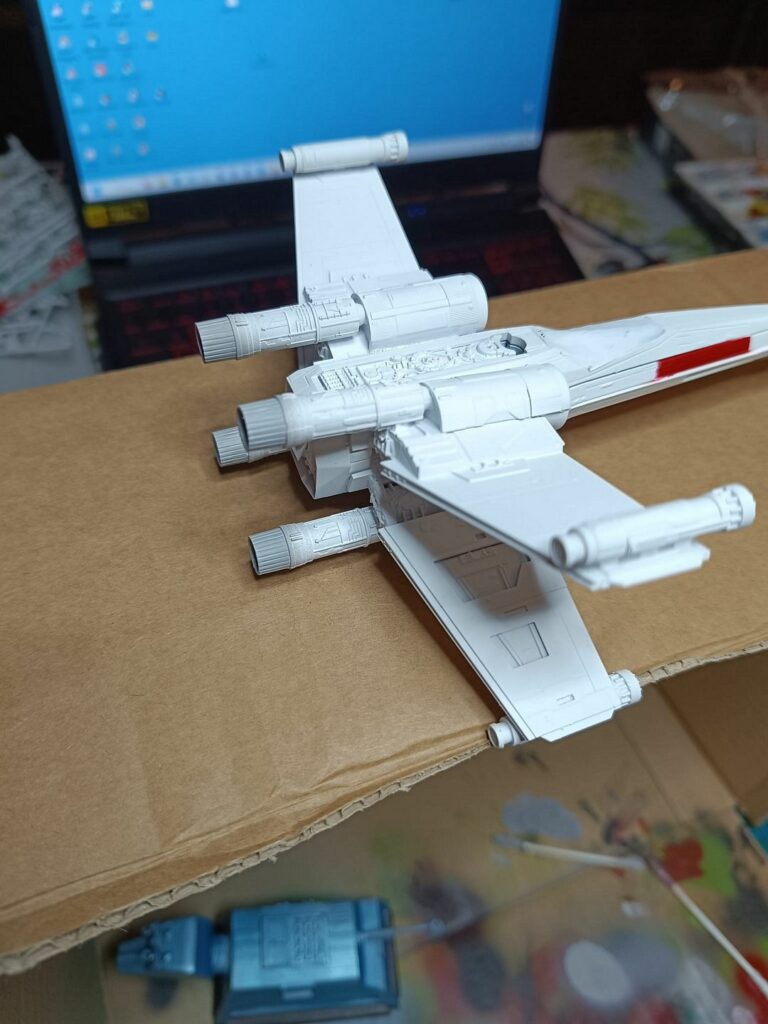
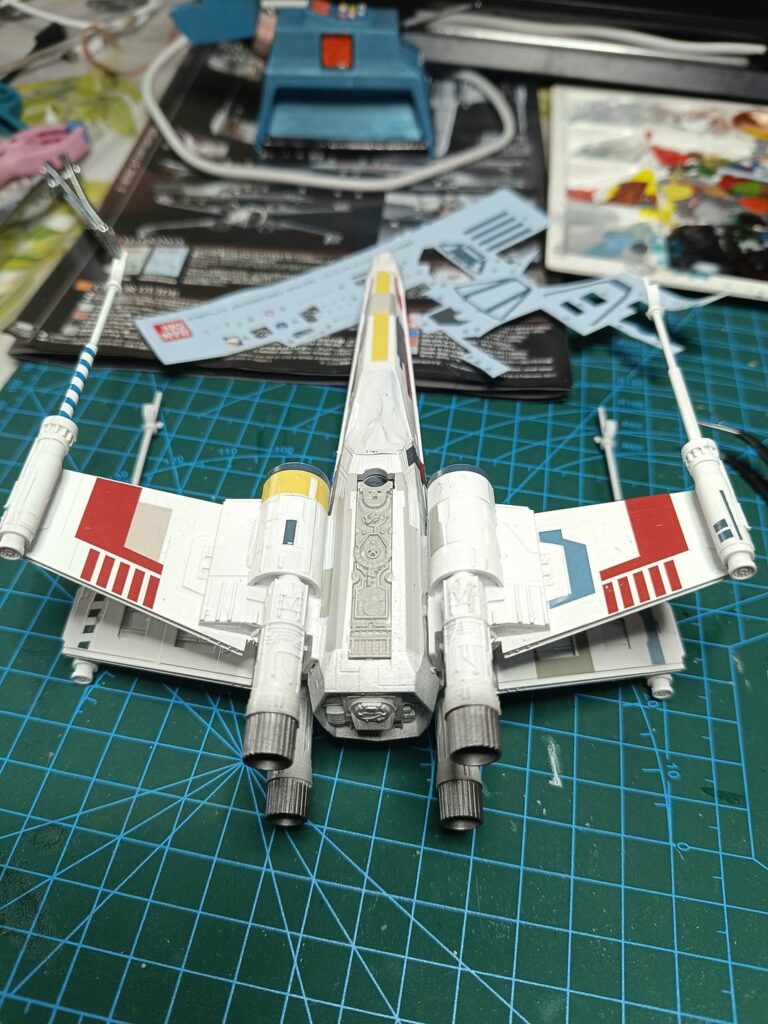
After the wings assembly, I primered everything in white, except for the cockpit (in black) and then I painted again in white with a bit of grey and added few stripes of color.

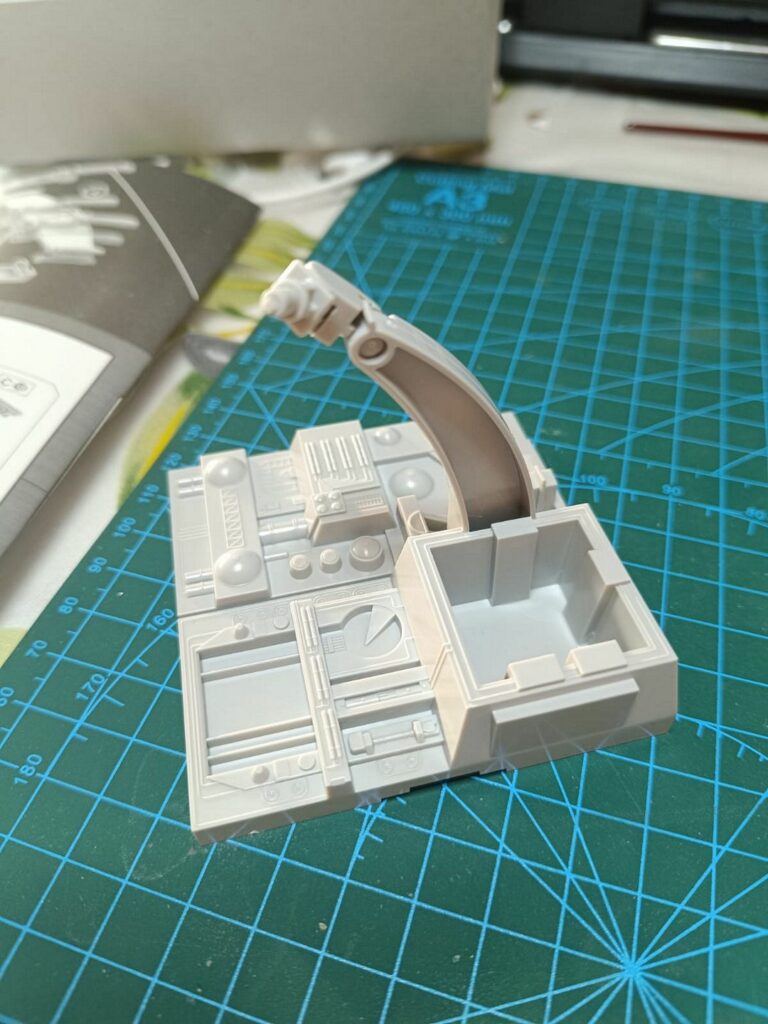
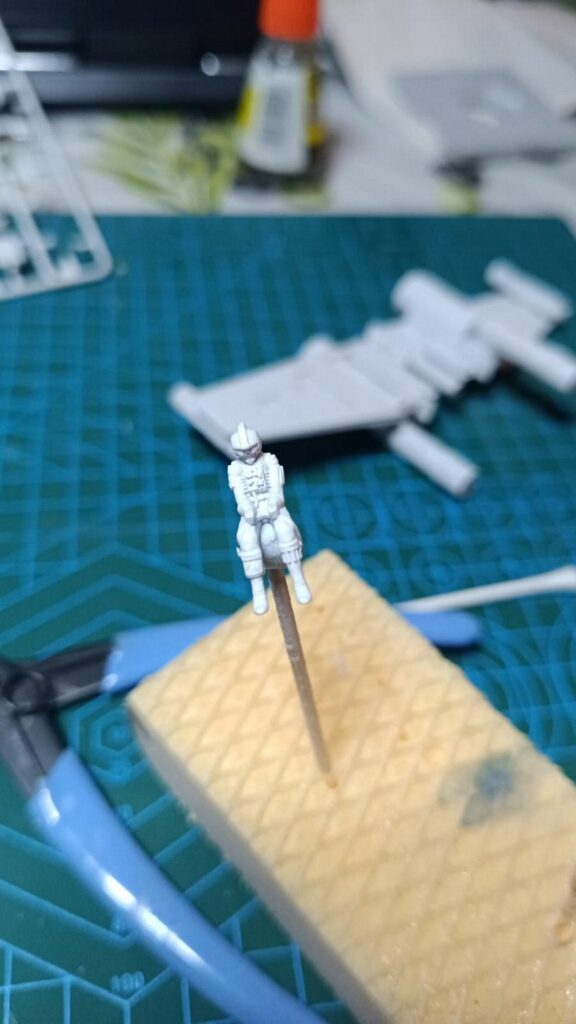
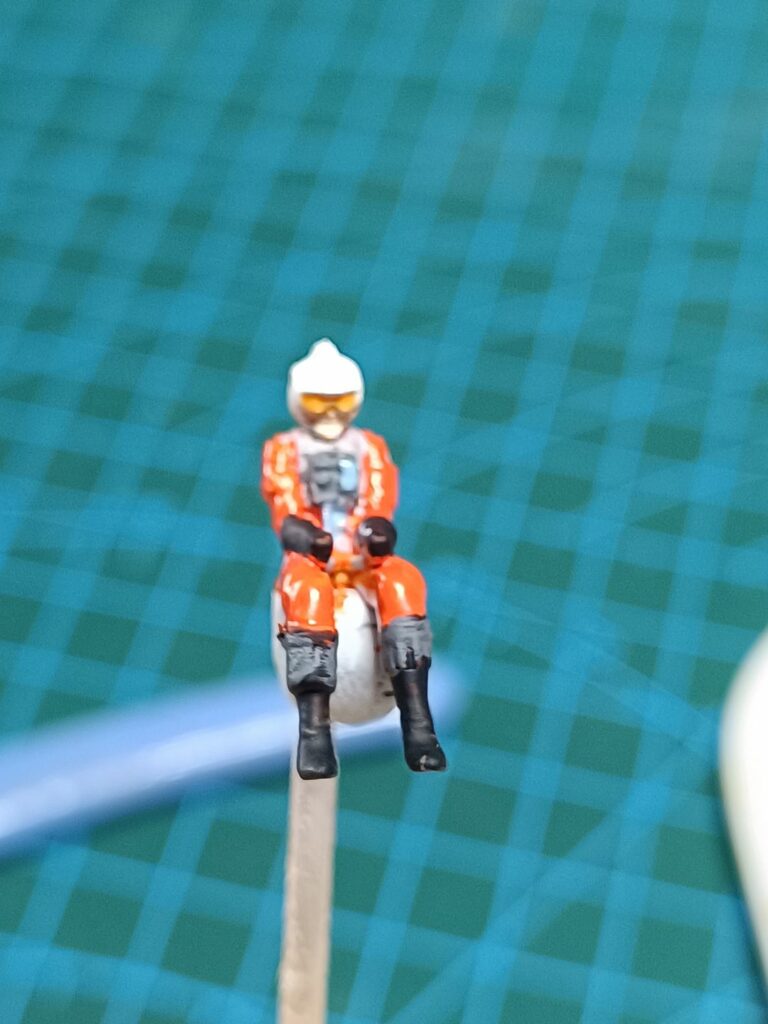
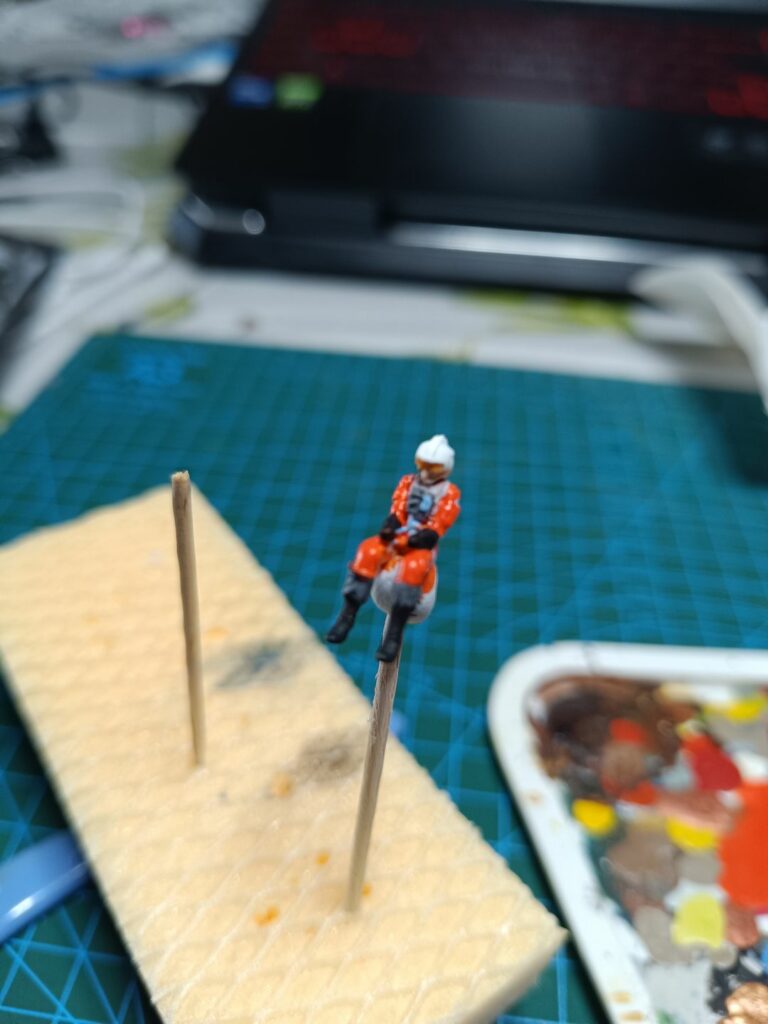
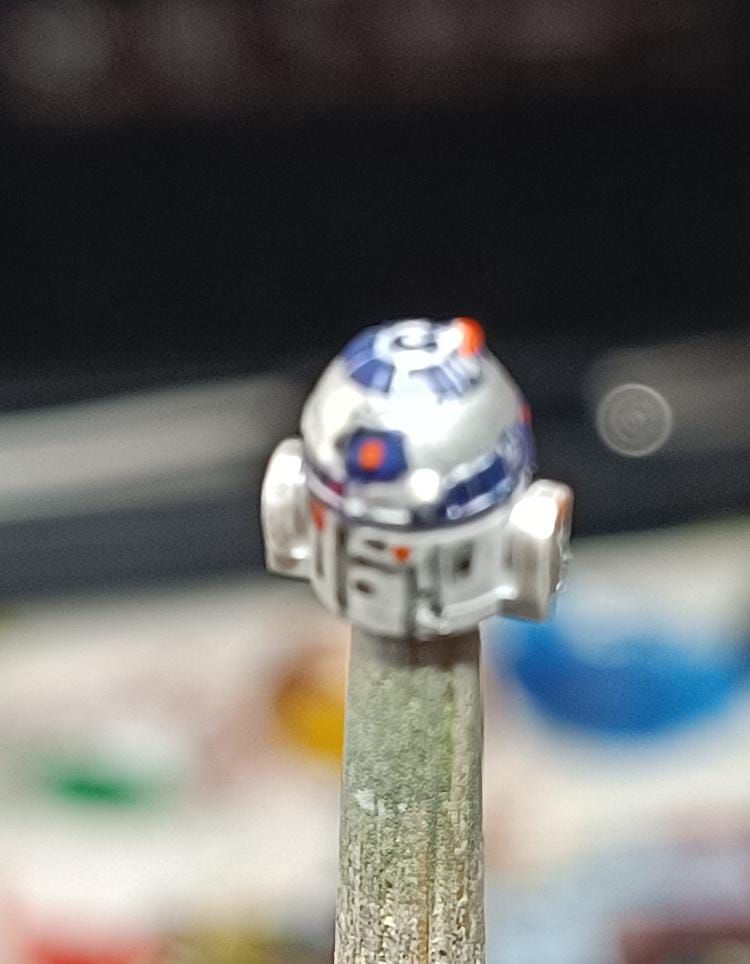
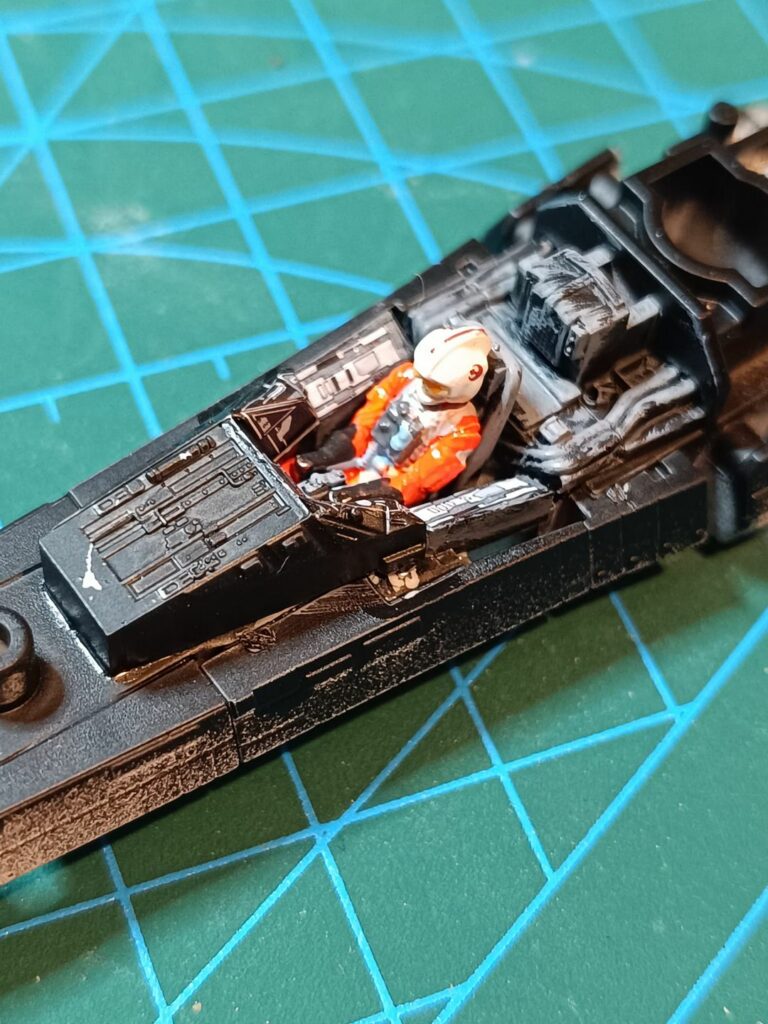
Then I moved on Cockpit, Pilot and the R2D2 on the top of the X wing. Everything was painted by hand and only after I applied the necessary decals.
Finally everything was together and it was time to apply a coat of transparent gloss for the decals.
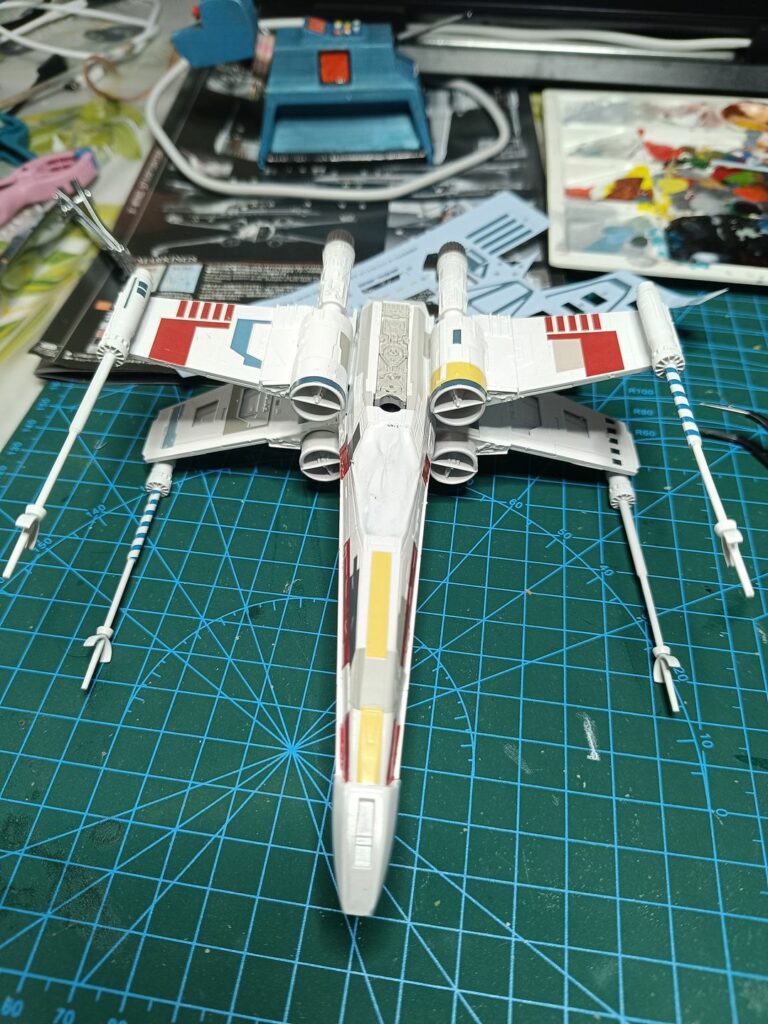
Another layer of glossy transparent after the decals and the model was ready for a light weathering with a mixture of mineral oil and oil colors (black with small white in order to create a very dark gray color that filled all the crevices of the model.
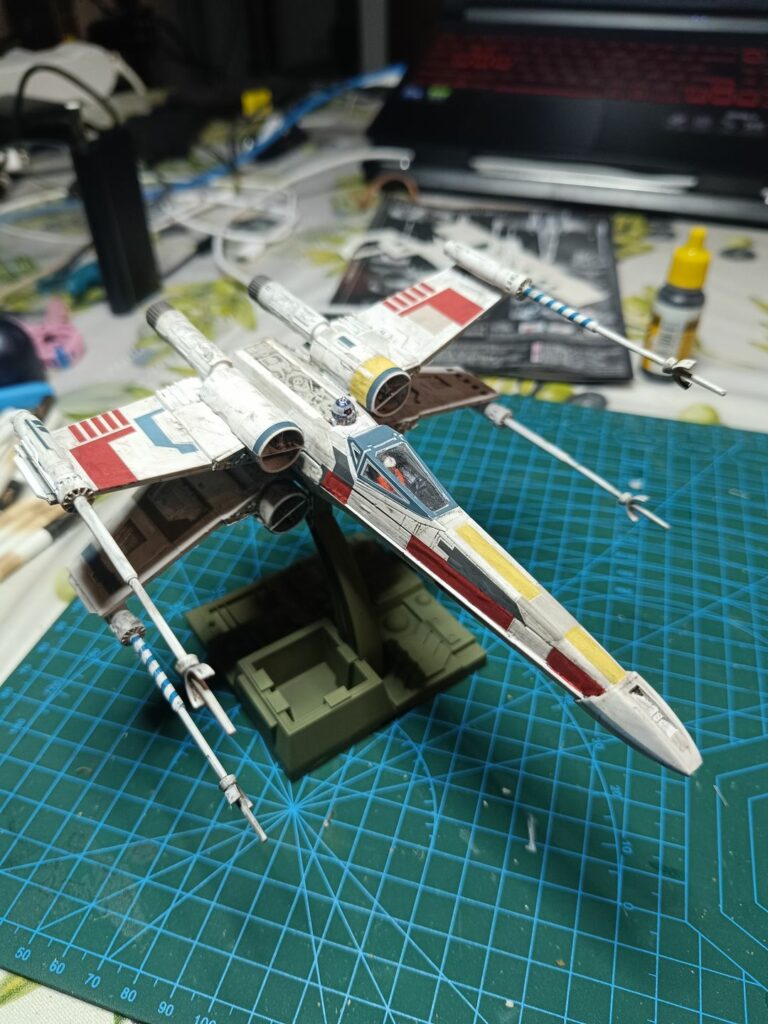
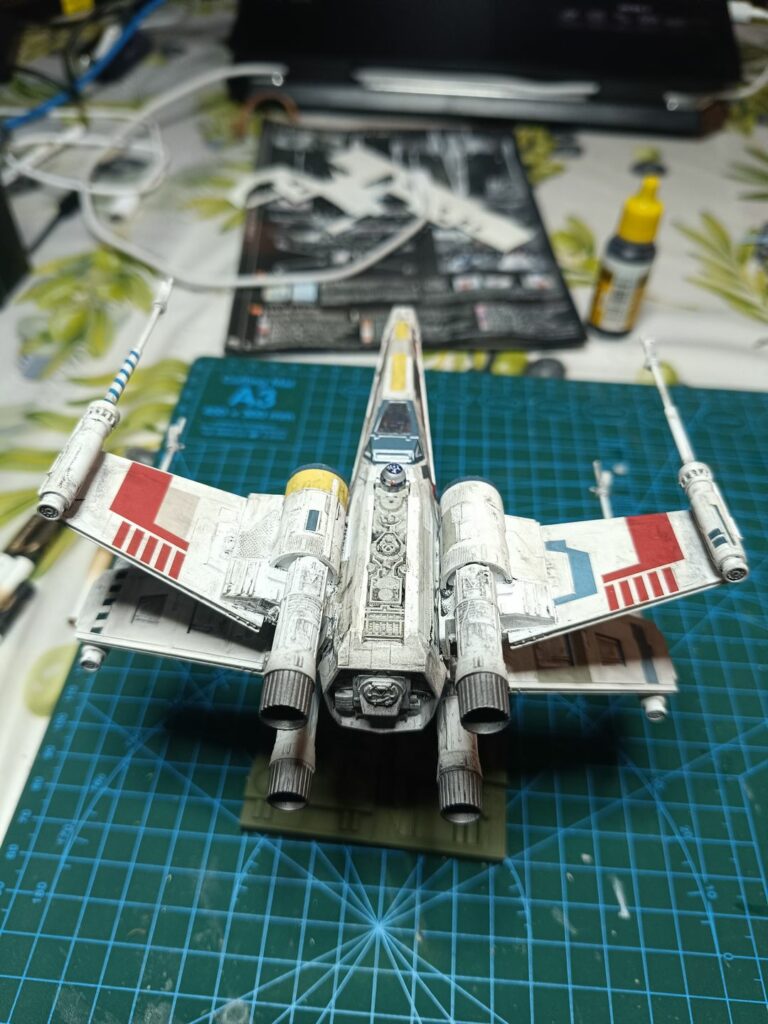
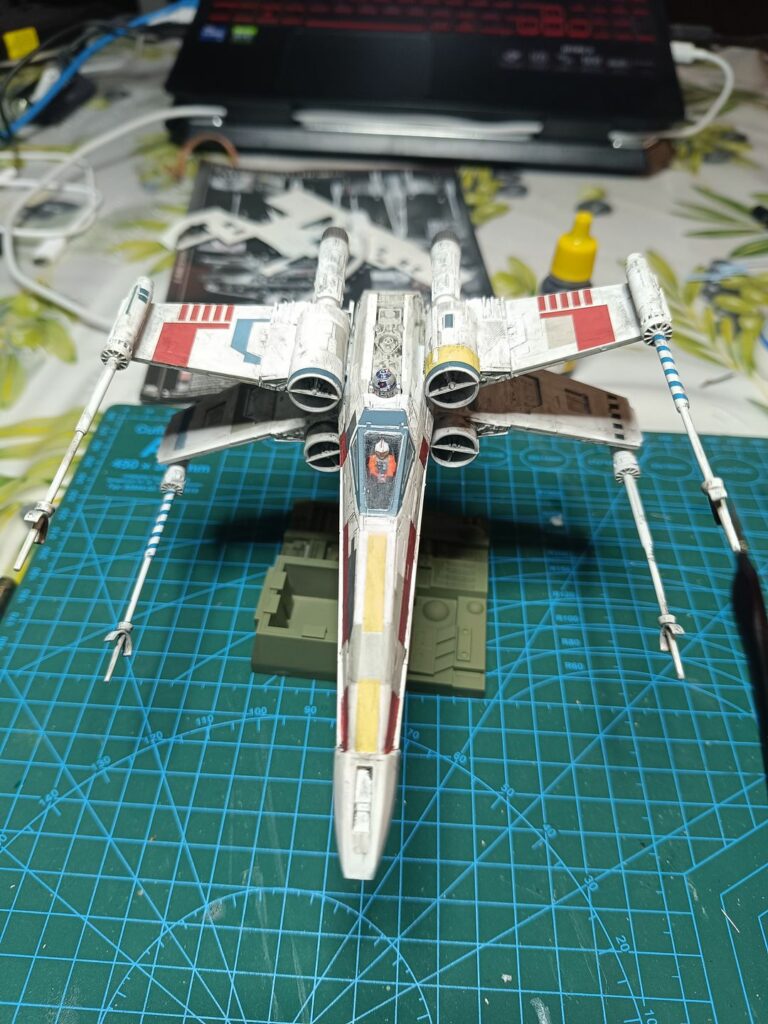

At this point the base was colored with a Greenish color and the support was already on and the model is basically finished.
Hope that you liked it.
![]()
Related posts:
 Klingon Bird of Prey AMT No. 1400M scale 1:350
 Romulan Warbird D’deridex Class Battle Cruiser AMT No. 1125 scale 1:3200 2019
 Unboxing of X-Wing Starfighter Bandai No. 0191406 scale 1:72 special edition 2014
 Star Wars
 Dalek – 1st season Doctor Who
 Unboxing of Klingon Bird of Prey from AMT (1:350 1400M 2023)
 Unboxing of Star Trek Romulan Warbird D’deridex Class Battle Cruiser AMT (scale 1:3200 N°1125)
Leave a Reply