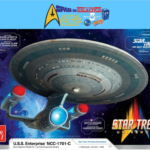
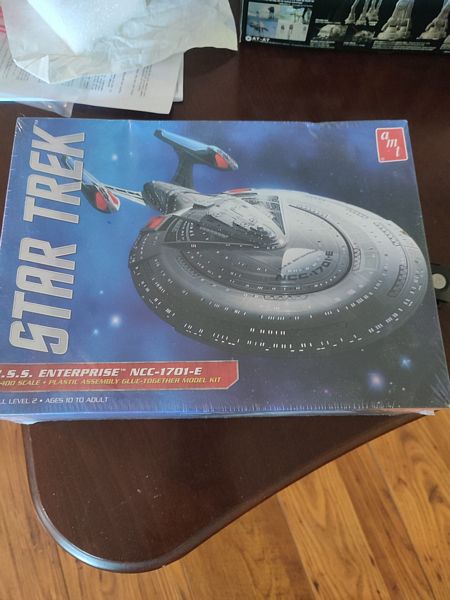
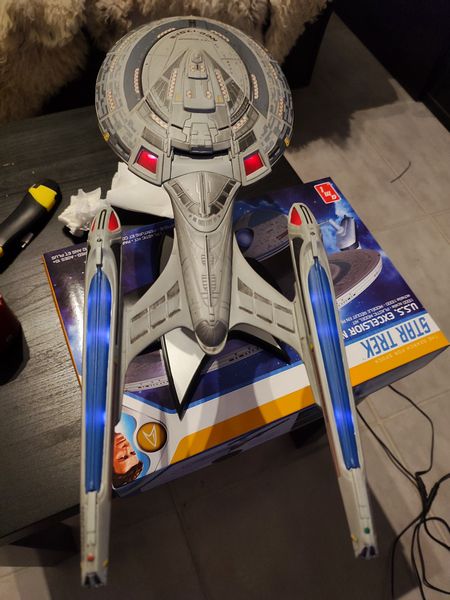
welcome to a new build. This time is the USS NCC-1701-E Enterprise E like seen in “First Contact”.
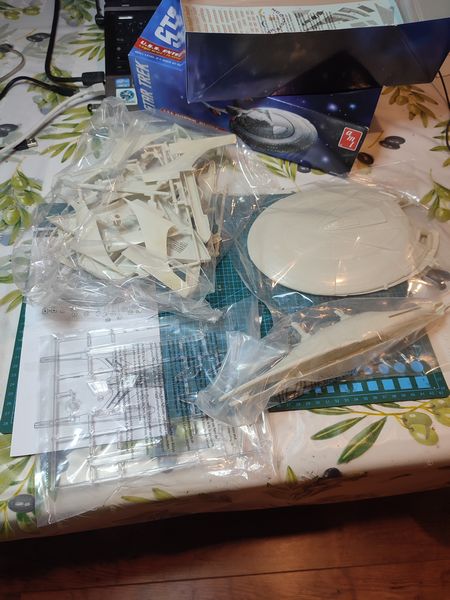
Unfortunately I don’t have any unboxing of this model but the details are here: AMT model N°853 Scale 1:1400, new box from 2013. You can see the box and the separate parts, as well as the decals provided with the model.


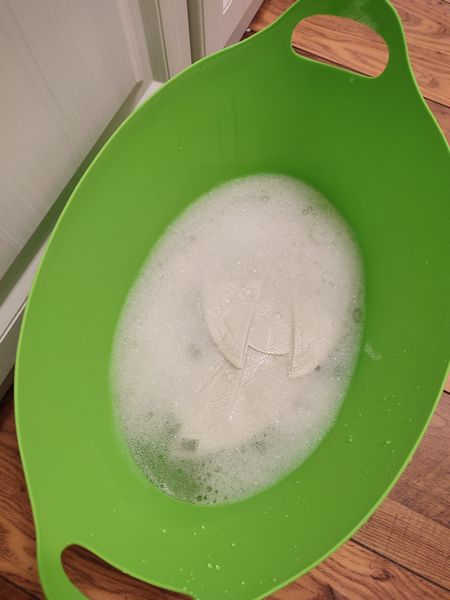
As usual I started cleaning the parts in soapy water to remove any trace of oil or silicone.
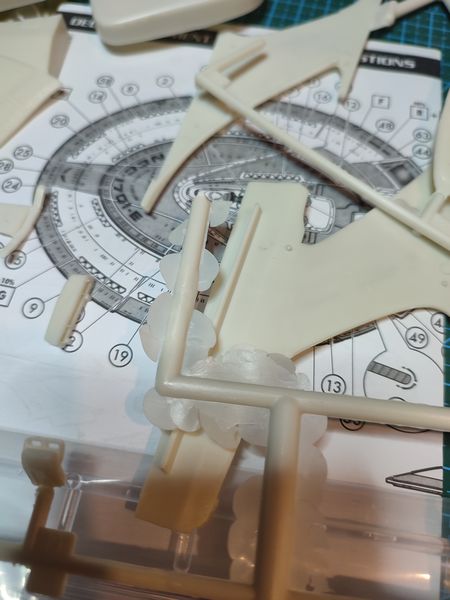
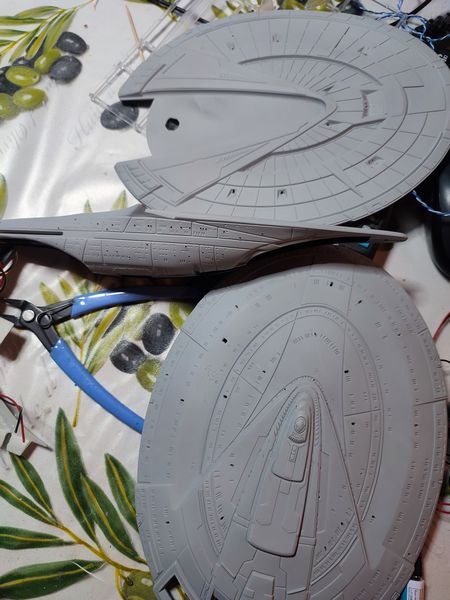
First of all I drilled the holes in the saucer section and in the main hull. I was lazy and I drilled only some of the windows.
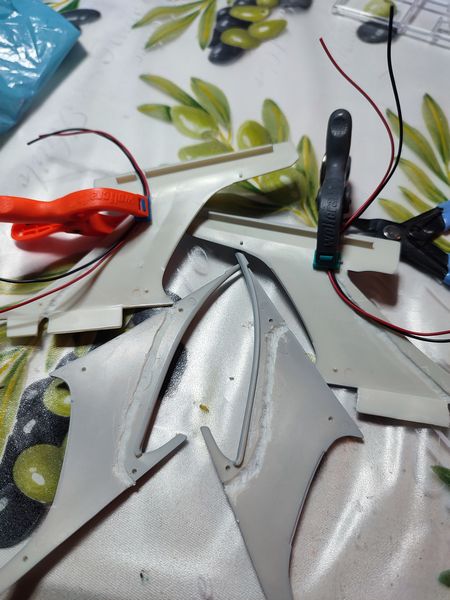
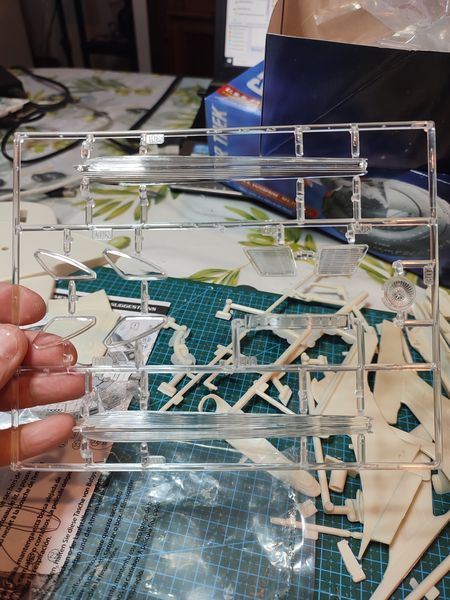
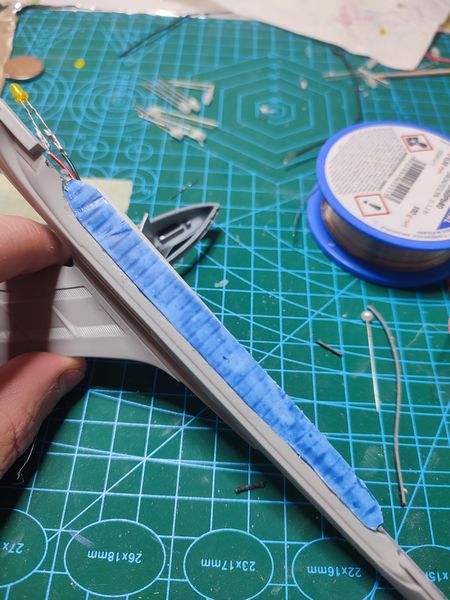
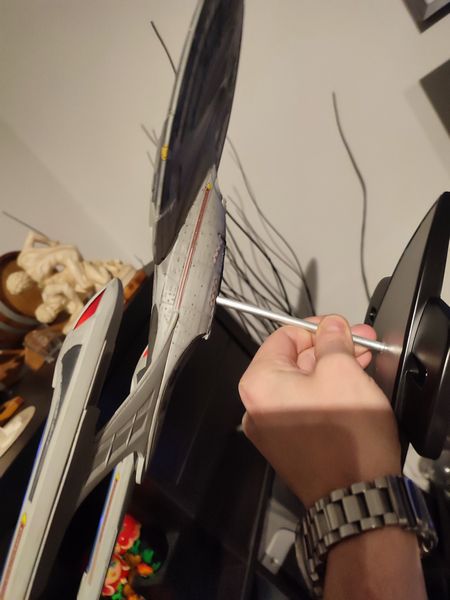
Second I excavated the parts of the pylons to allow two cables for lighting the nacelles. There was really no space at all for this so I traced the path on both sides and then I glued in place the pylons with the wires inside to be reconnected at both ends.
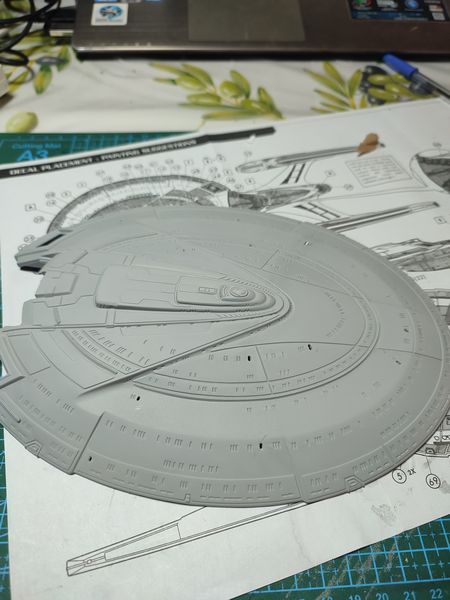
As usual the model was painted with a light grey primer and then with a darker grey from AMMO by MIG with my aerograph.
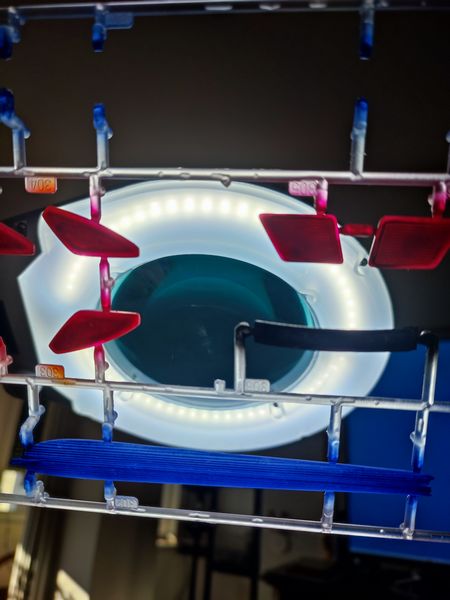
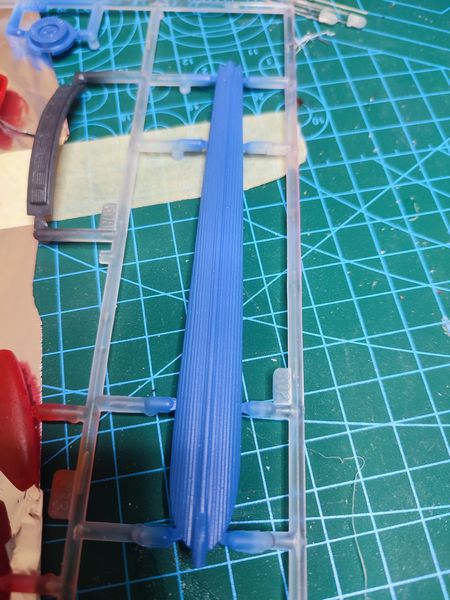
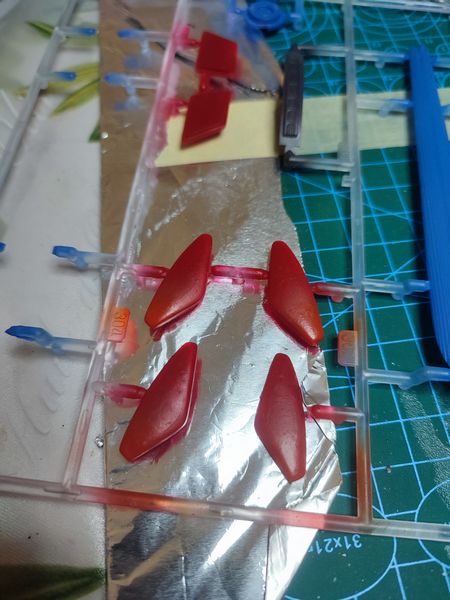
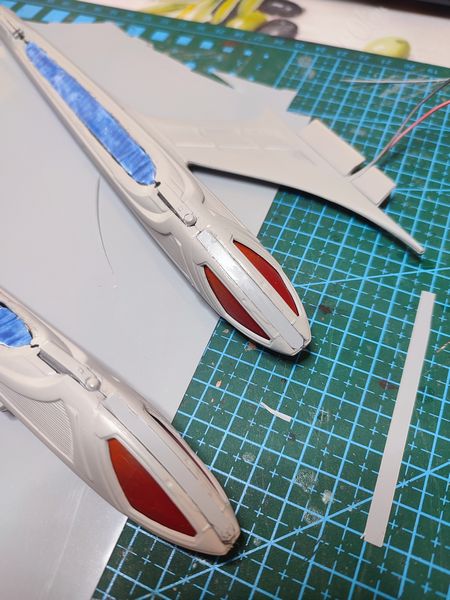
The clear parts were painted of the right color but applying first a transparent matt to allow more adhesion of the clear color, that i realized mixing the proper tint (blue and red) with the transparator color (from AMMO) that is used to create whatever tint in transparent mode.
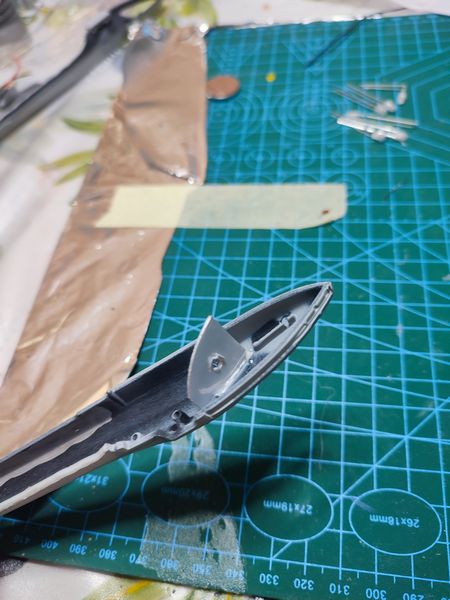
The internal of the starship was always painted in matte black.
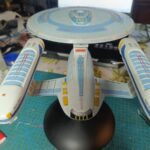
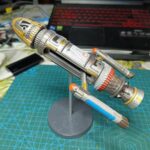
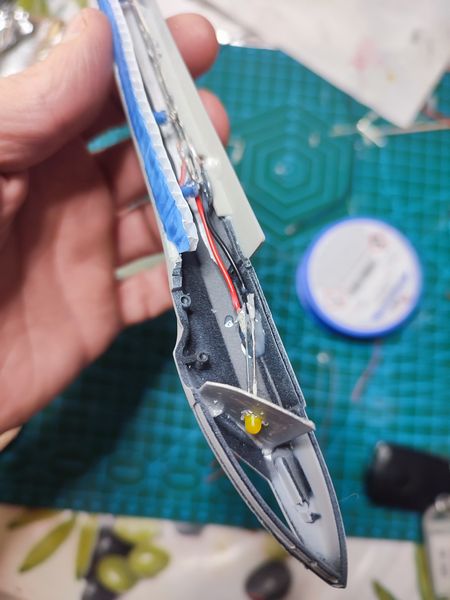
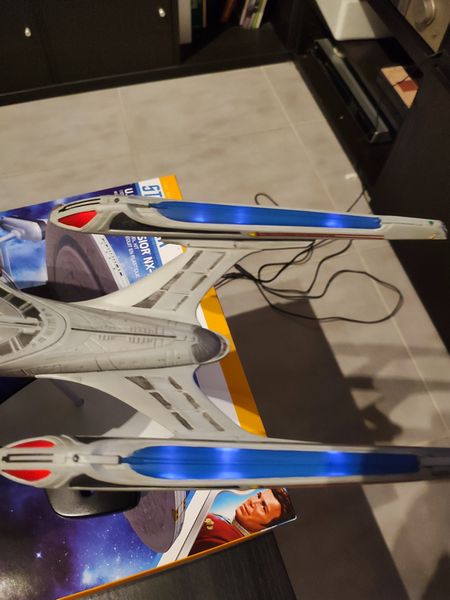
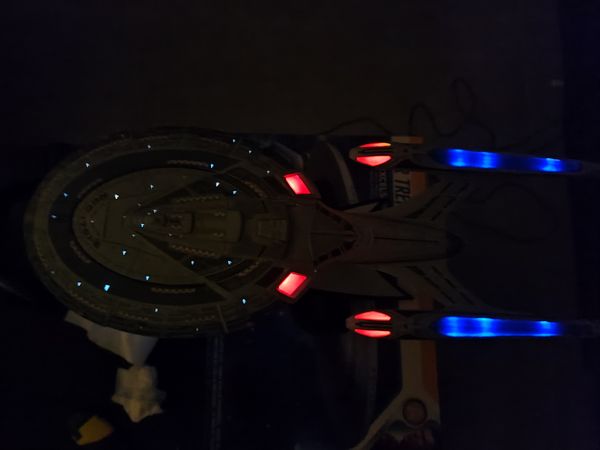
I started to assemble the nacelles placing some LEDs under the blue parts and creating a parabolic shape to illuminate the red frontal part. This time i did not have any strip so i did everything with standard LEDs 3V. I like to use 3V because it’s simpler then to use only one button battery CR2032 to light the model.
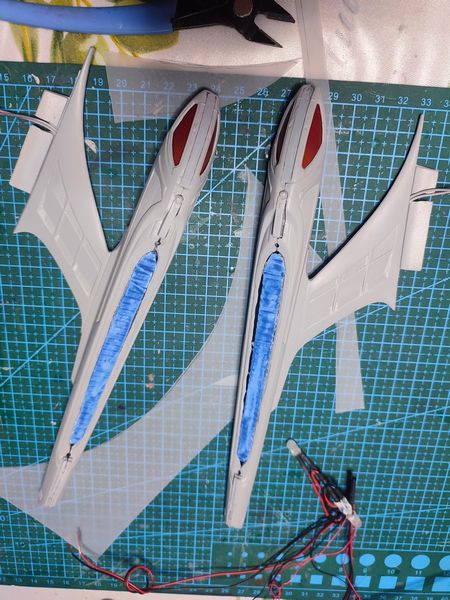
As diffusers for the blue parts I recreated the shape of the hole with plastic corrugated white panels colored in blue and then copy paper slightly angled on top. However the diffusion was not even due to the very small space so you can actually identify the LEDs when the model is lit.
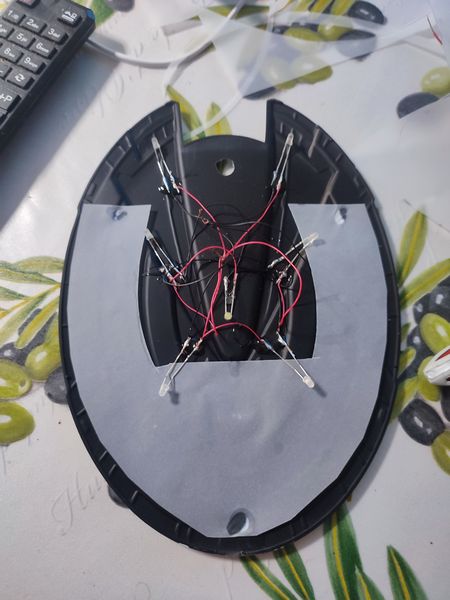
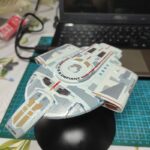
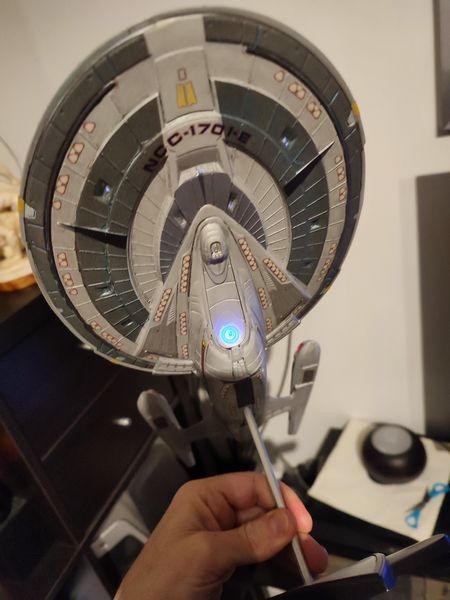
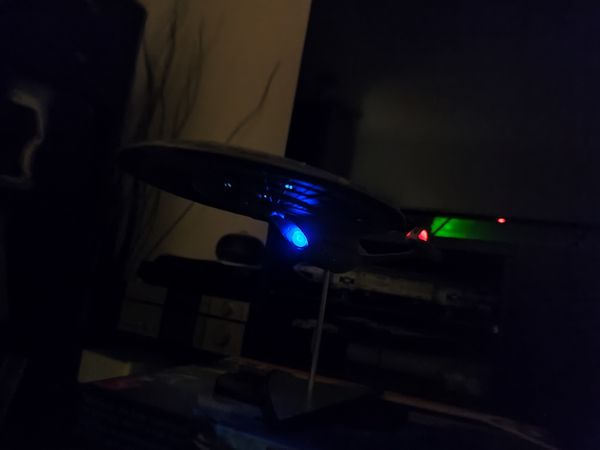
Then I did the same for the saucer sections using LEDs and diffusing the lights with shapes made with copy paper.
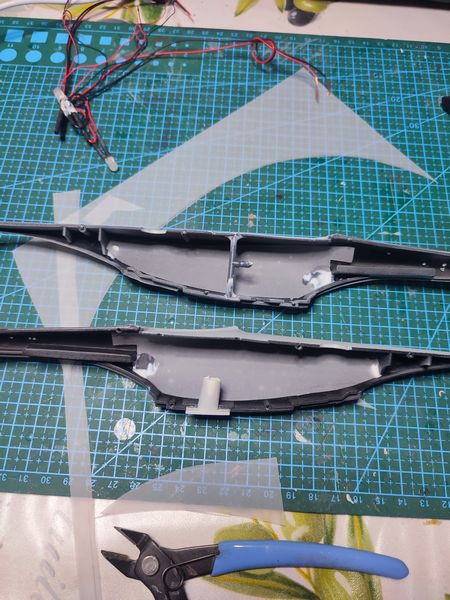
Same story for the main hull, placing the LEDs and diffusing with the copy paper ad for the deflector.
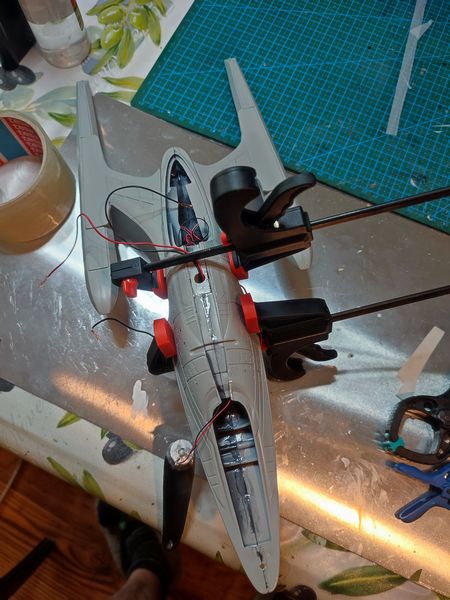
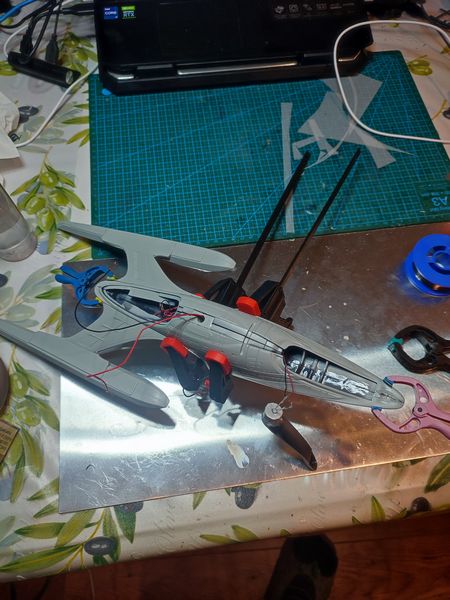
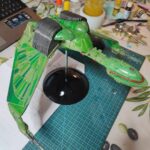
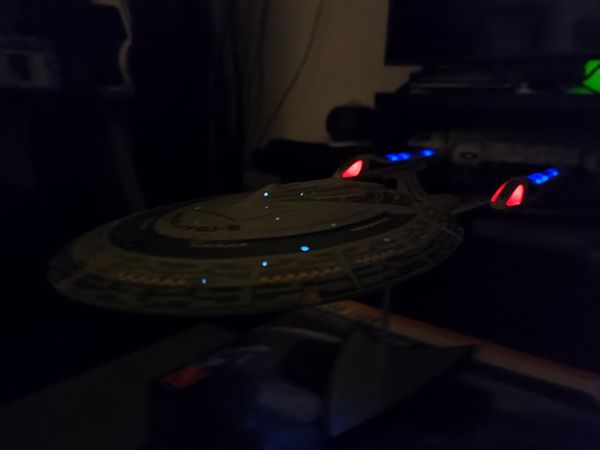
I started to mount the nacelles and the pylons, and finally I connected all to the saucer. After connecting all the + and + wires in parallel I wired only 2 cables through the alluminum rod to the base, where I applied the battery holder and a little switch.

A transparent gloss coat and then I applied all the decals available. For the big grey areas on the saucer and the black sides I actually create my own decals on Coreldraw, starting from the Drawings in the instructions and scaling them according to a scan of the original decals. In the end I started to create some aztec areas too but not so many because frankly I never liked the aztec scheme too much.
I will try to post the PDF of my decals here in the next days.
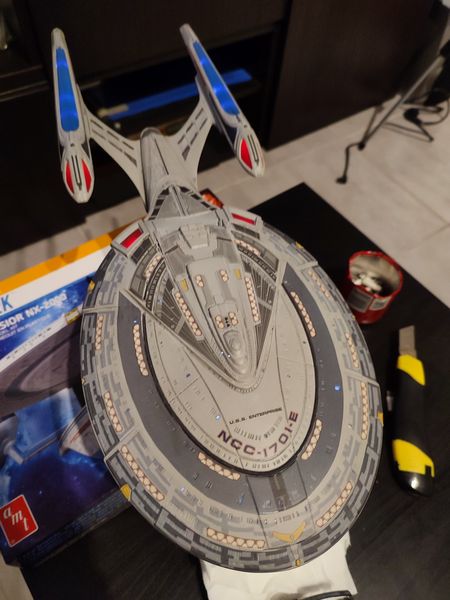
Another coat of gloss and some weathering with oil paint diluted in petrol oil, let dry for a full night and after that the final coat of transparent matt (that I like more over gloss).

Hope you enjoied the build.
![]()

Related posts: