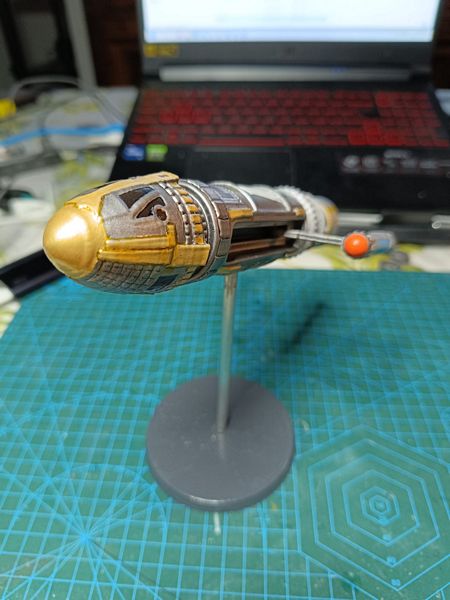
Welcome to my printing and painting of the Phoenix, first starship from Earth able to reach warp speed in the Star Trek Movie “First Contact”.
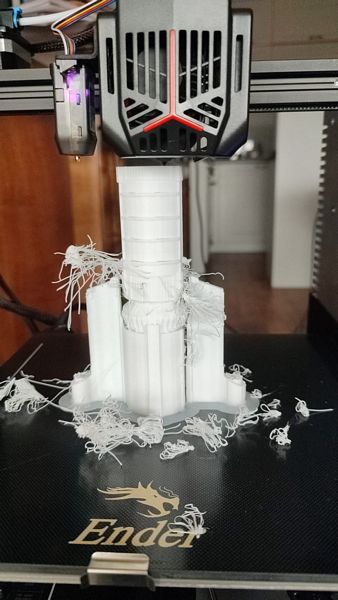
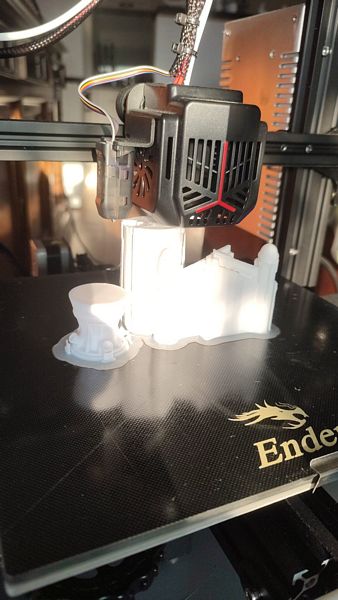
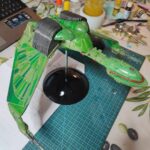
Let’s start with the printing phase that was really difficult because I had several problems with the printing in ABS (it was my first tentative ever, so I needed time to adjust the right temperature of bed and nozzle. In the end I decided to slice he STL into many parts and print them singularly in order to have more control. You can see the first attempts in the pictures. If you are interested the STL is in Thingiverse here ( https://www.thingiverse.com/thing:2147368 ).
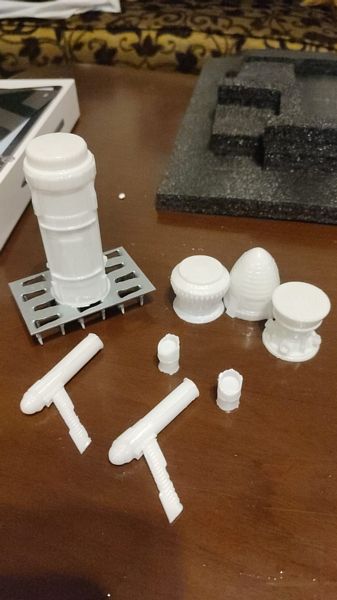
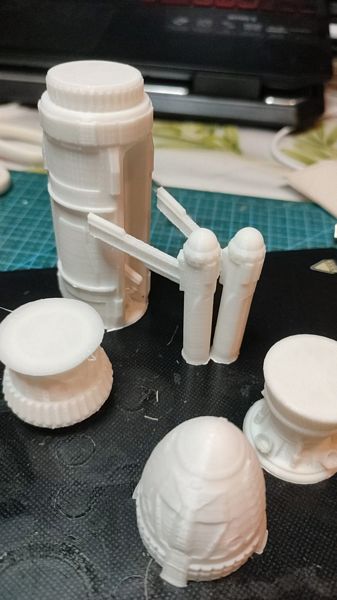
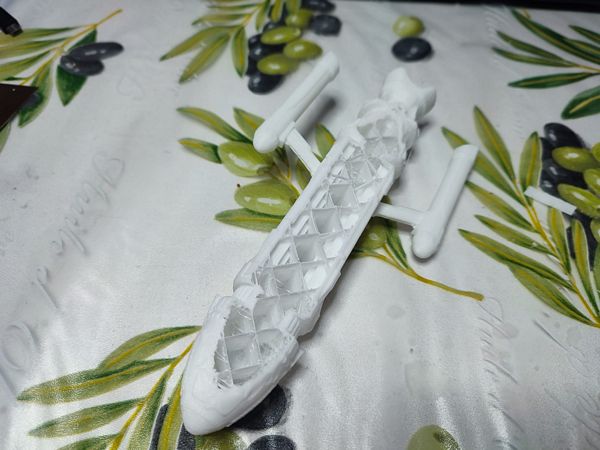
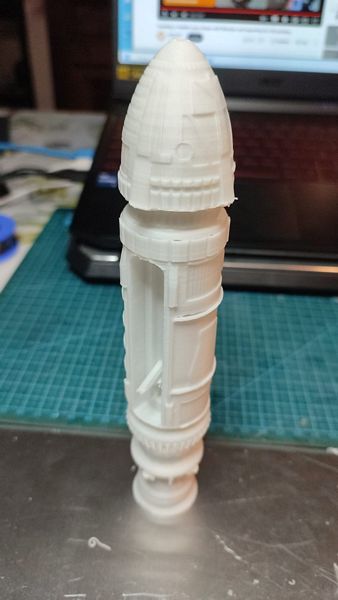
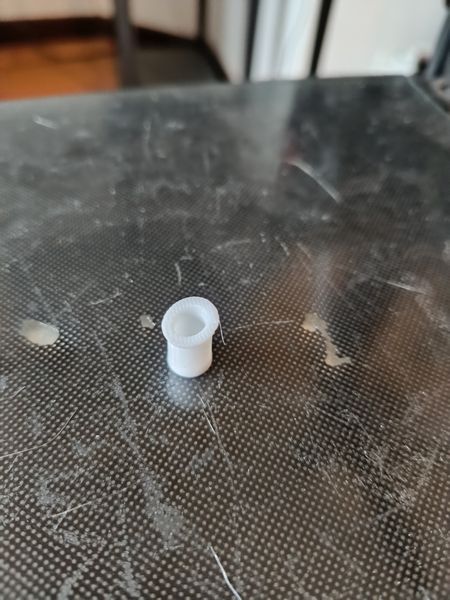
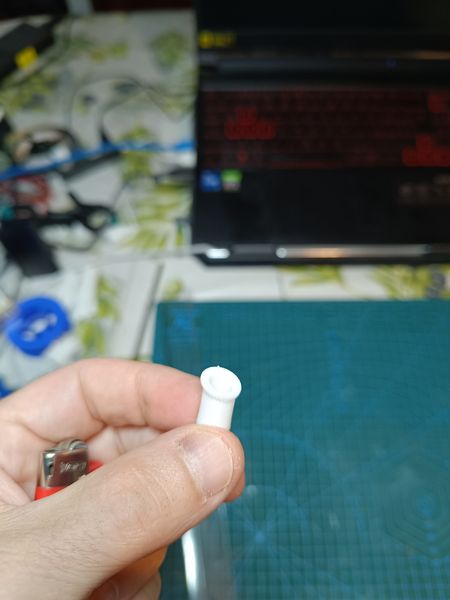
Finally I separated the STL and printed all the parts. However the little thrusters in the lower section did not satisfy me completely so I printed new ones created with Blender and sized.

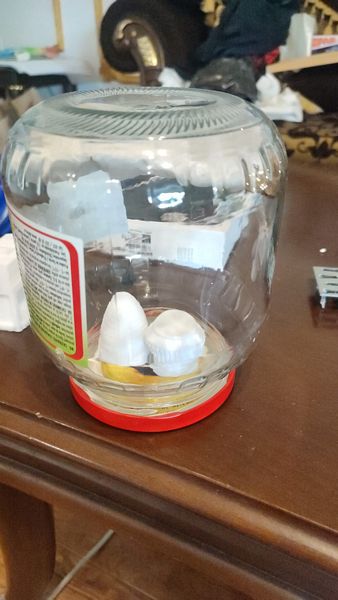
First of all I put all the pieces in an acetone bath. Basically I fixed some paper towels on top of a glass jar and poured some acetone in order to have them all wet, after that i placed the parts (one or two at a time on a metallic stand on top of the lid of the jar and closed the jar upside down. The acetone is highly volatile so basically filled the jar and started the smoothing process of the surfaces. This is good because it facilitate a stronger structure of the printed parts, basically welding them together. I used this technique to save acetone, otherwise you can put acetone in the lower part of the jar, place the metallic stand in a way that the plastic parts are not in touch with the bed of acetone and then close the lid. However it’s more difficult to take out the pieces because you don’t have to touch them.
I left the pieces inside from 15 to 2 minutes until they appeared wet (like they are sweating) and then left in open air for a while to let the acetone evaporate.Be very careful with this procedure because the acetone is highly toxic, so do it with open windows and never ever use a flame or something hot while you are handling acetone (like cigarettes or electronic cigarettes).
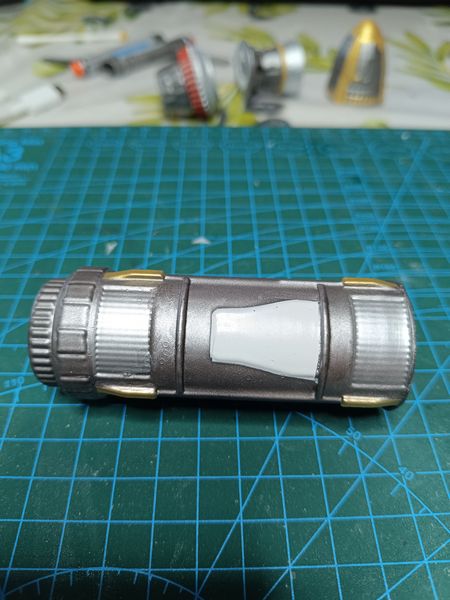
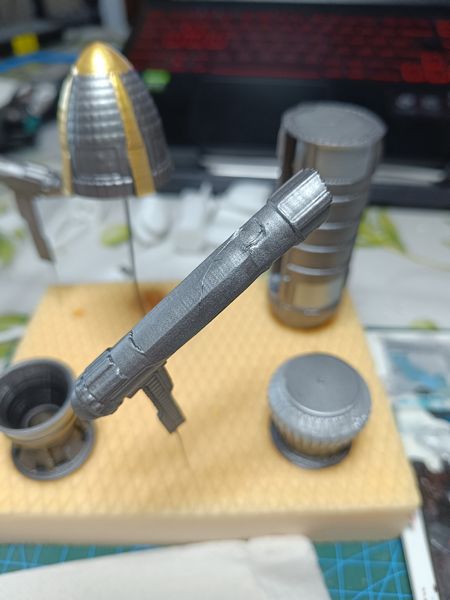
I started making holes on the pieces in order to paint them with ease, after that I painted with with a coat of black and finally a coat of gunmetal on all the parts of ship.
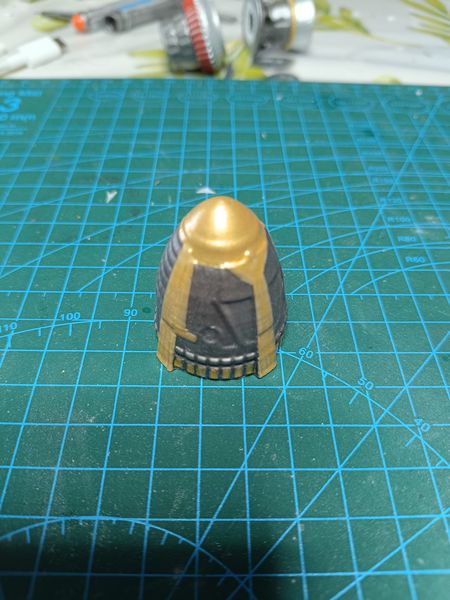
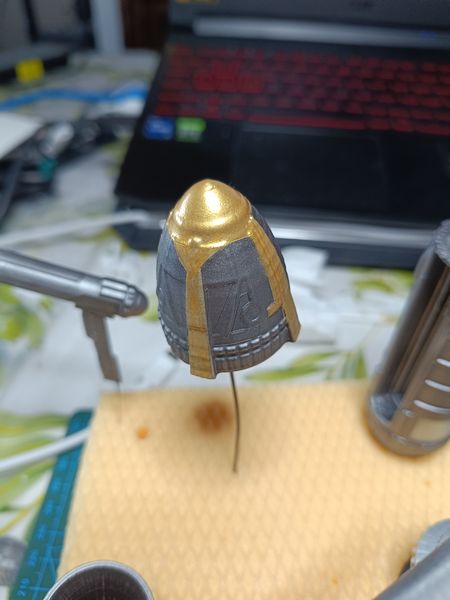
I worked out each section to add additional details with a lot of masking: some brass on the top of the ship, some steel and some aluminum sections everywhere, you can see the progress.
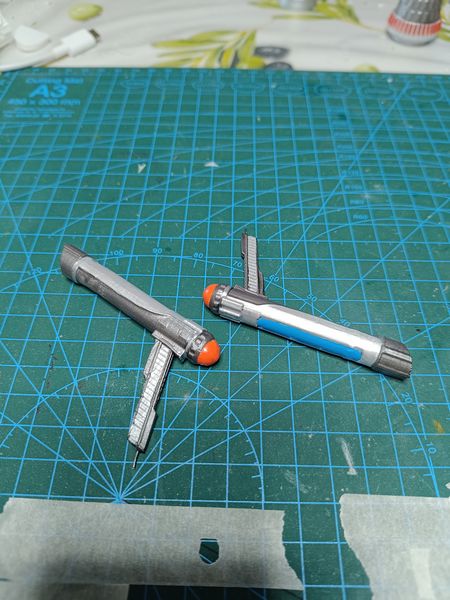
Consider that I attached the two nacelles inserting some steel wire to make it more solid and I used in this case epoxy glue to connect all the parts.

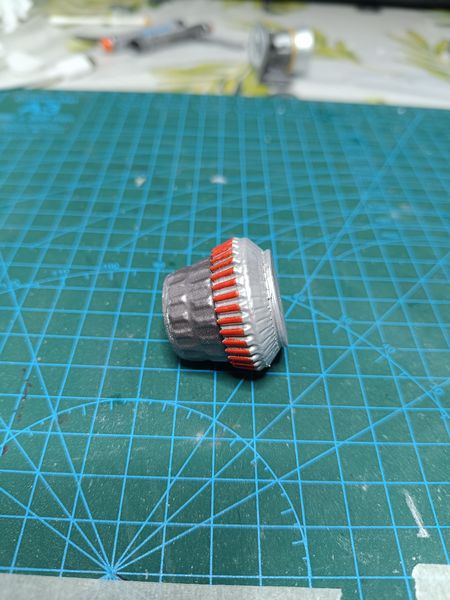
As I told you I was not happy with the 4 thrusters in the lower section, so I printed them in scale and painted.
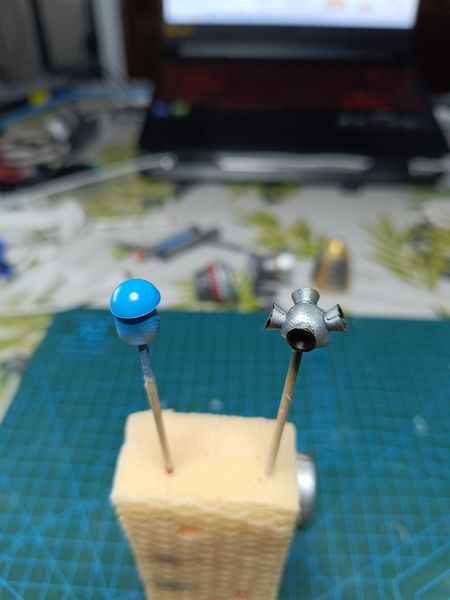
I included some hemispheres (that you can find in chinese stores, the sort of things that you just stick wherever you want) to be glued in the back of the nacelles that were flat and not satisfying I painted them in brass.
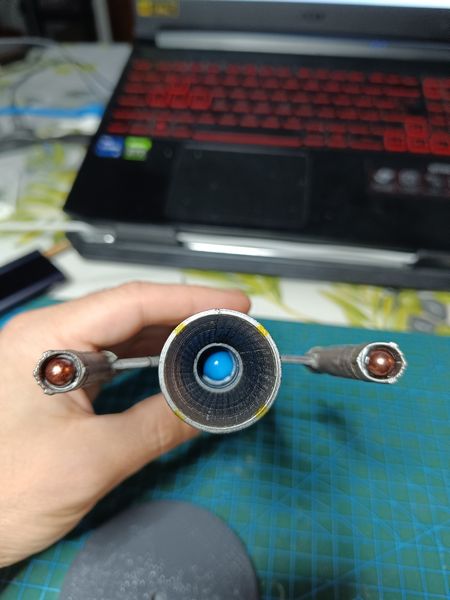
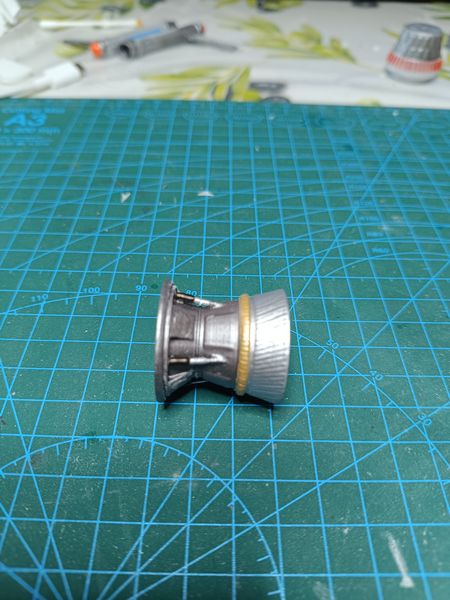
Another bigger hemisphere painted in light blue was placed in the main thruster that was flat.
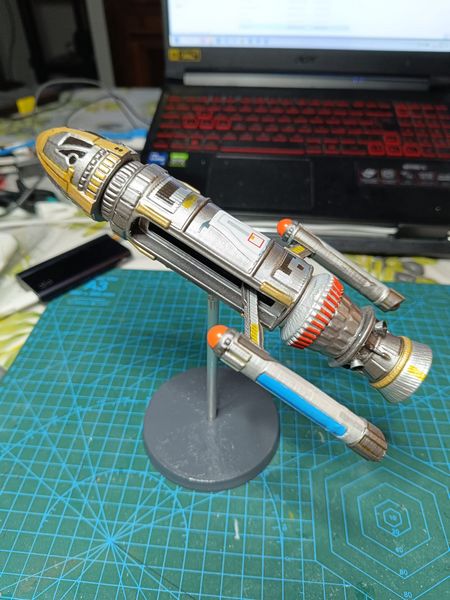
Finally I had to somehow fix the position on a stand, so I printed the base and made a drill for an Alluminum rod of 5mm of diameter. I wanted the Phoenix in an inclined position, so I created with blender a special piece perfectly scaled, holed and inclined for my rod. I just made a bigger hole in the central hull of the Phoenix and glued there.
Last touches are some lines around the brass sections made with brown rapidograph, some black lines here and there, some blue lines in the central section. In the end I decided to apply some decals that I printed for other models but were perfect for this one (rectangles in yellow to place on the brass part and gray to put on the metallic parts and on the nacelles). The technique is already the same, first a coat of transparent gloss, then decals and lines, finally another coat of transparent gloss.
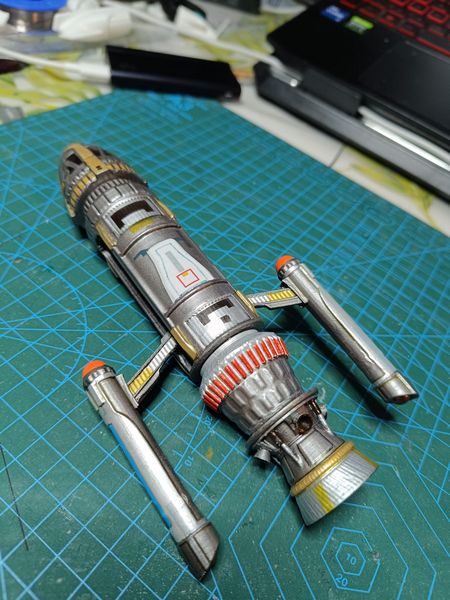
In this case I applied a bit of weathering with color oil dissolved in mineral oil and let it dry before applying the final coat of transparent matt.
Thank you for reading and watching.
![]()
Related posts:
 Klingon Bird of Prey AMT No. 1400M scale 1:350
 Romulan Warbird D’deridex Class Battle Cruiser AMT No. 1125 scale 1:3200 2019
 Building of the USS Enterprise NCC-1701-C from AMT 1332M 1:1400
 Defiant Class USS NX-74205
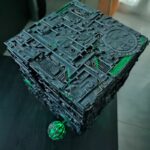 Borg Cube
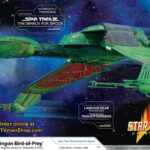 Unboxing of Klingon Bird of Prey from AMT (1:350 1400M 2023)
 Unboxing of Star Trek Romulan Warbird D’deridex Class Battle Cruiser AMT (scale 1:3200 N°1125)
 Star Trek: VOY (Voyager)
 Star Trek: Strange New Worlds
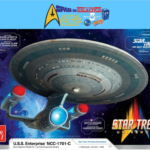 Unboxing of USS Enterprise NCC-1701-C from AMT 1332M 1:1400
Leave a Reply