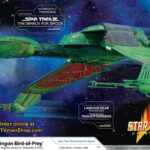
Welcome to the build of the USS Enterprise NCC-1701-C from AMT 1332M 1:1400.

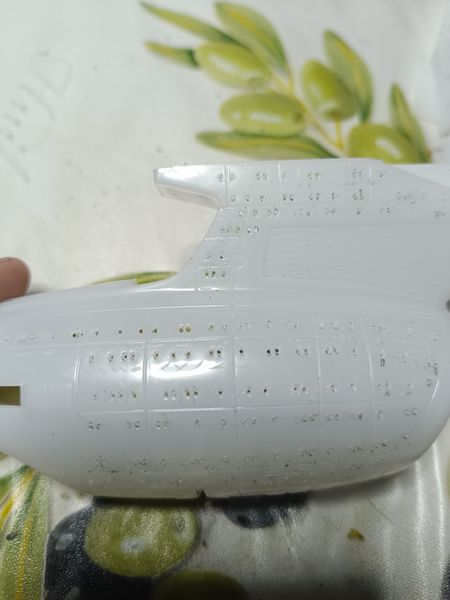
First of all I rinsed the model and I let it dry to remove all the silicone traces and after that I started painfully to do all the holes of the windows with a minidriller.
After that I used a metallic polisher to remove all the traces of the plastic.

I tried to color first all the transparent parts, but before I applied a coat of transparent matt in order to have more “grip” for the transparent paint.

At this point I painted chrome all the internals of the parts that should be lit and light gray all the outside.
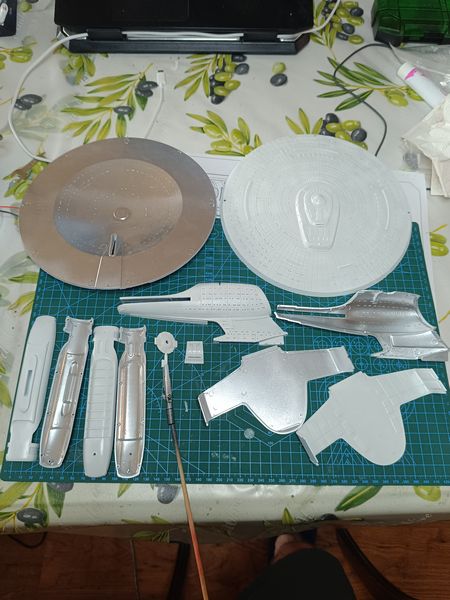
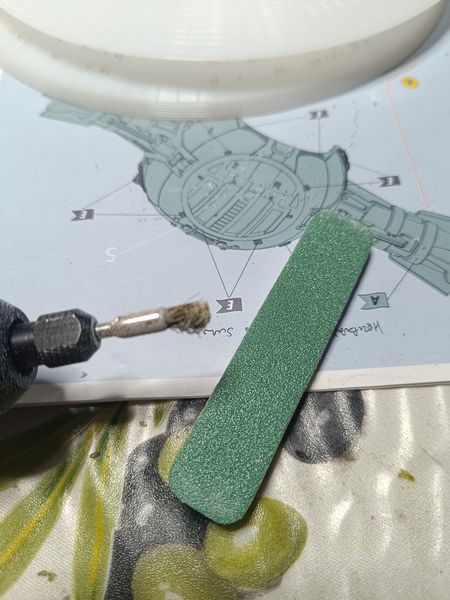
Time to try some assembly to see in advance gaps and problems before it was too late. Many problems ad some difficulties on the joints so i worked in advance to file a bit and remove part of the material.
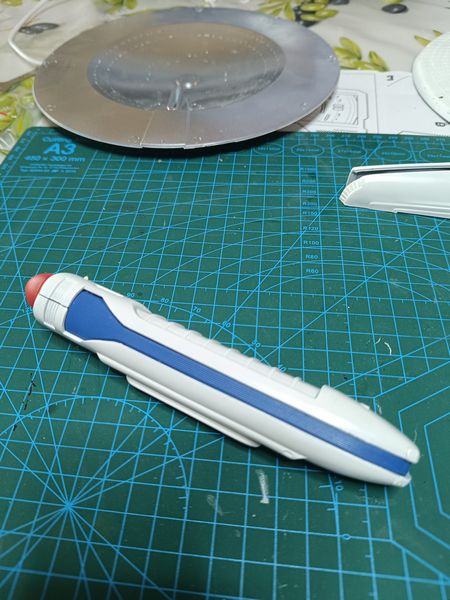
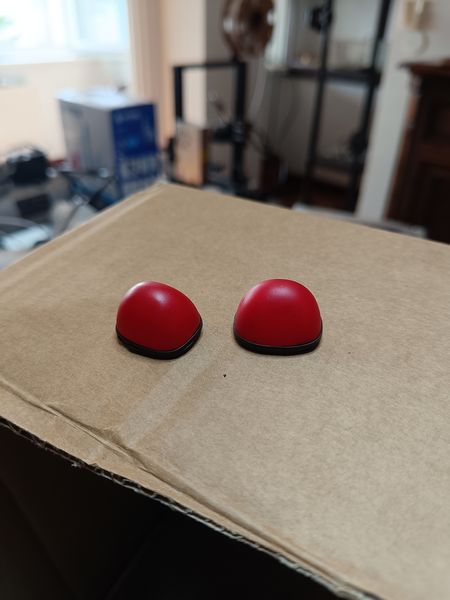
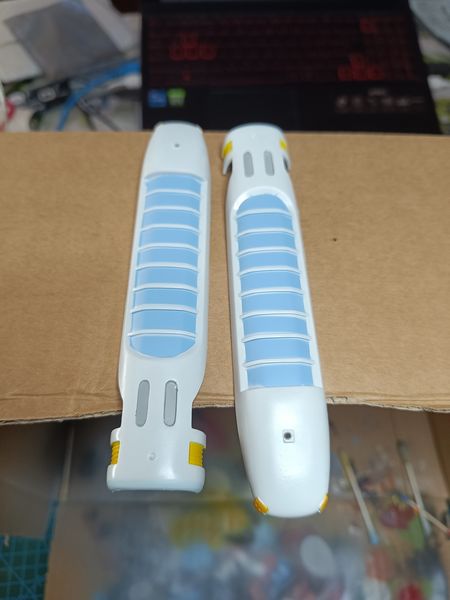
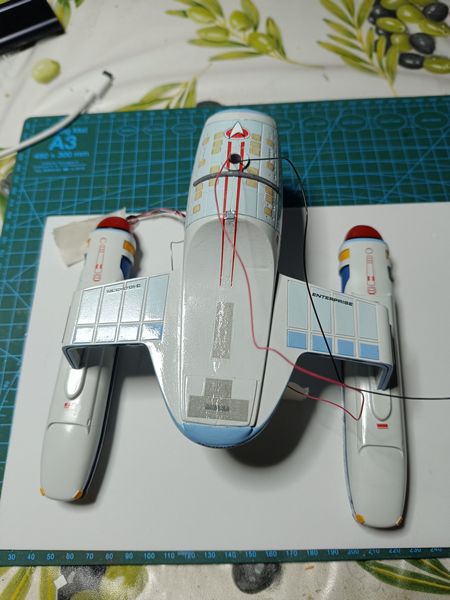
First things I wanted to assemble were the nacelles, so I started to finish paint the clear parts and started painfully with a series of masking to apply the main color and the different shades of blue to all the parts.

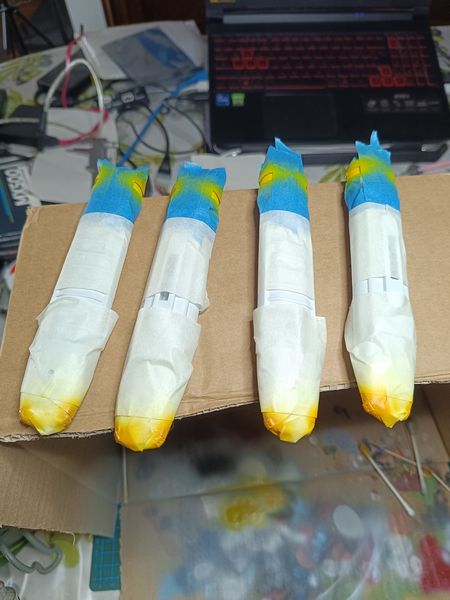
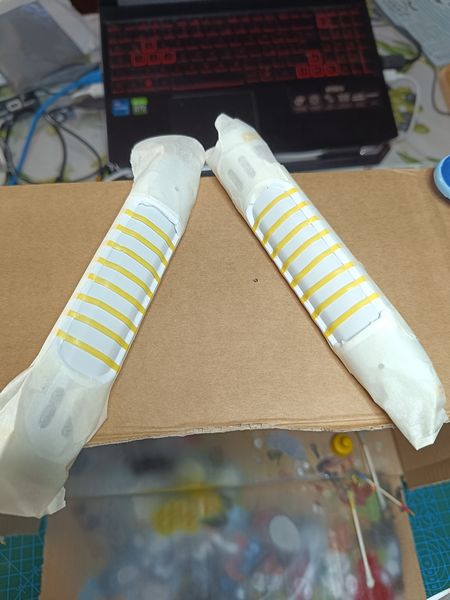
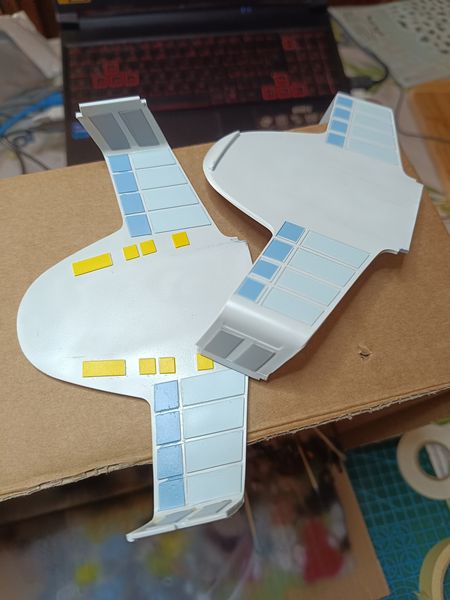
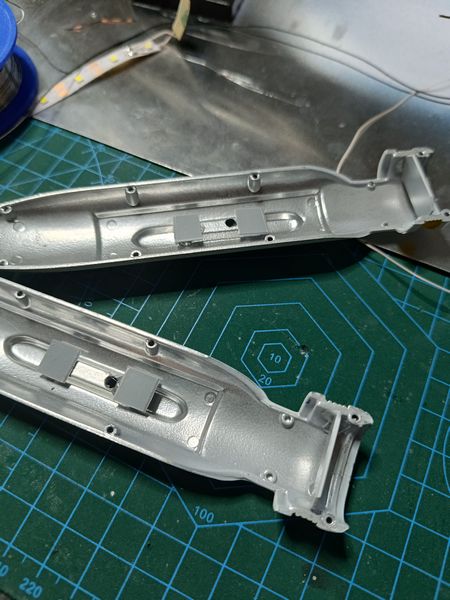
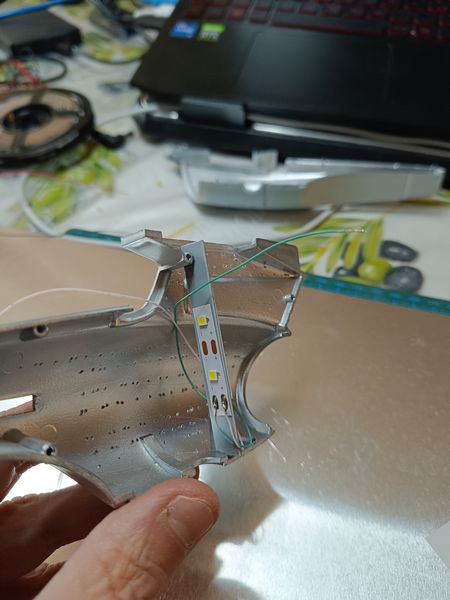
With the painting of the nacelles completed it was time to start the pylons and repeat all the same process with shades of blue and yellow. Meanwhile i escavated with a gauge the plastic to have more space for the cables entering the nacelles from downside through the pilons to connect everything on the main hull.
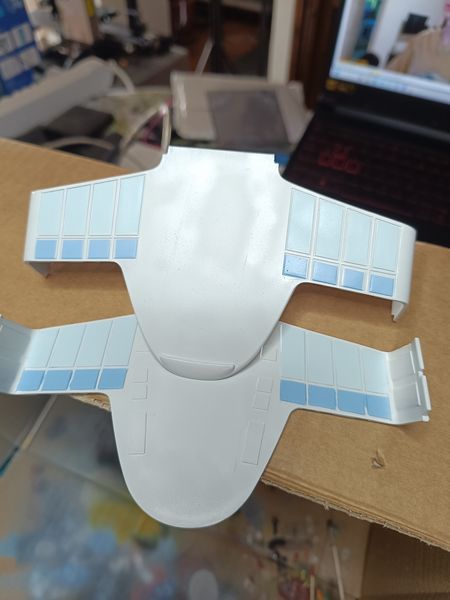
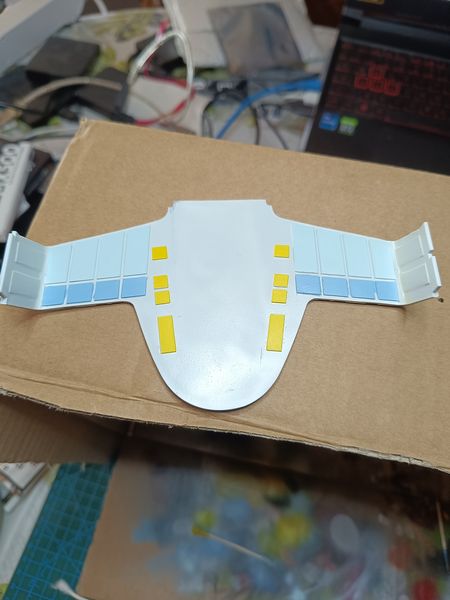
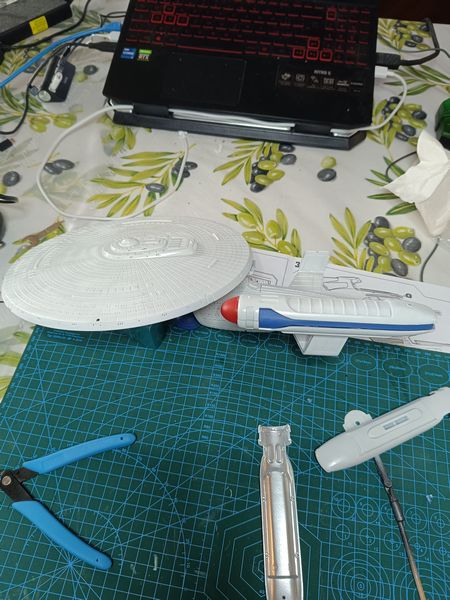
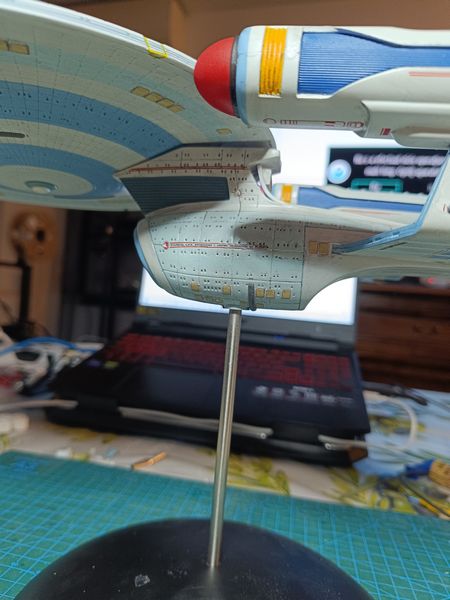
Same story for the main hull, different shades of blue to replicate the pattern (and because it should be assembled together with the pilons section in a sort of “insertion”, so better to do it together.
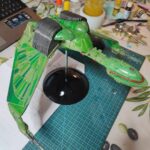
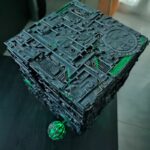
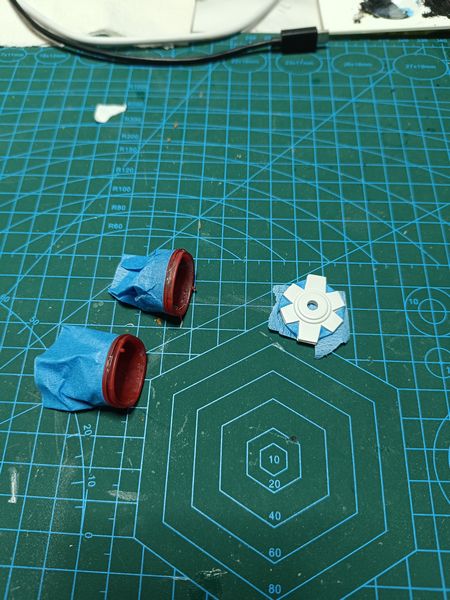
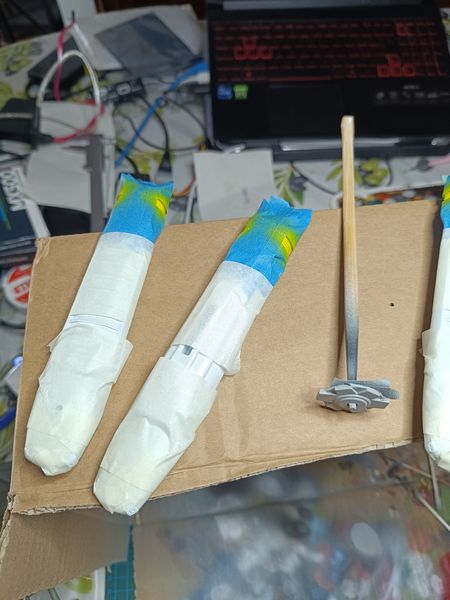
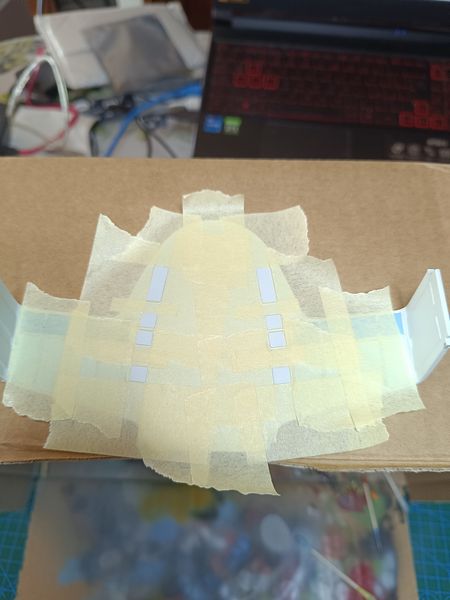
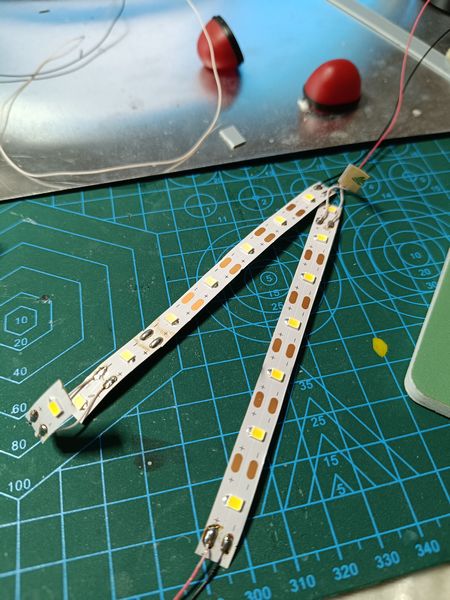
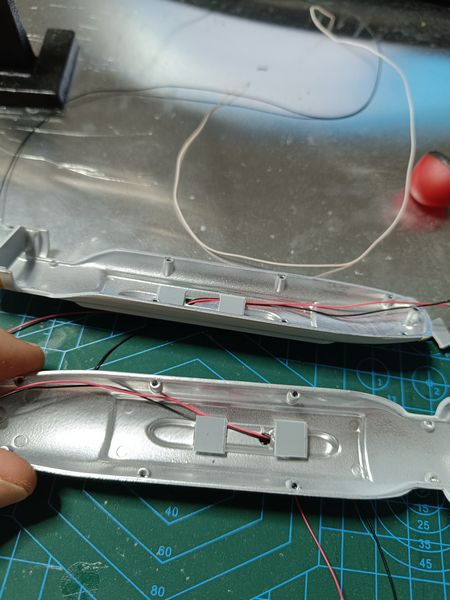
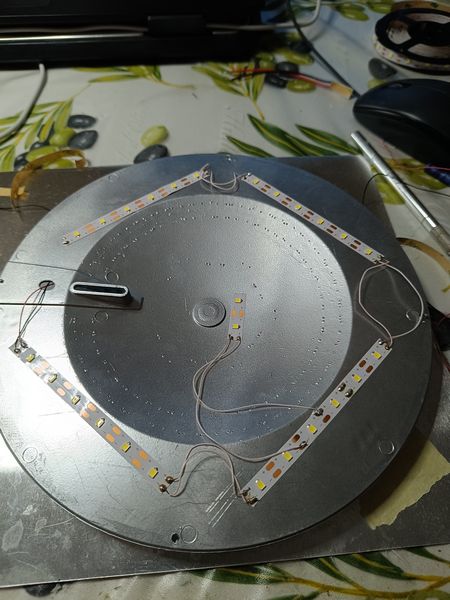
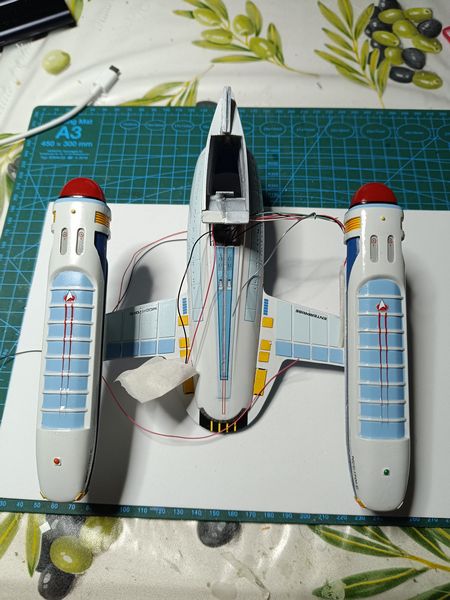
And finally some fun with LEDs. I bought strips of white leds 3V and i placed them in the nacelles and in the main hull (see different pictures). They came with adhesive tape but I glued them with some points of superglue and after that i covered the empty parts with the “slime” made with solvent and bits of sprues to be sure that they would have remained in place forever.
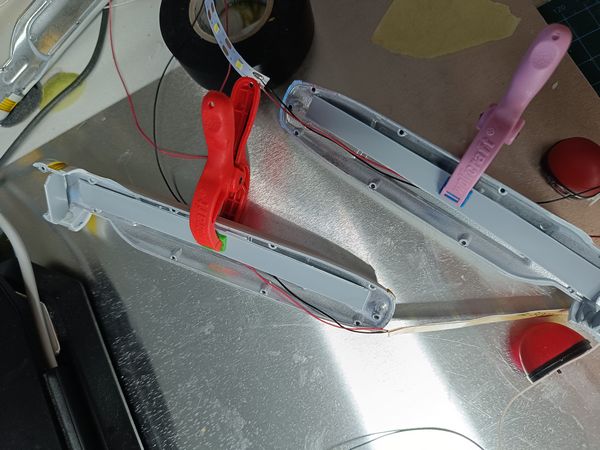
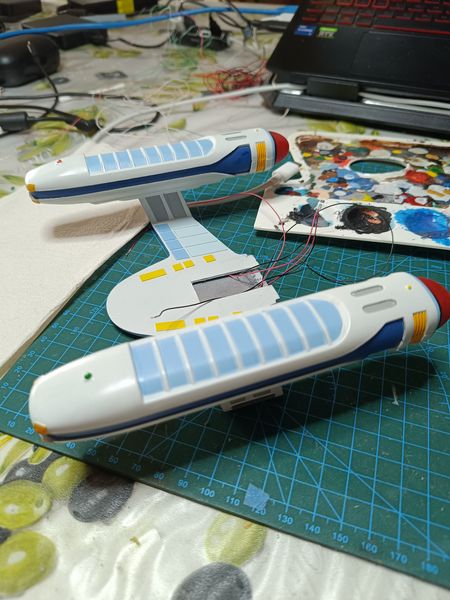
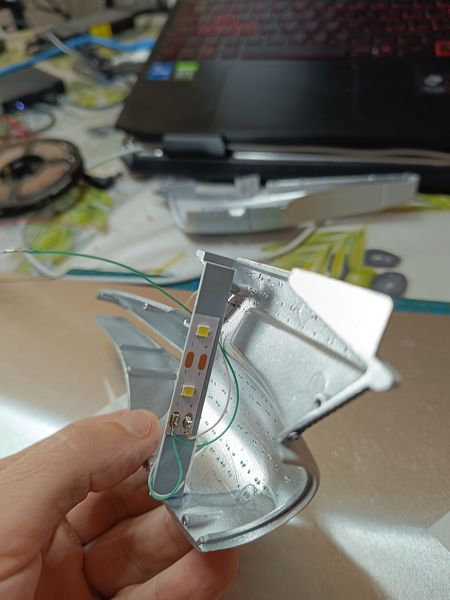
Finally after few tests I closed the two nacelles and the two halves of the pylons in order to have at least one full piece assembled with two wires coming out.

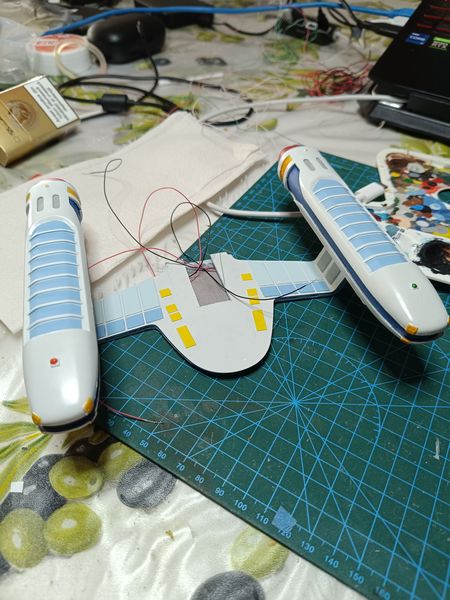

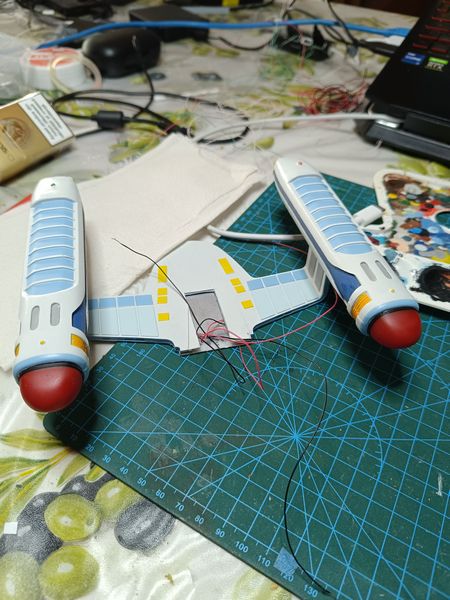
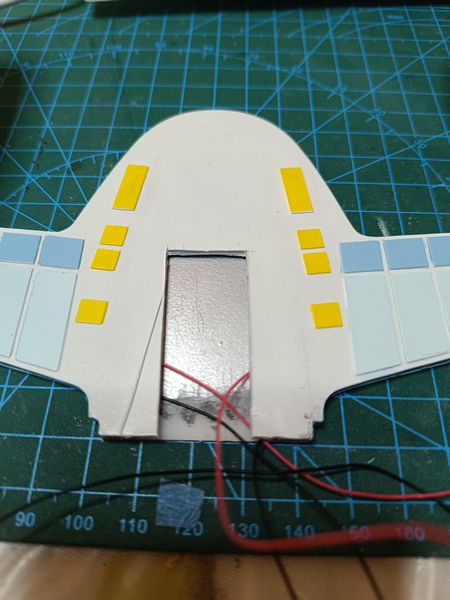
For the main hull I placed a piece of plasticard in the center and added lights at both ends. The lights were enough to cover all the hull and the main blue dish, that I shielded to diffuse light better with copy paper. Same to the internal of the main hull too (that you don’t see in the pictures).
Finally I assembled that section.
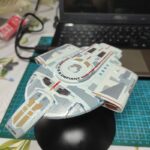
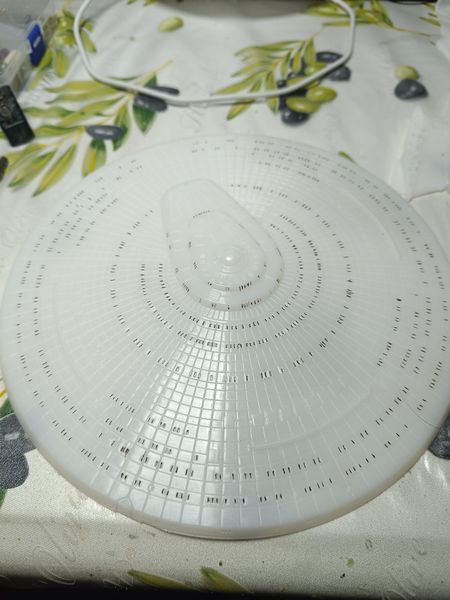
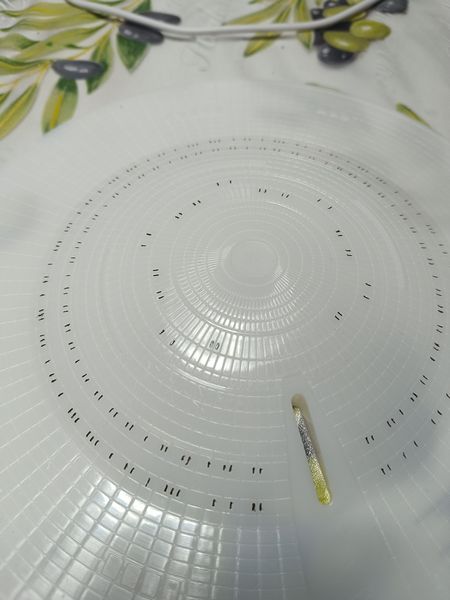
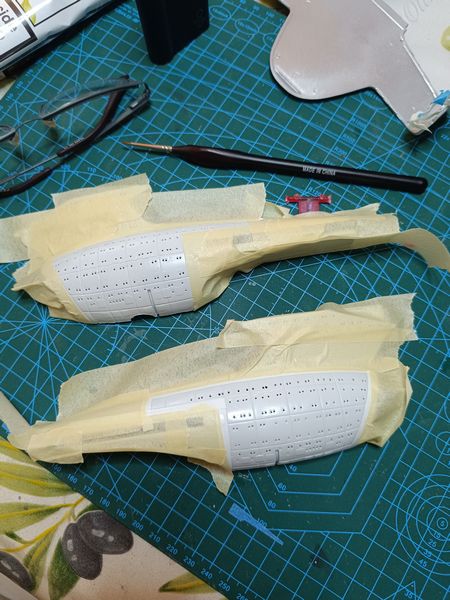
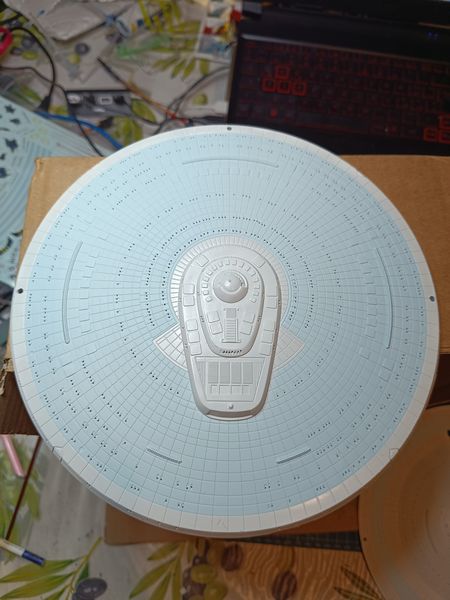
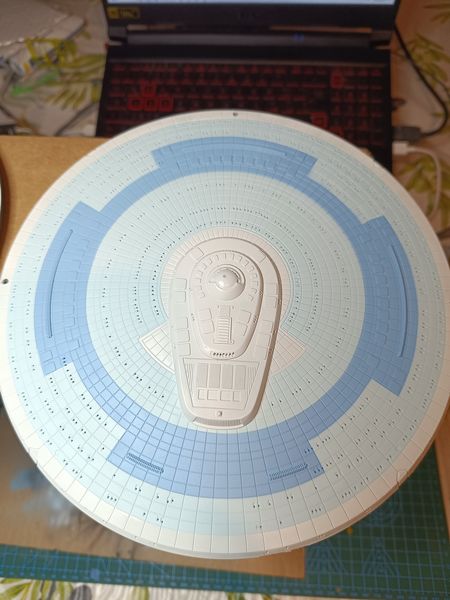
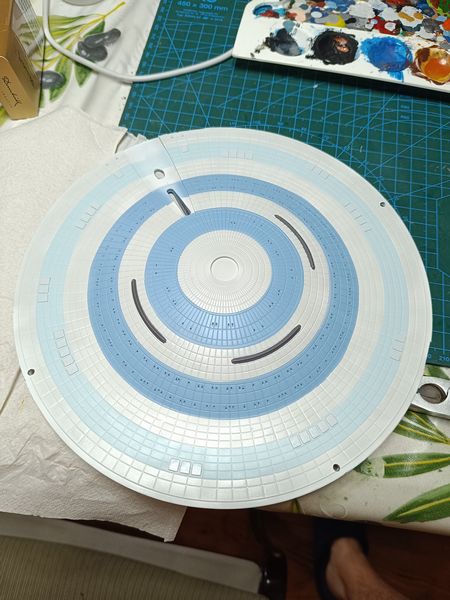
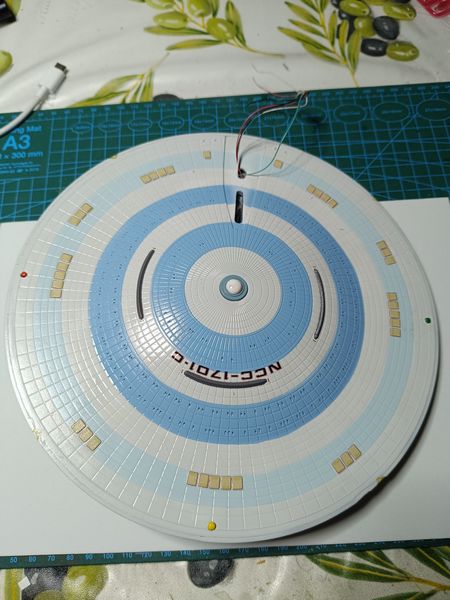
Time to proceed with the main saucer. Actually my first idea was to create decals for the different blue patterns but then I decided to do the painting of the rings with airbrush and a loot of masking. I created decals only for the upper central part of the dish and for all the escape pods plus some additional particulars that were totally missing in the decals provided (but I will speak about later).

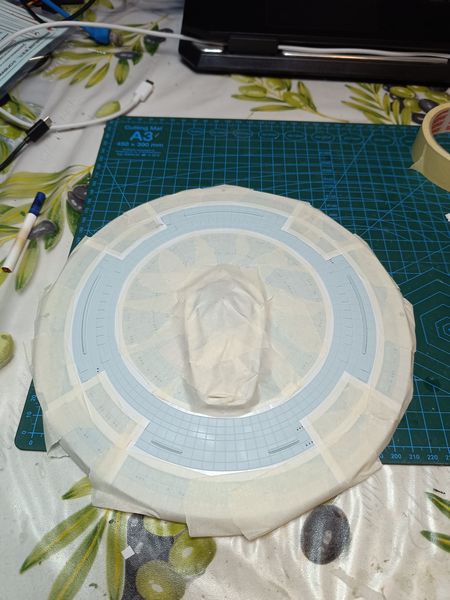

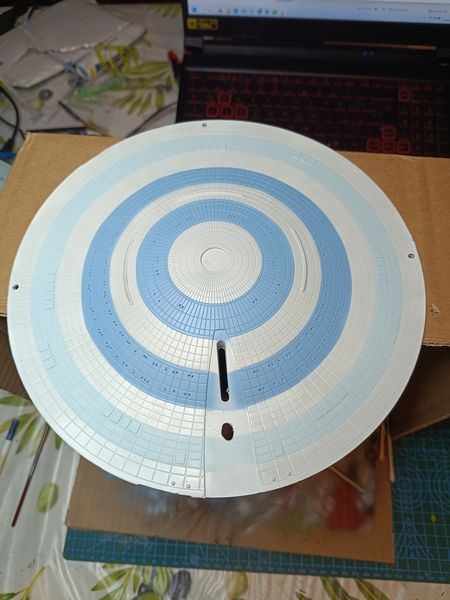

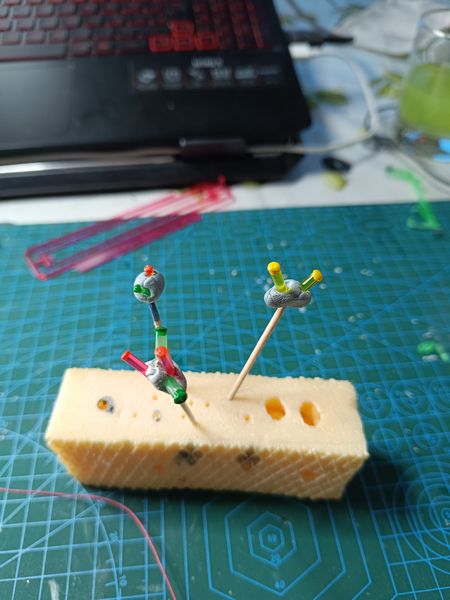
First of all I made additional holes for the four lights on top and bottom (the red and green navigation plus the frontal and the rear one) and then I created the lights with old transparent sprues heated on one side in order to create the dome shape and then colored and placed in position with clear glue
.
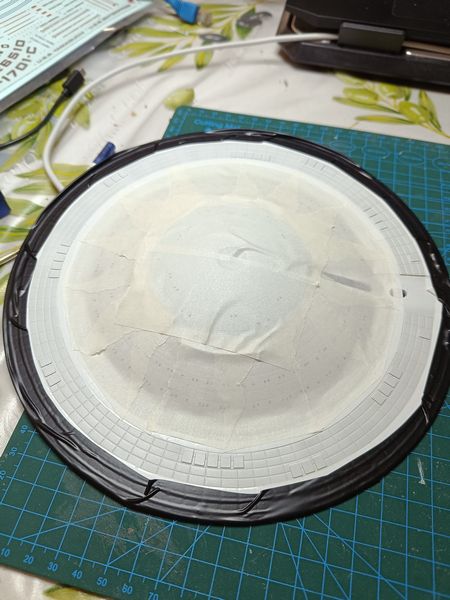
I added the led strips on top and bottom (using the same process used for the nacelles and hull) and added two round copy paper sections to diffuse the light and finally I closed the main dish.


At this point only the decals to apply. In reality the decals provided were very few, all the sheet was 3/4 full of battle damages (that i did not want to apply) and doubles for the Yamaguchi (in case you wanted to build the Yamaguchi there are instructions and a couple of modifications to do on the rear, on the lower part of the saucer). So I created a bunch of decals starting from some images found on internet (this is the link https://www.cygnus-x1.net/links/lcars/good-stuff-2-schematics.php), importing them in Coreldraw and vectorializing them. After a few tries I found the right printed scale and I was able to use them not without errors, because the space between the white spots for the escape pods was not matching with the model, so I had to repaint something. Probably the best idea was to ignore the holes and just repaint the squares in white before applying the decals. However find HERE (I WILL ADD LATER) the file that I created (and you have to print it slightly bigger, on 1,05 scale).
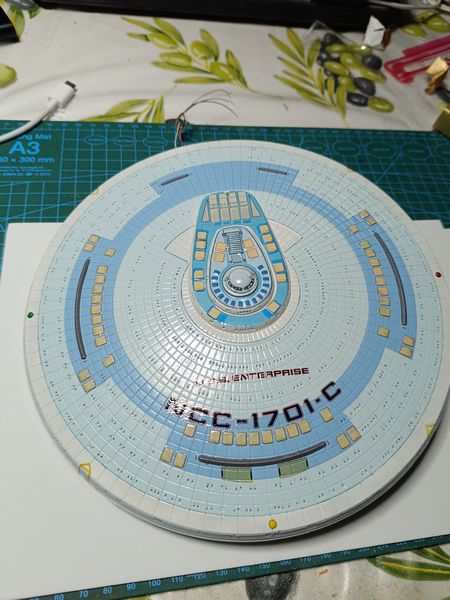
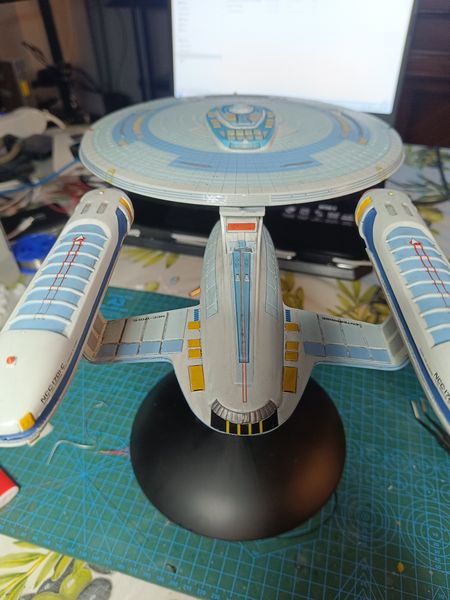
Another coat of gloss and I was ready to do some light weathering (this time I wanted the Enterprise C quite pristine, luke just out from the spacedock). And finally you can see the result.

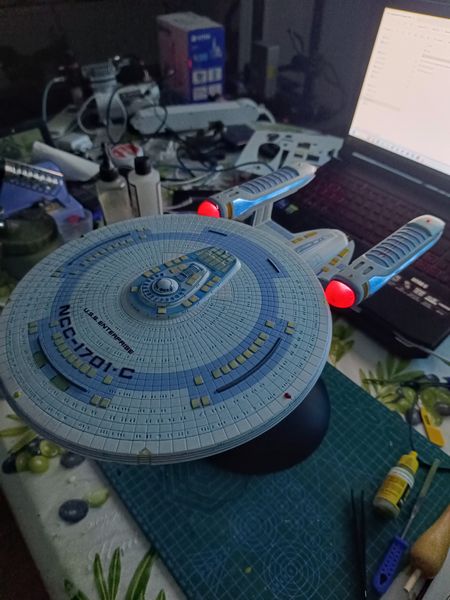
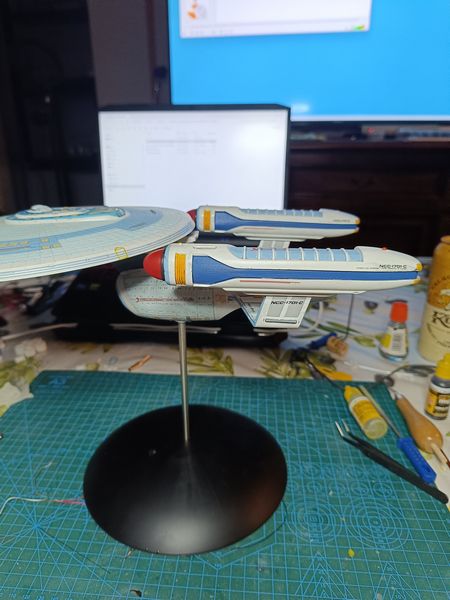
In the photo is just half lit because it’s actually still in two pieces for transportation but I will add some pics when I will have the full assembly in Italy.
Hope you enjoied the build
![]()

Related posts: