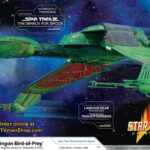
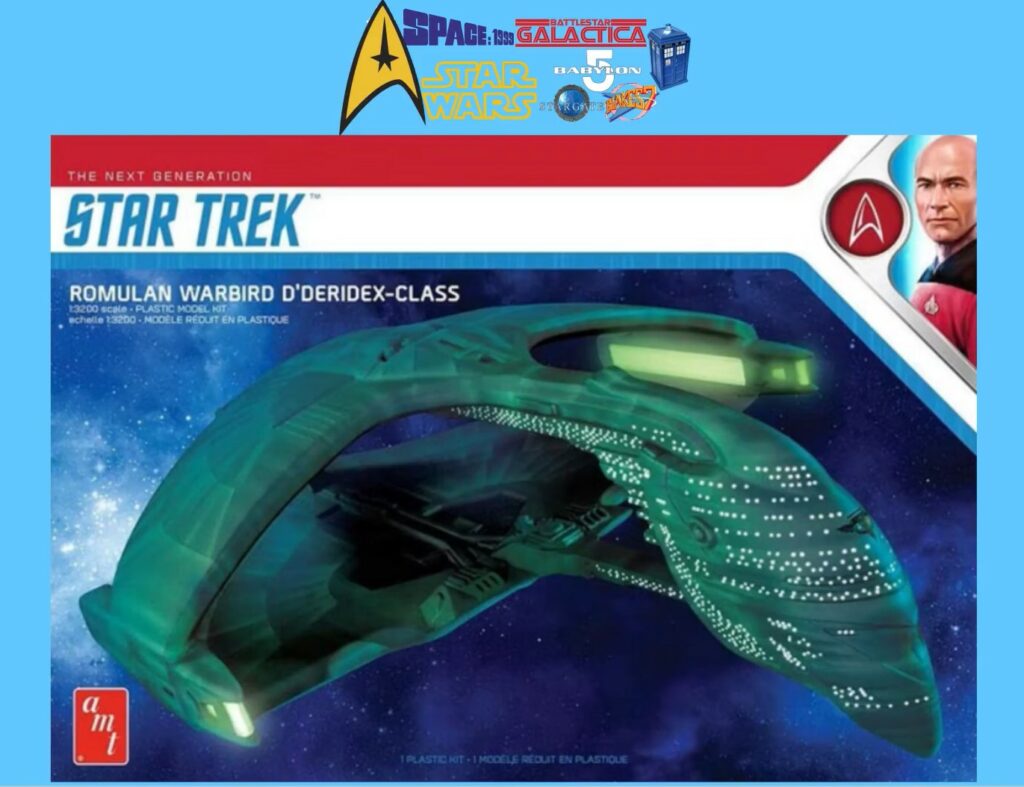
Romulan Warbird D’deridex Class Battle Cruiser AMT No. 1125 scale 1:3200. This is a split of an old model now sold separately from 2019, let’s see what i managed to do.
There is a video of the unboxing of the model, so if you are interested, just go to the appropriate section.

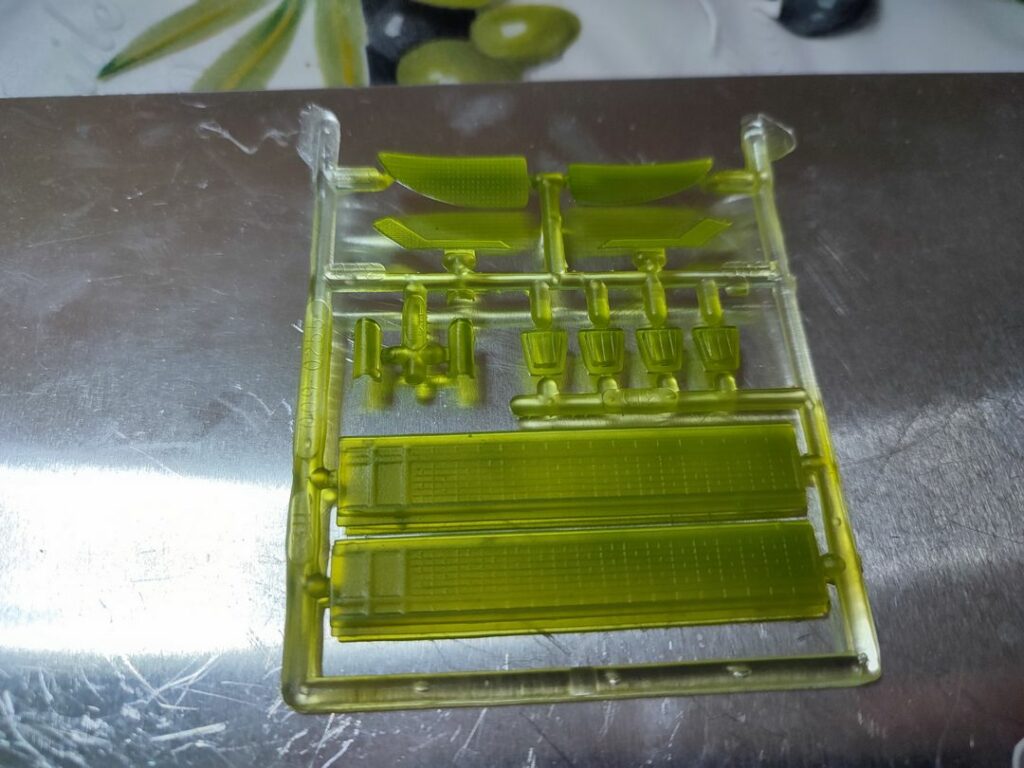
First of all you can see all the parts. The sprues are already green but clearly my intention is to paint it completely. You can see that I painted the inside with chrome and the outside in green. The clear parts were painted with a transparent matt and then in transparent green. My idea is to put lights inside only on the two nacelles and not going with all the drilling for the little windows in the front, since they are not shown in the mold. However they are never shown with lots of lights so i decided not to go on with that.

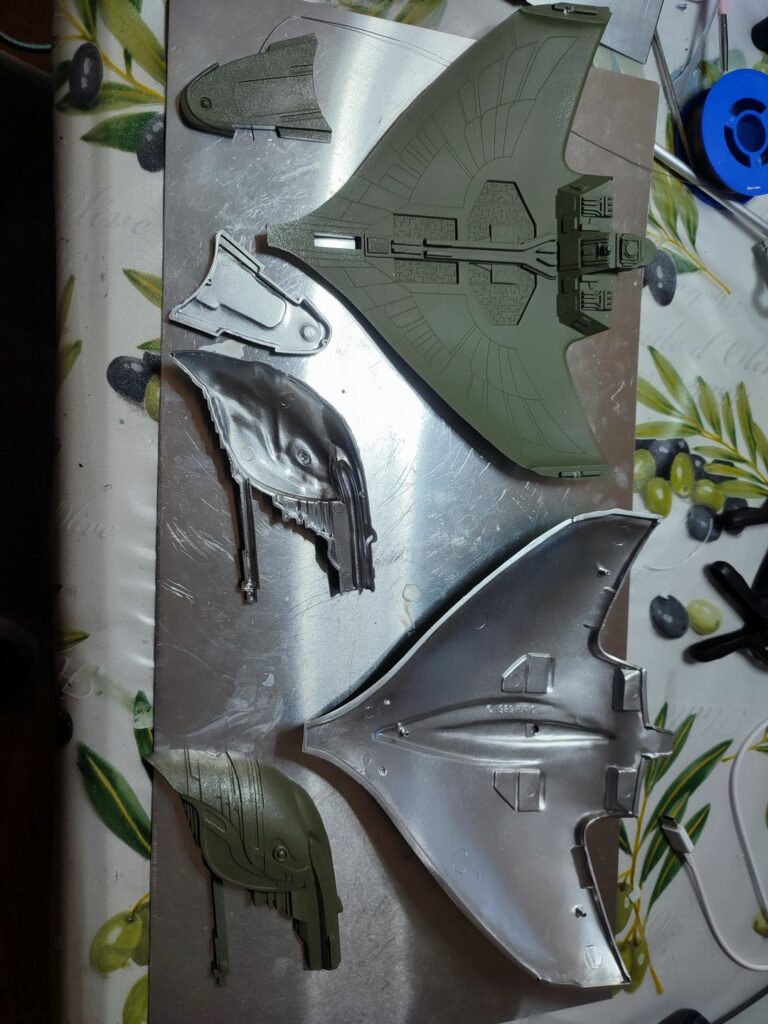

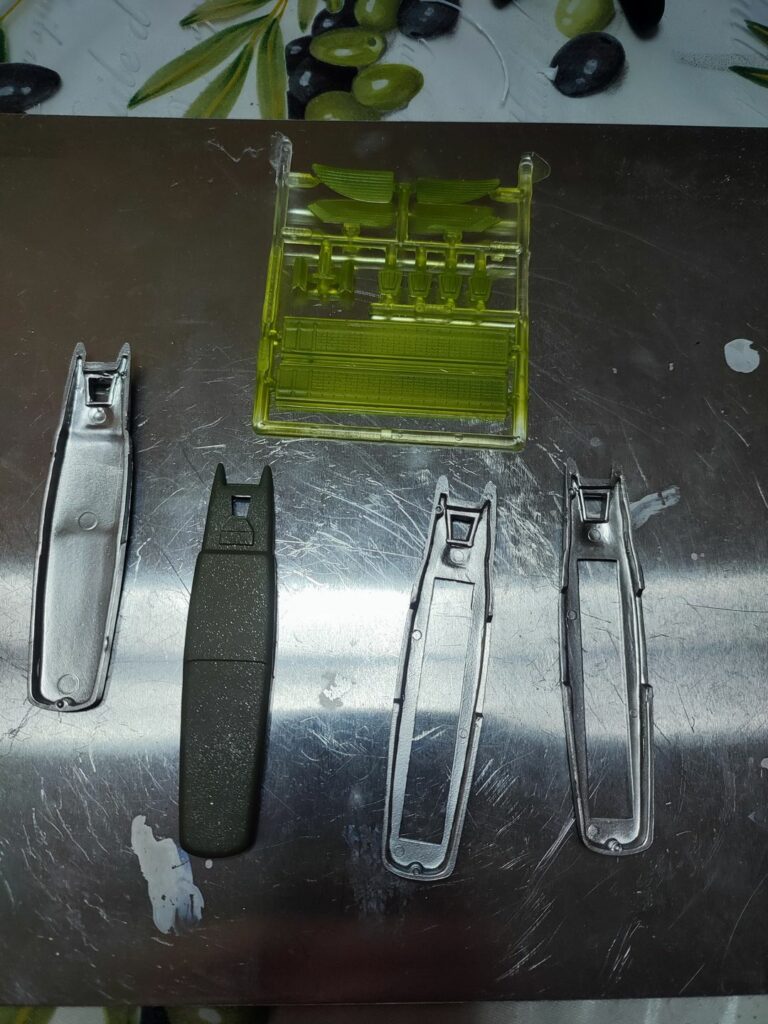
I just suggest before any painting to rinse all the parts with soap and water. This eliminates all the traces of silicone oil used for the creation of the parts. I suggest to try to assemble the parts first in order to discover some weakness in advance. I have to say that this model was quite ok for the assembly (after a good filing). You can see some phases of the pre-assembly. i tend generally to assemble all the parts that can be assembled before the painting (if of the same color, to avoid to lose time and color.
You can see some of the sections pre-painted. I started te installation of the lights in the nacelles as soon as possible too.
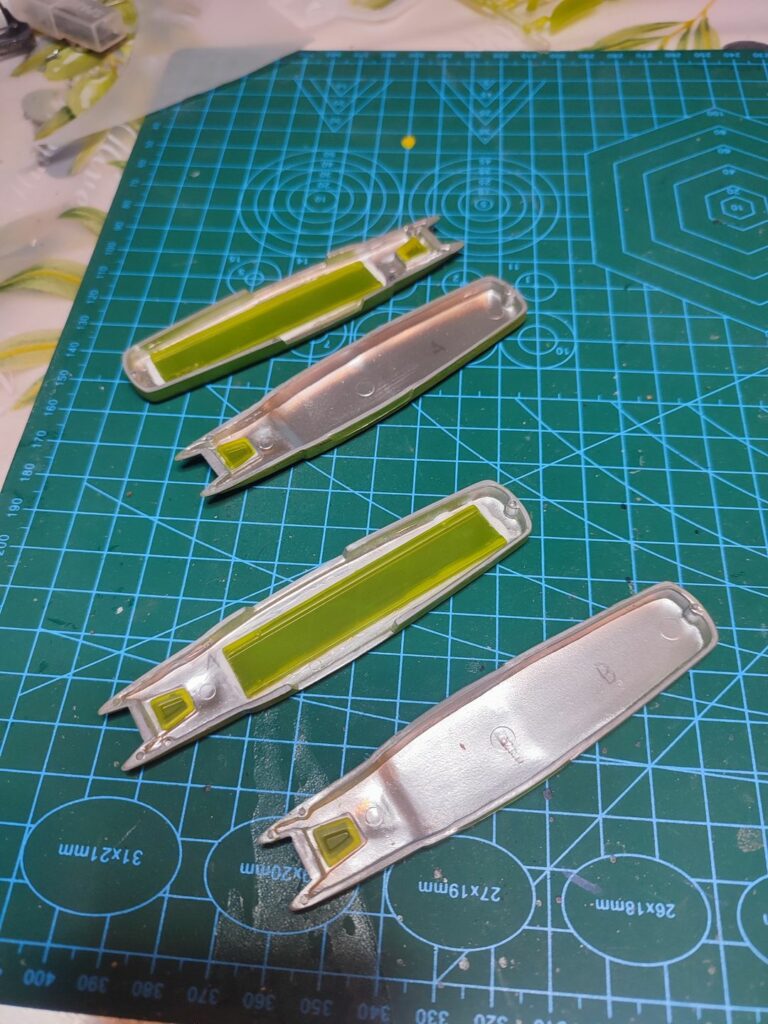
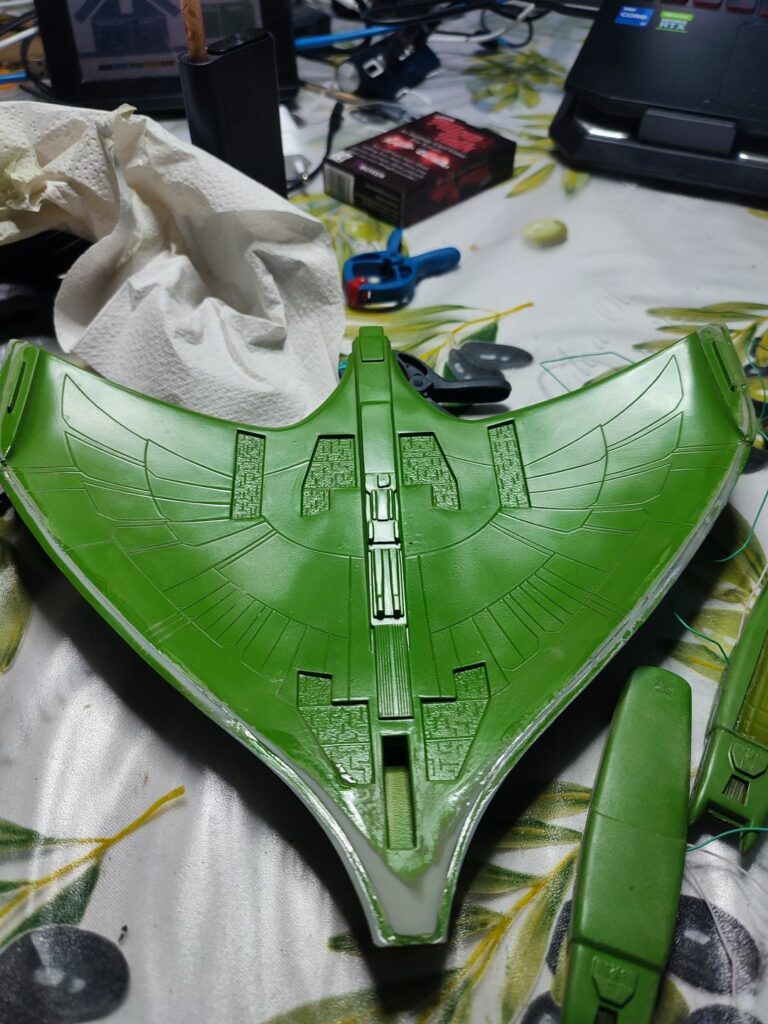
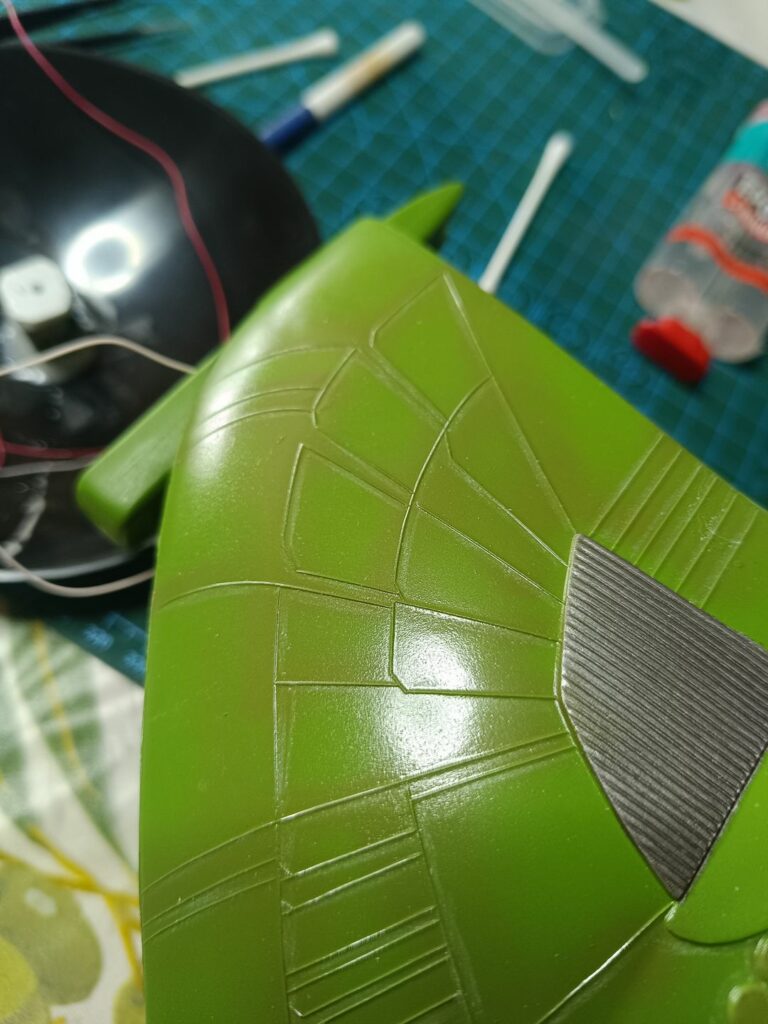
Now it was time to paint the other parts. after the first coat of green primer I used the Aerograph to paint all light green. The final effects and details will be covered later and with the weathering and the decals.
Note that I applied some filler somewhere to close the separations between the parts.
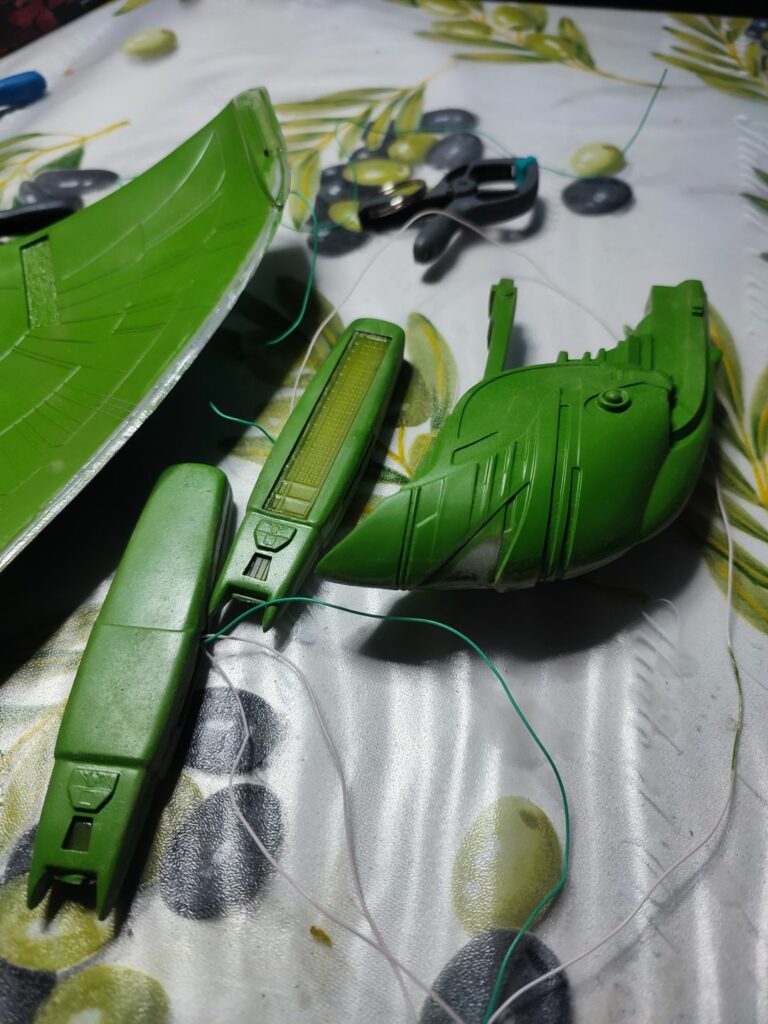
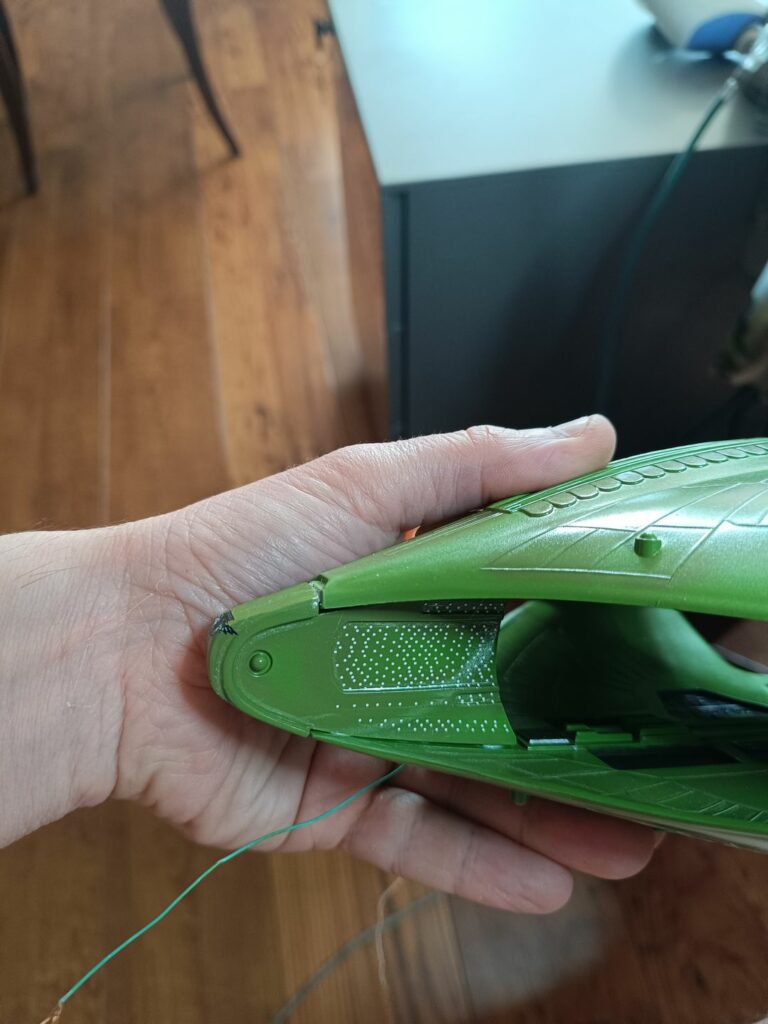
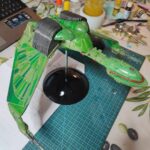
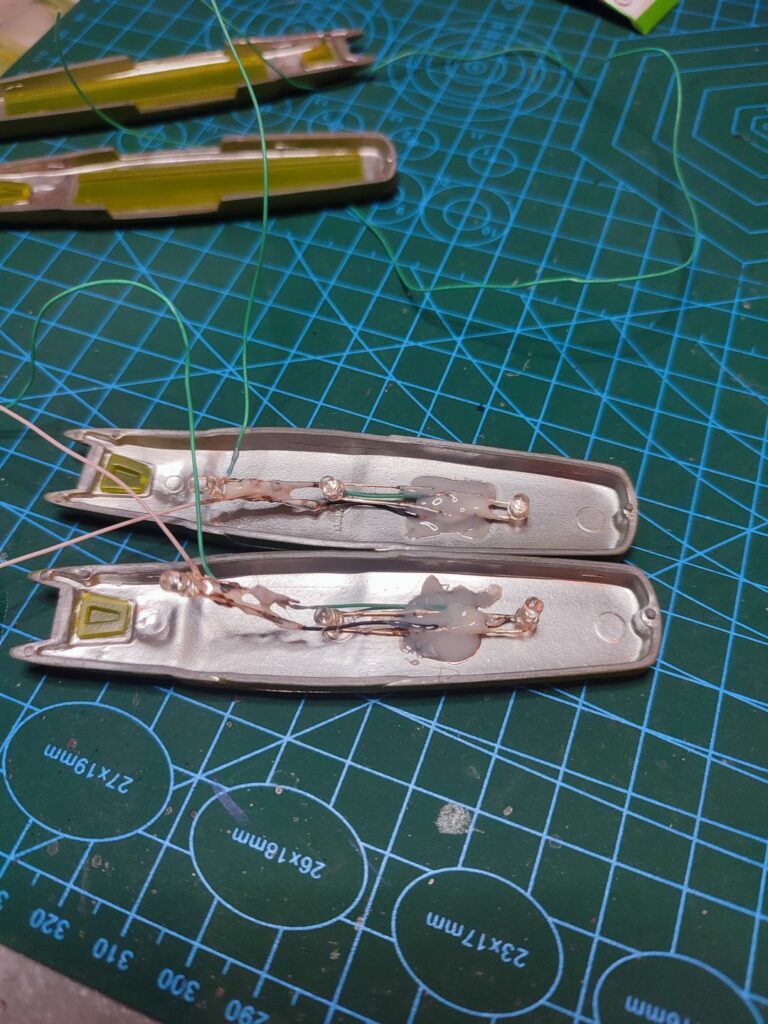
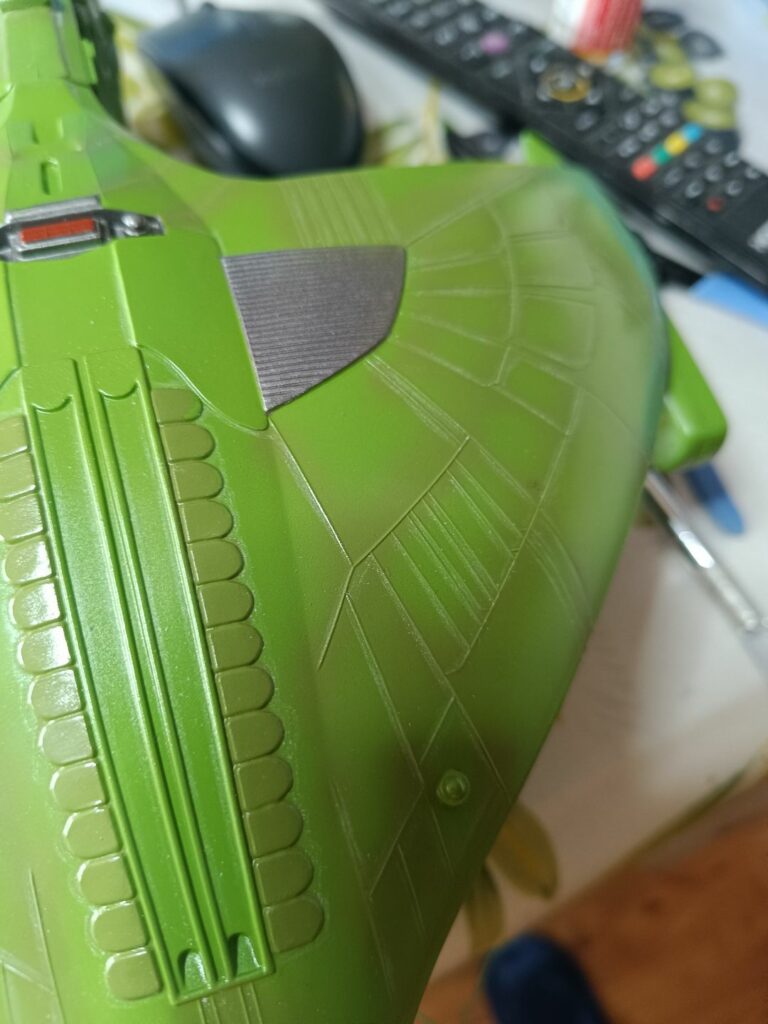
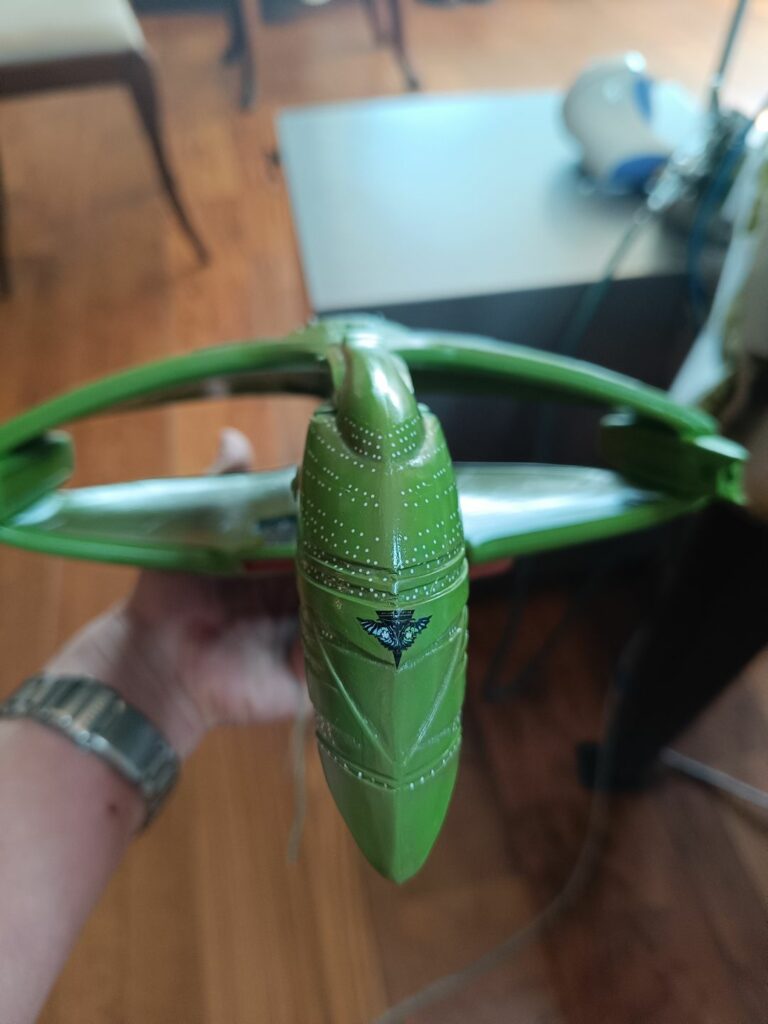
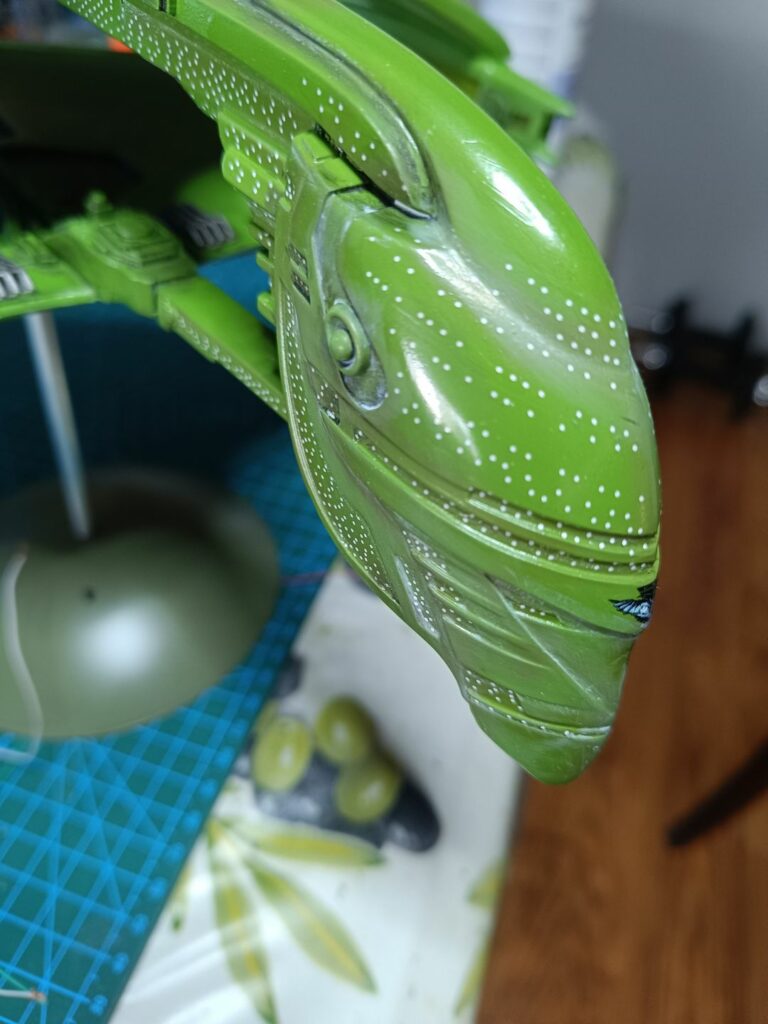
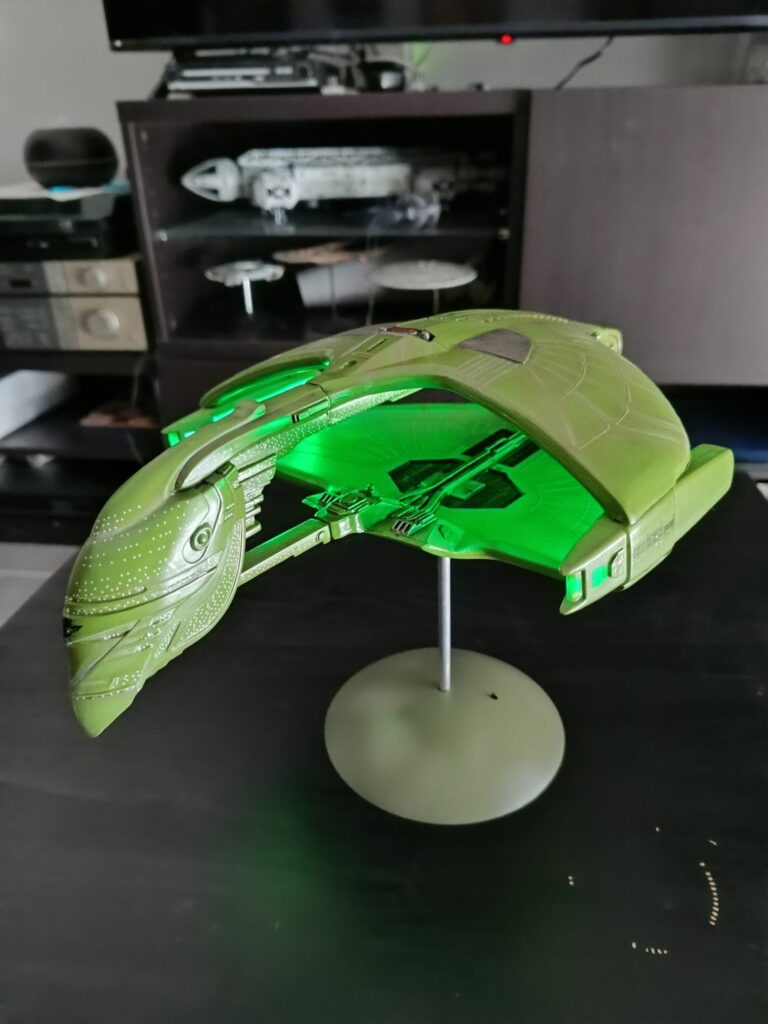
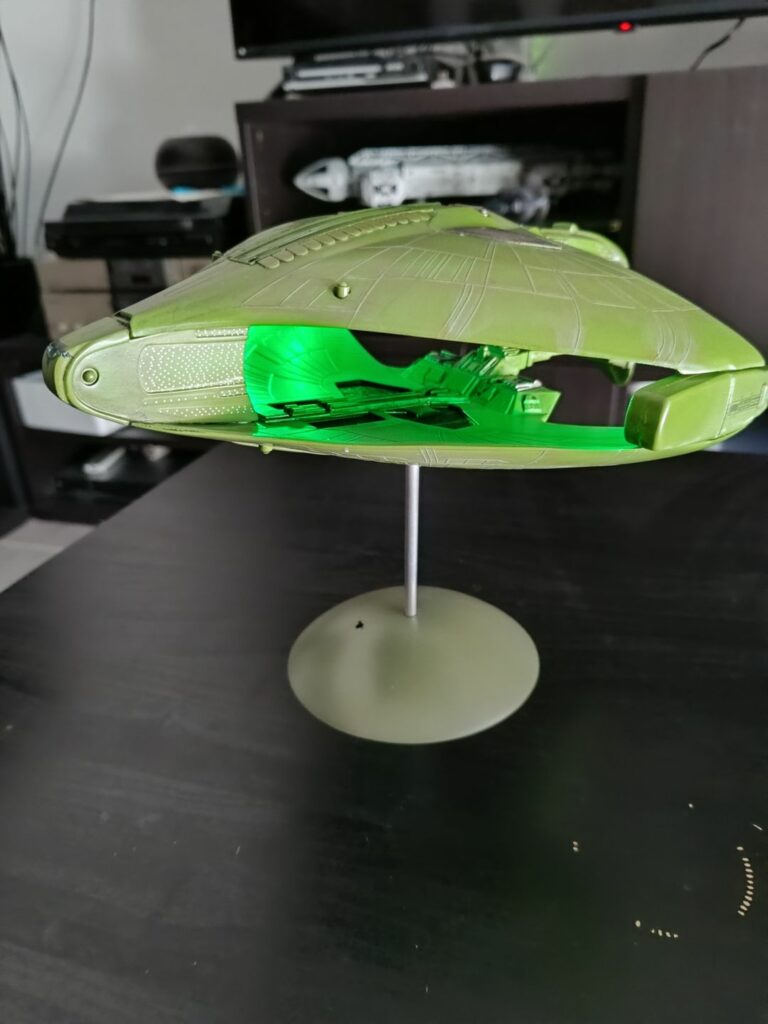
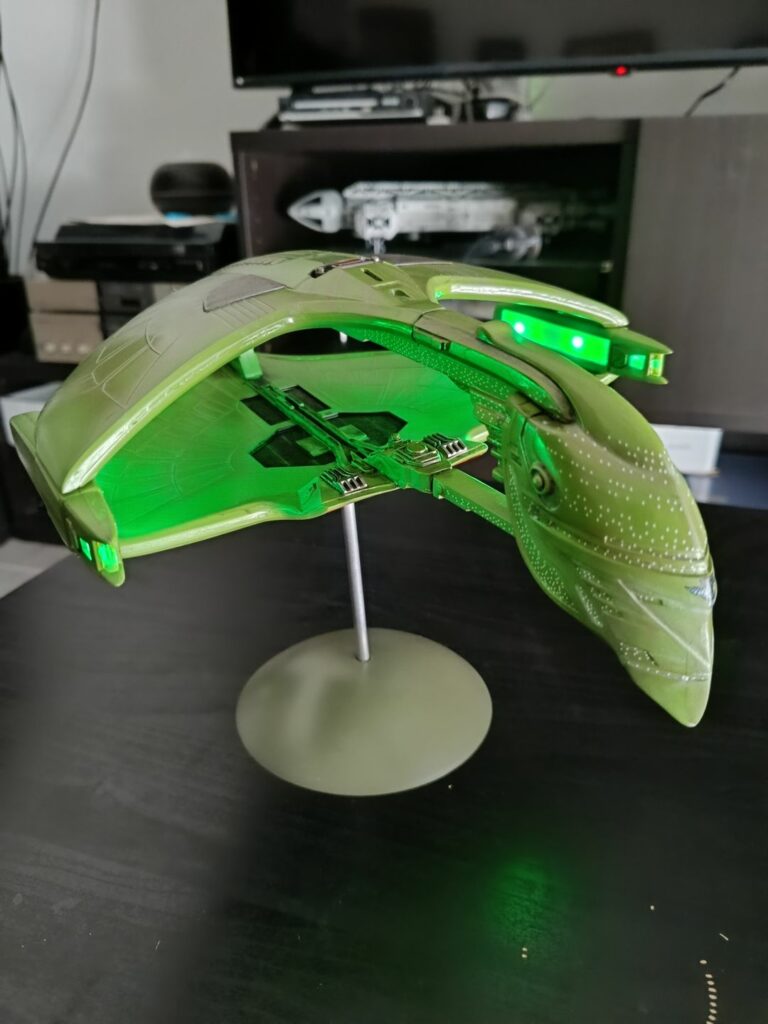
Then I finished to assemble the lights in the nacelles and finally putting everything together. At this stage I assembled the model and added some lit shade of green in some parts, then alluminum, red and black on the internal parts (the black parts were then highlighted with a gunmetal with the drybrushing technique.
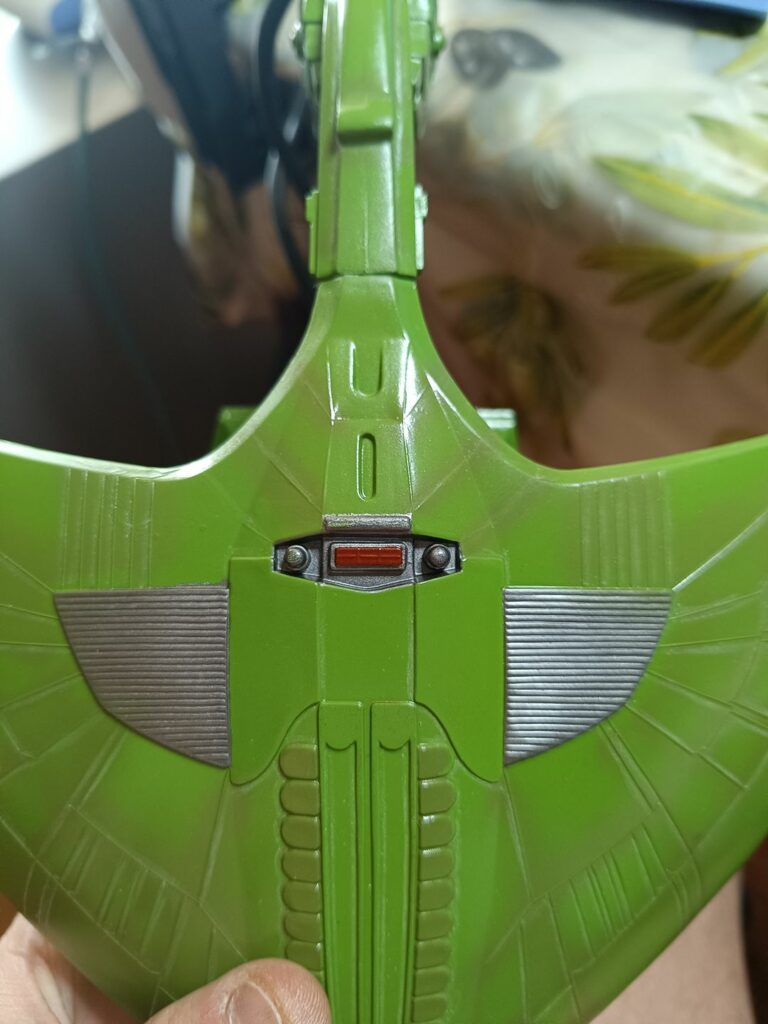
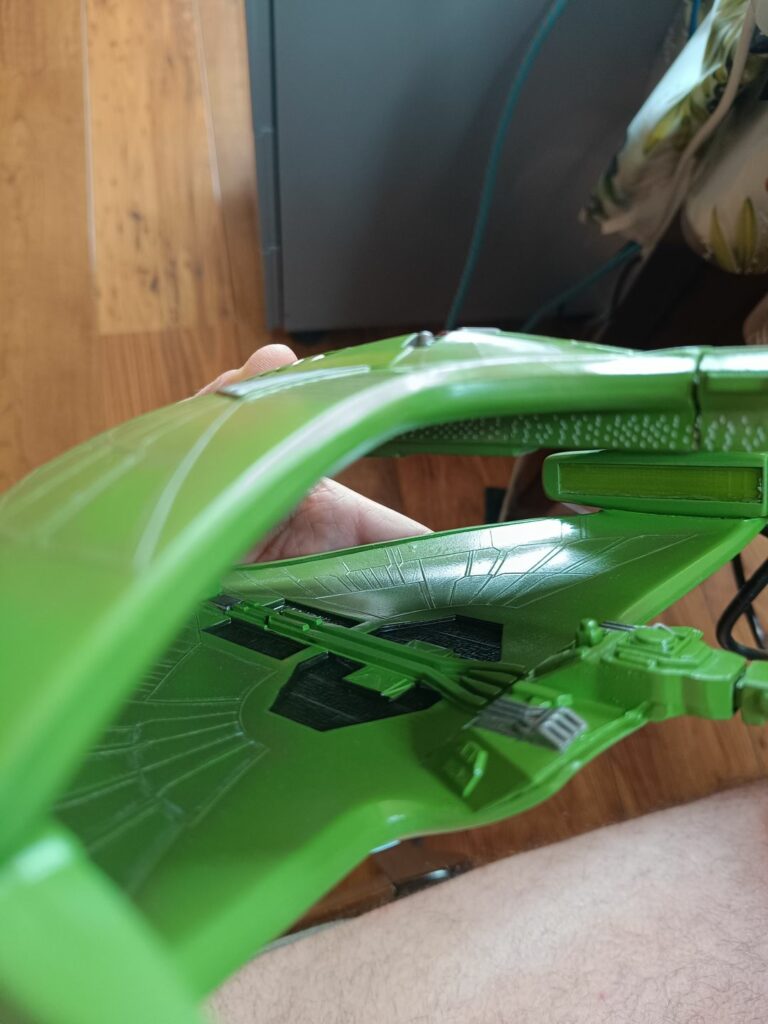
I added lines of darker grey on the bone structure of the vessel and then used a white pencil in the middle to have a light color on the bones. After that a copat of transparent gloss to proceed to the next phases of weathering and applying decals.
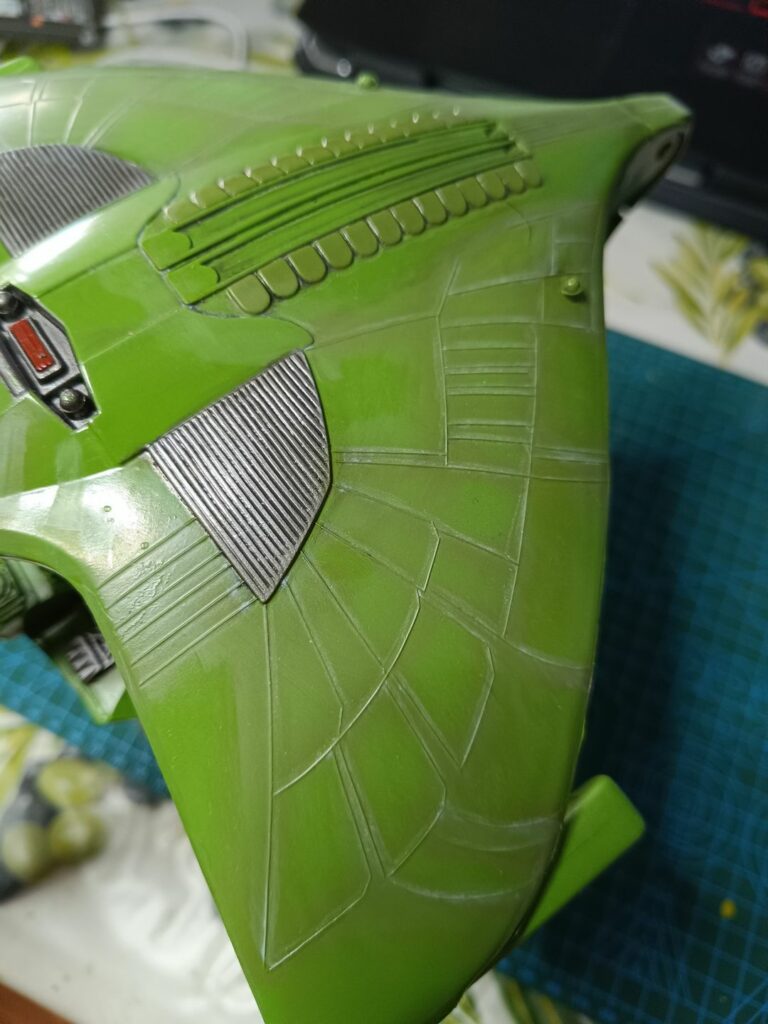
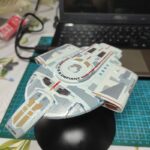
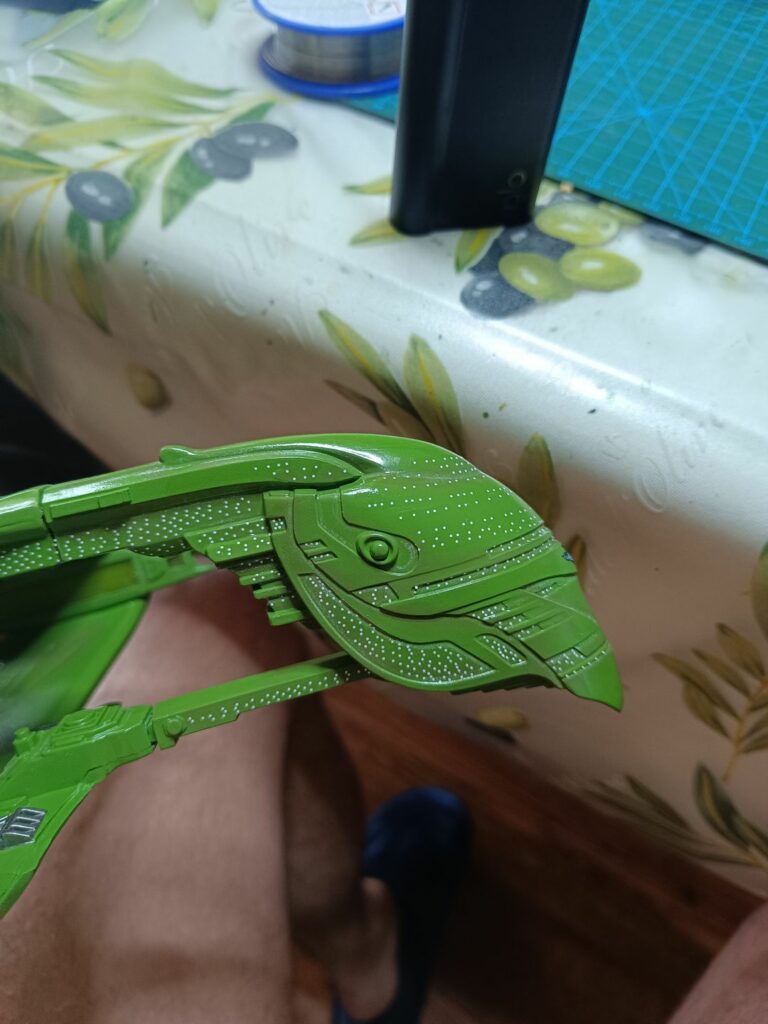
Finally I applied a bit of weathering with dark green and after a new coat of transparent gloss I added the decals. the decals were really few, including only the windos on the front section of the ship and a couple of romulan markings
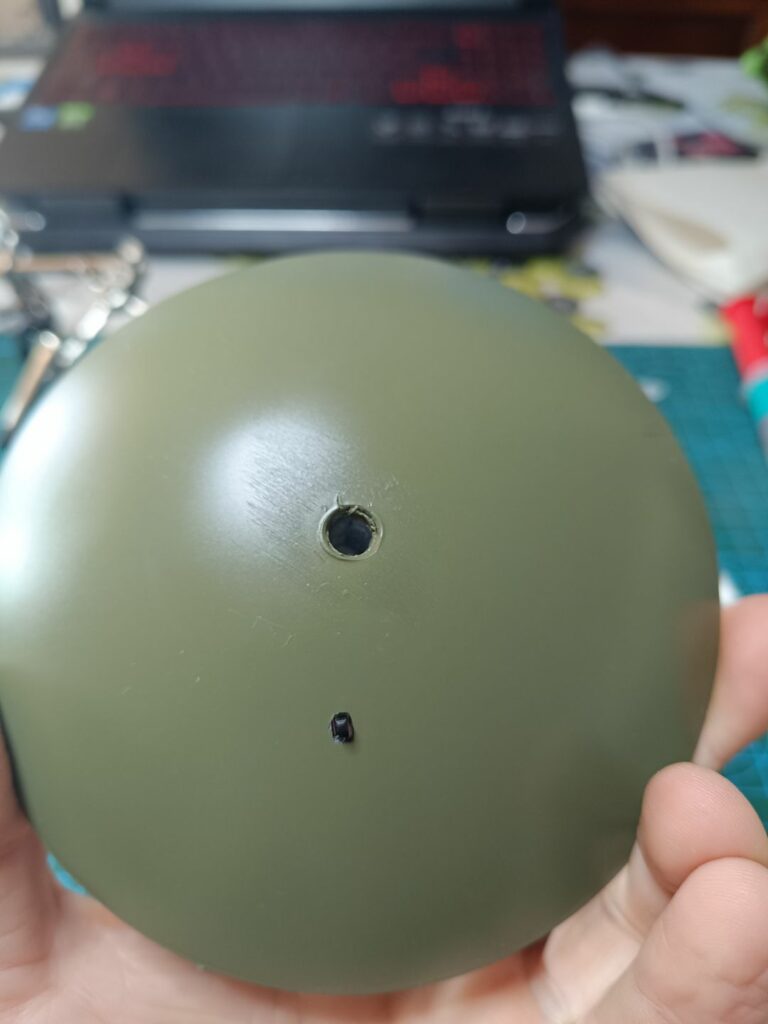
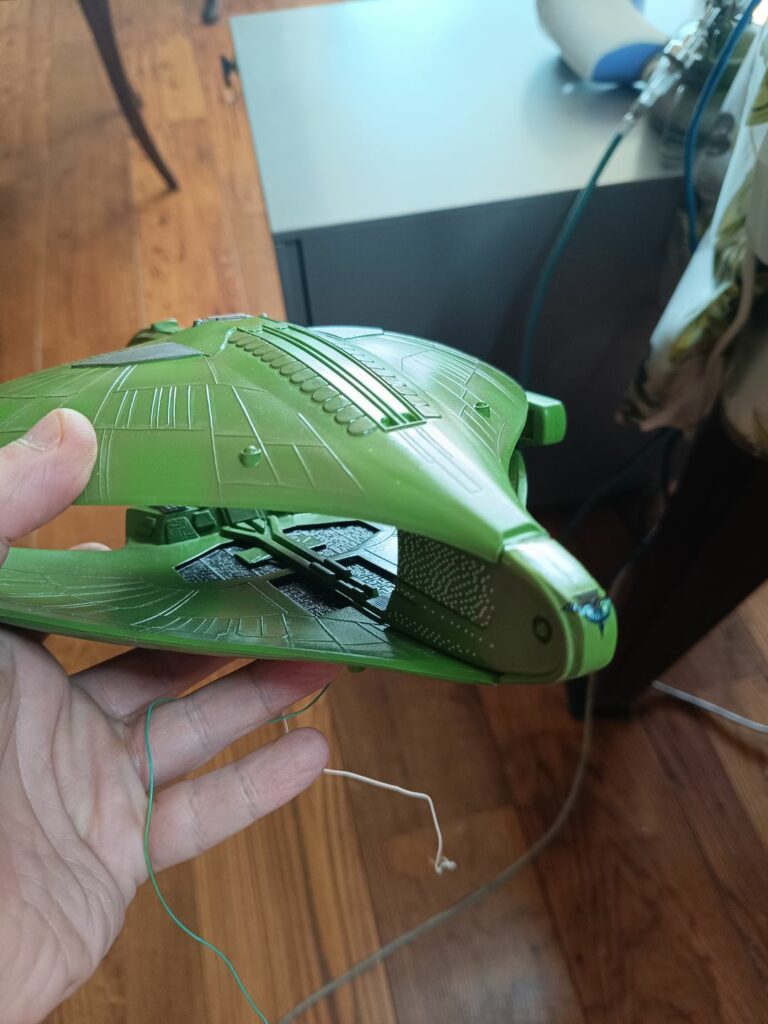
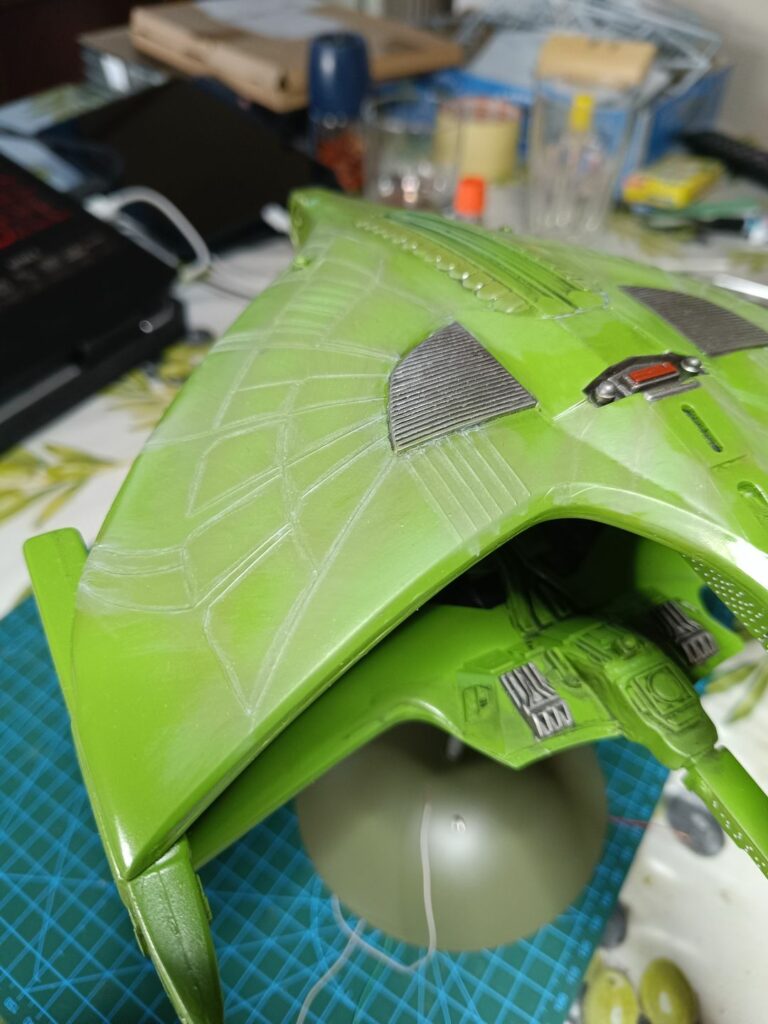
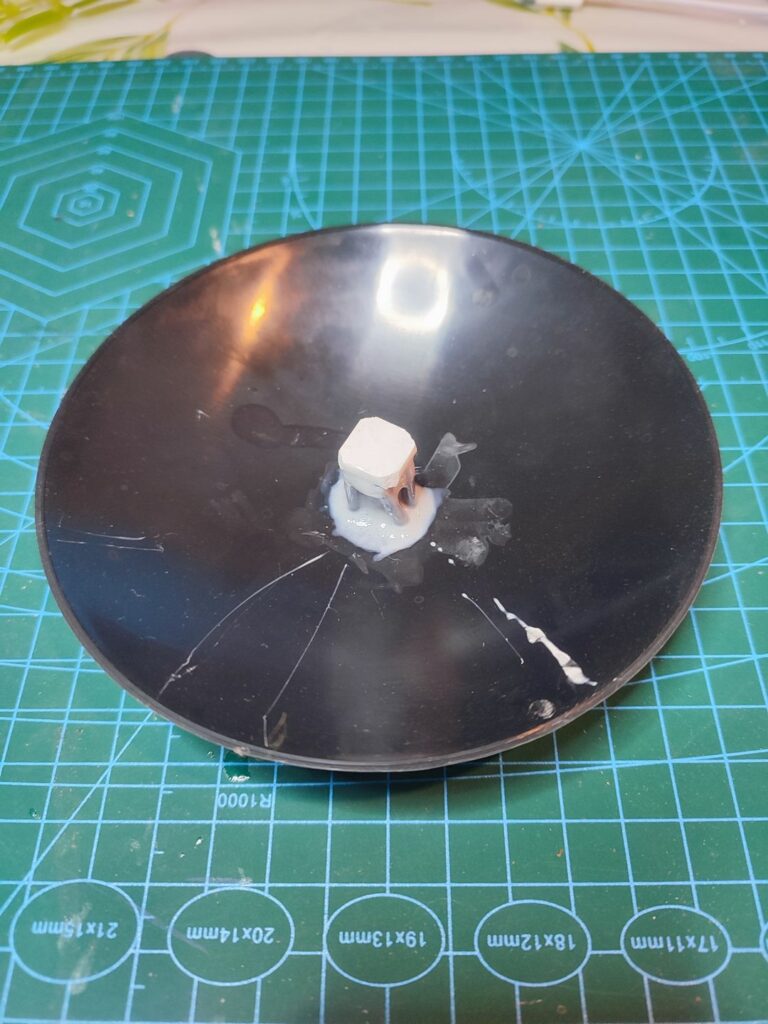
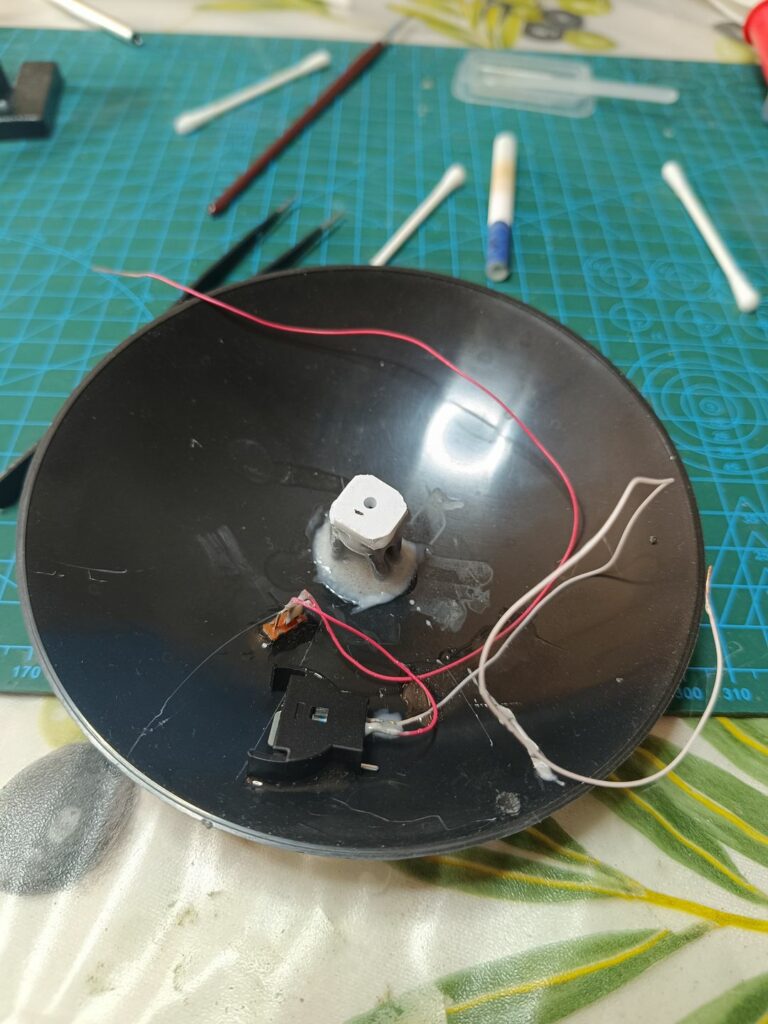
At this moment I arranged something to insert a metallic (alluminum) rod instead of the one included in the model that was not drilled, so with no possibility to wire cables inside. I forced too much on the base so i destroyed part of the plastic. I had to invent a support with plasticard and parts of the useless sprues of the model. I added the switch and the support for a button battery.
See the result in the next pictures.
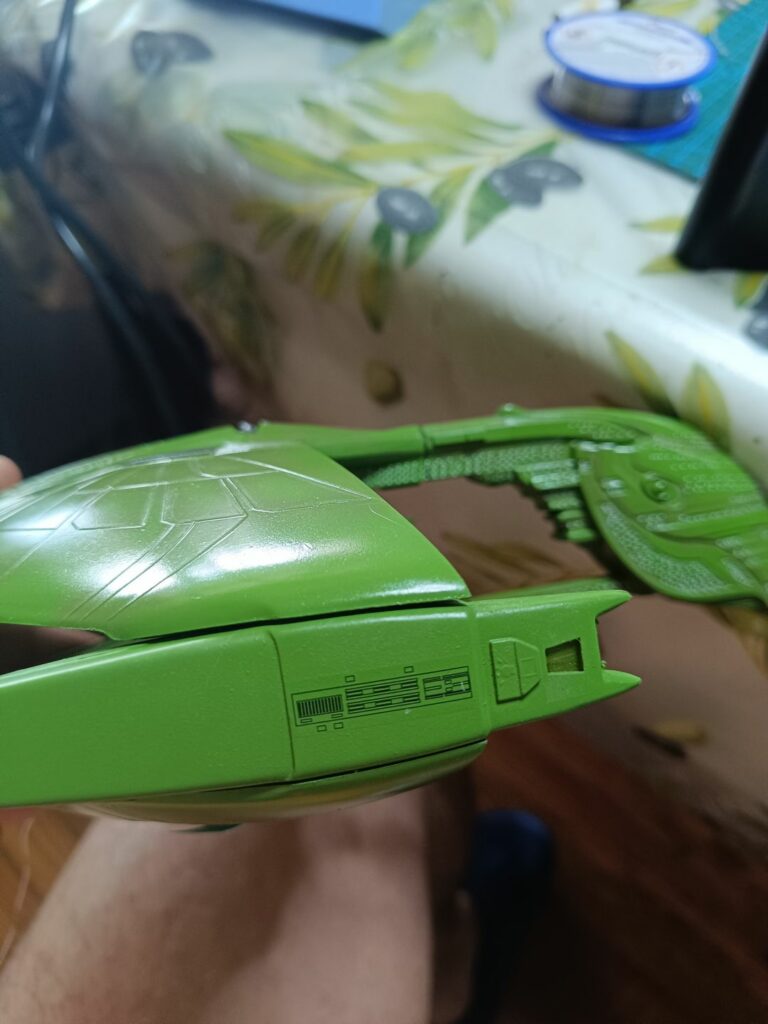
Finally I assembled the model and here are the final pictures
Hope that you liked it.
![]()

Related posts: