This is my tentative to build a Borg cube from scratch.
“At twenty-two hundred hours and twelve minutes, a distress signal was received at Starbase 157. The Lalo reported contact with an alien vessel described as “cube-shaped”. The distress signal ended abruptly. She has not been heard from since.”
– Vice Admiral J.P. Hanson, 2366 (“The Best of Both Worlds”)
The Borg cube was a type of starship used by the Borg Collective in the 24th century. Along with the Borg sphere, cubes were among the primary types of vessel for its fleet. (TNG: “Q Who”, “The Best of Both Worlds”; Star Trek: First Contact)
Described as mighty and omnipotent, Borg cubes were considered one of the most destructive weapons ever known.
You can find additional details on:
https://memory-alpha.fandom.com/wiki/Borg_cube
I started looking for something that i could use instead of buying expensive plasticard in polystyrene and finally I decided to use some old office stackable plastic paper holders that are realized in polystyrene (they had the PS material sign on them). They were very old however and very rigid, so I ended up with a lot of cracks, easily fixed with solvent.

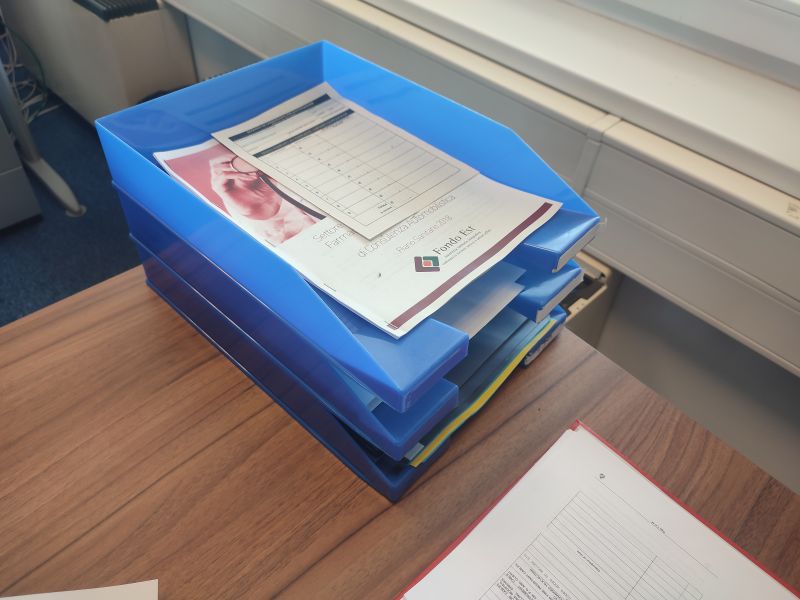
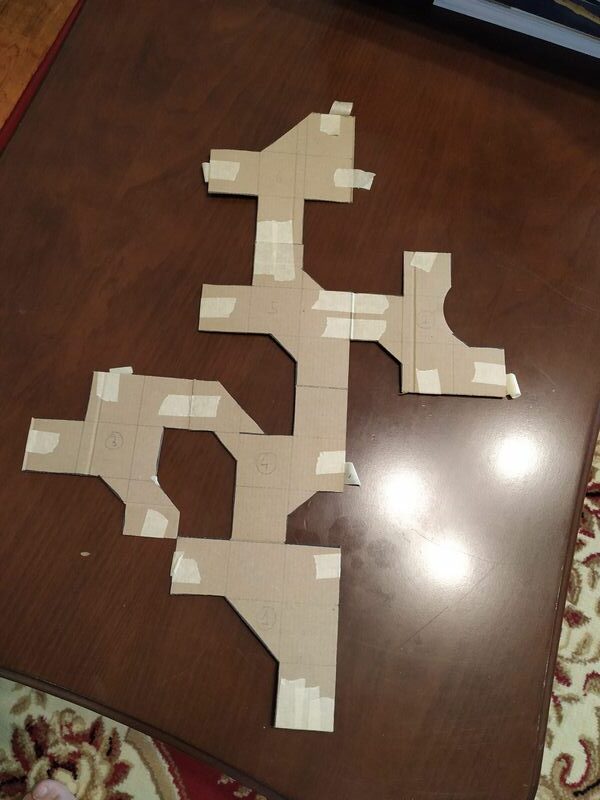
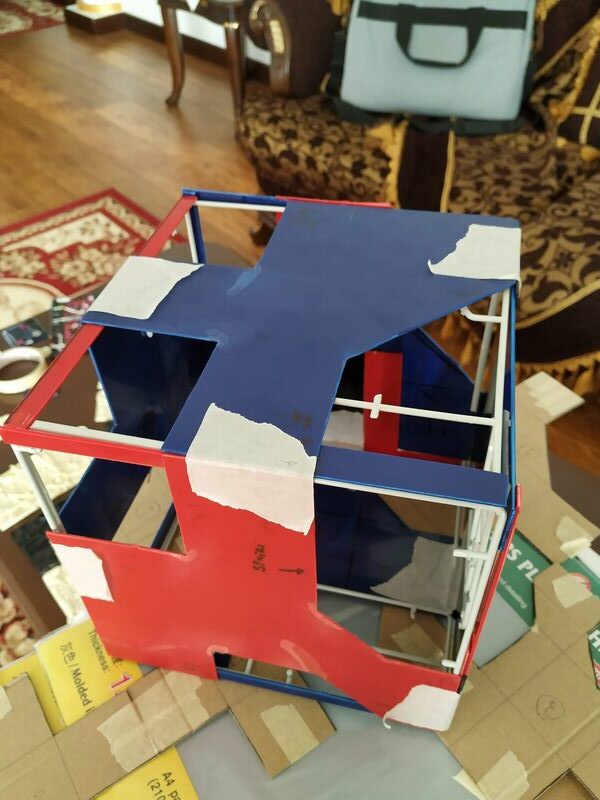
After that I started to make some concept about the final shape of the cube. I created some paper templates to be used and some patterns to have raised and lowered areas while building it

I started to cut the square part of the plastic holders in the same way as the paper template and you can see the exploded result on the table with plastic and paper template. Well, at least with some little differences due to unexpected cracks that were unrepairable.
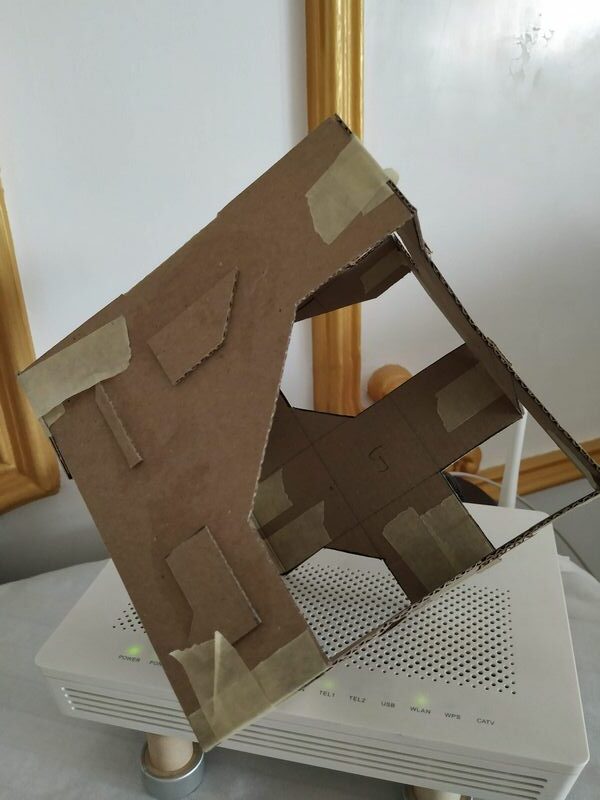
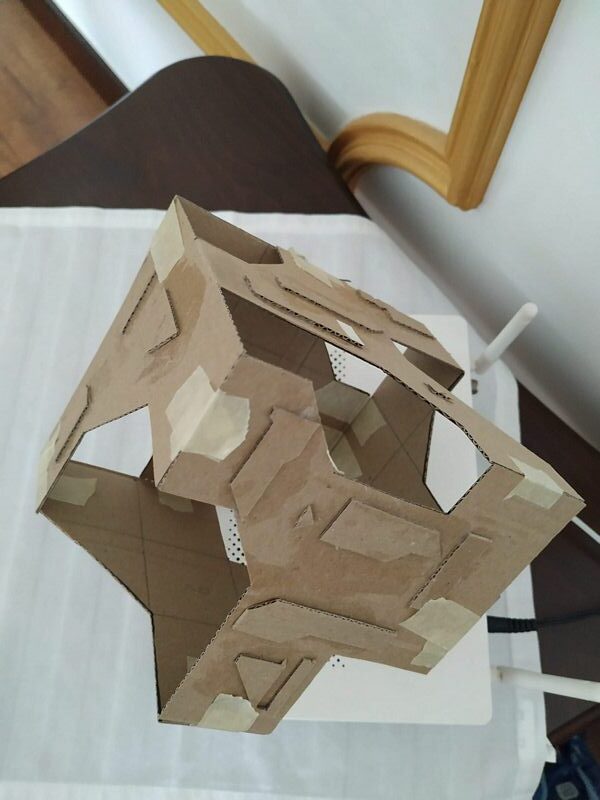
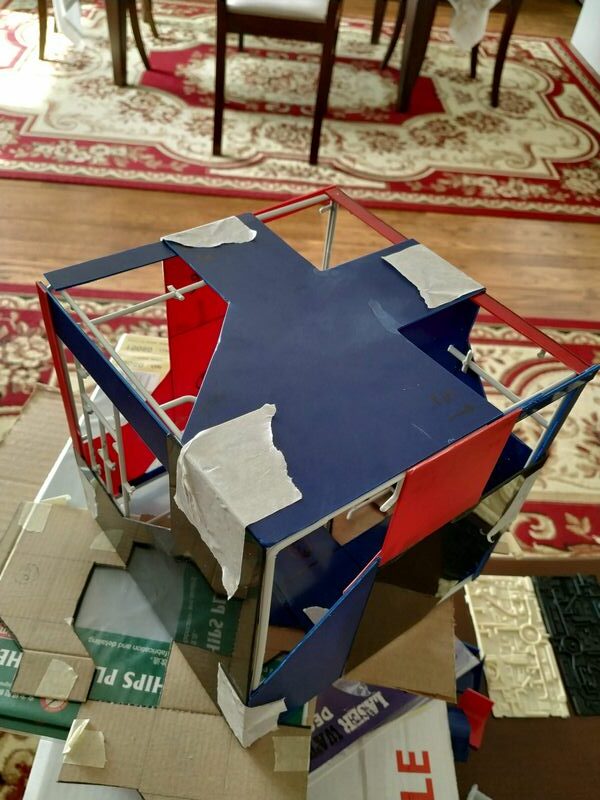
So at this point I obtained the following structure (when assembled as a cube). Clearly I went on with single sides to build the whole cube.

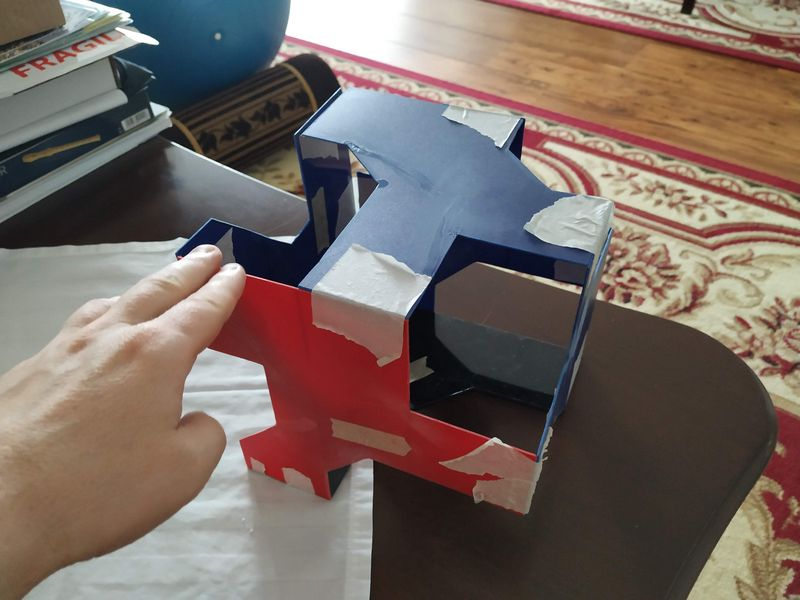

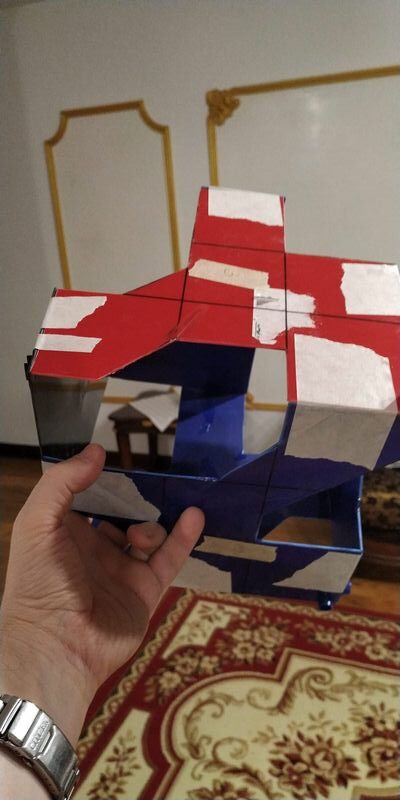
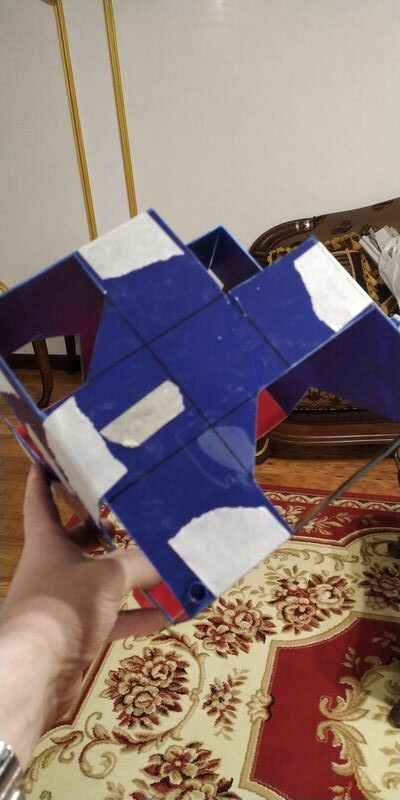
Some minor additions to complete the square structure was done adding old sprout frames from old models, and additional sections of the plastic remained from the plastic paper holders and this was the result.
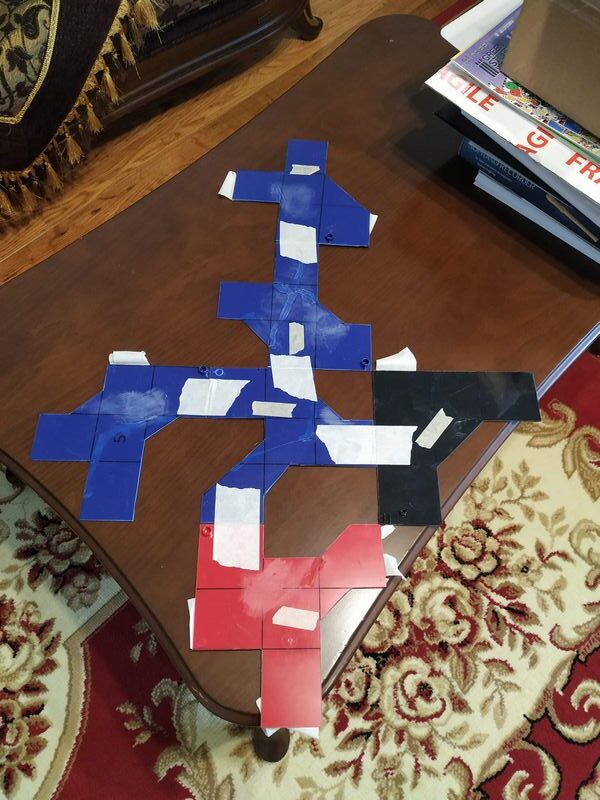
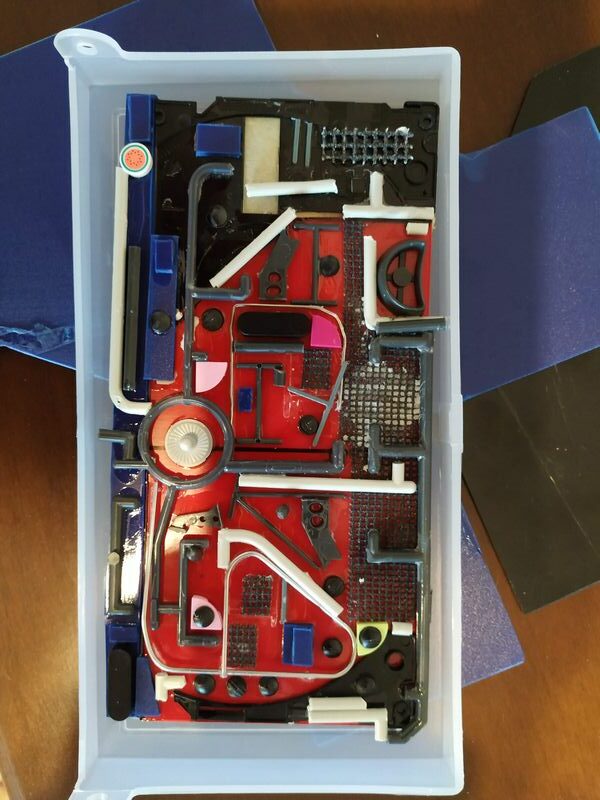
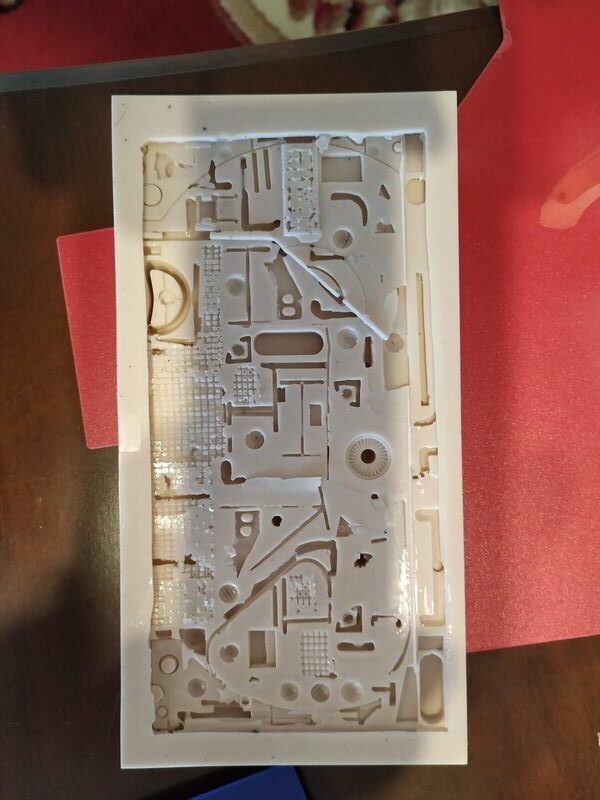
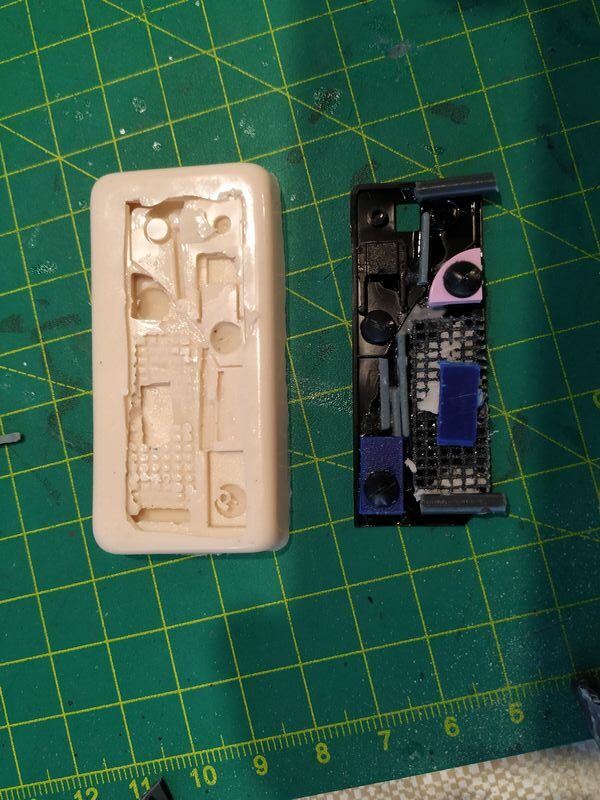
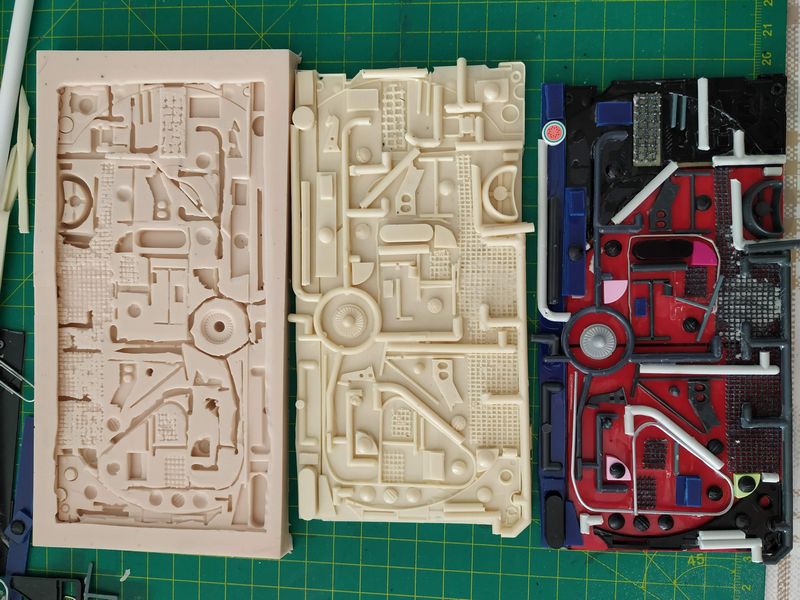
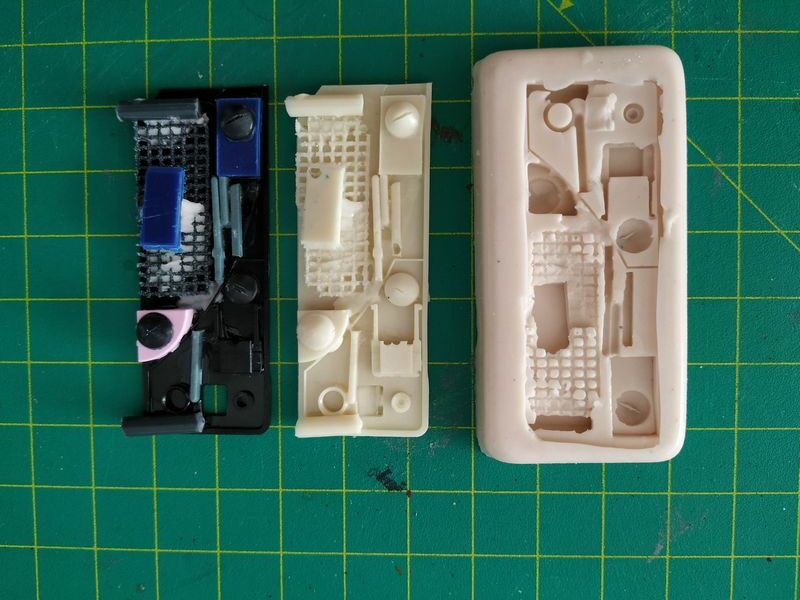
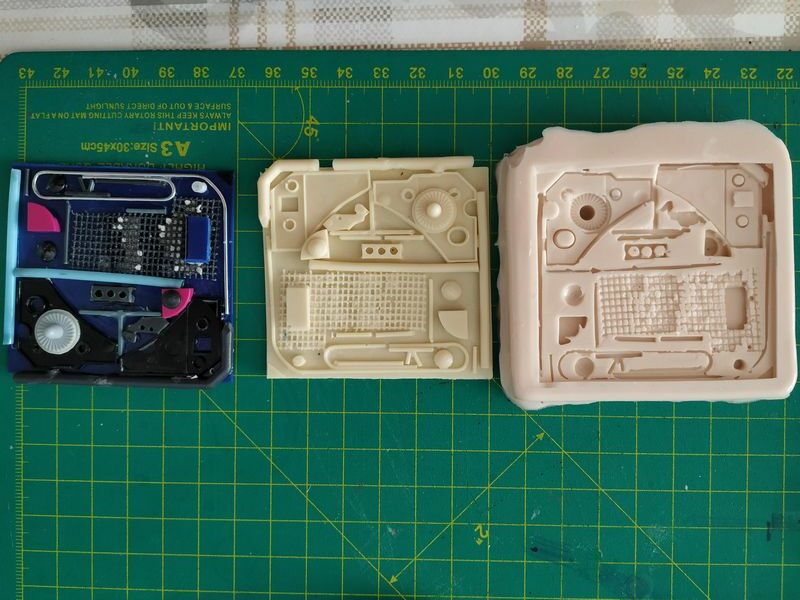
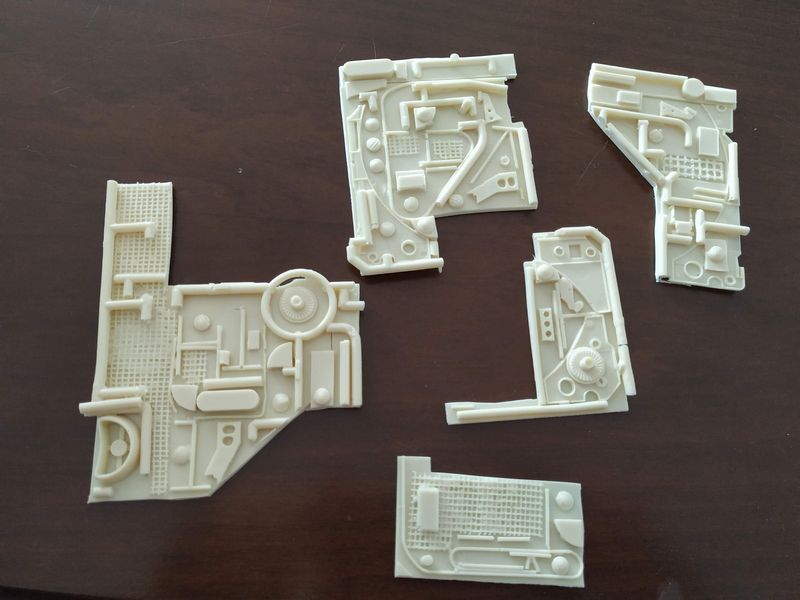
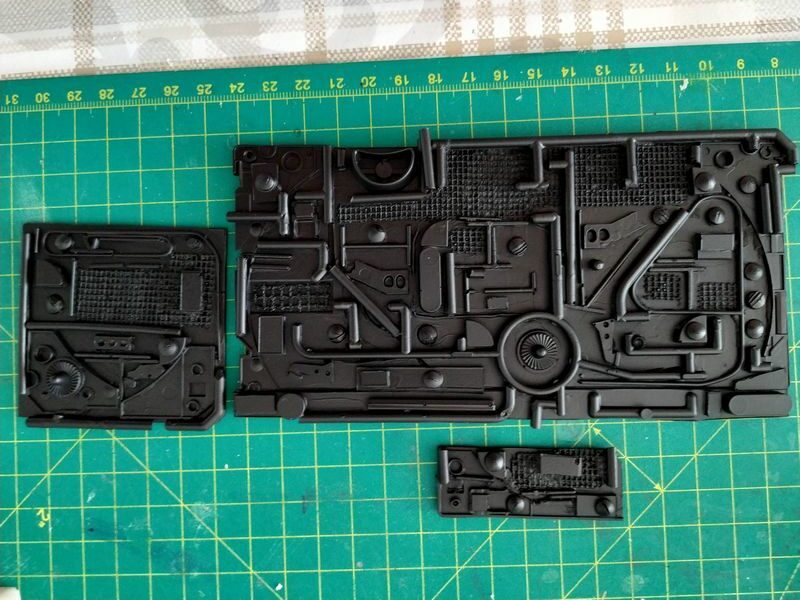
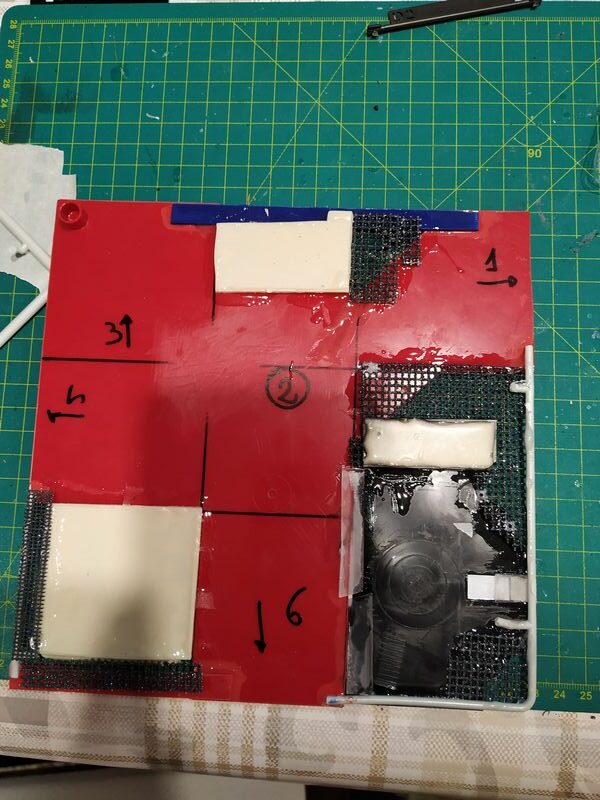
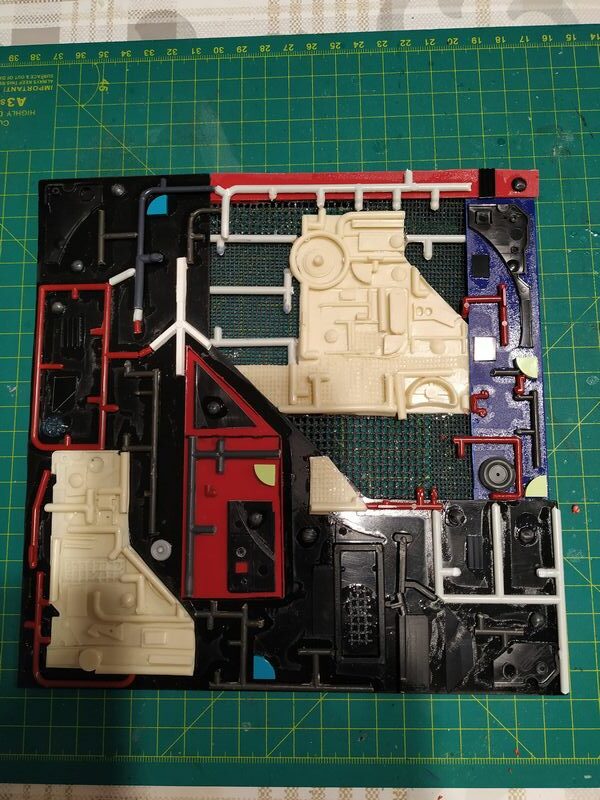
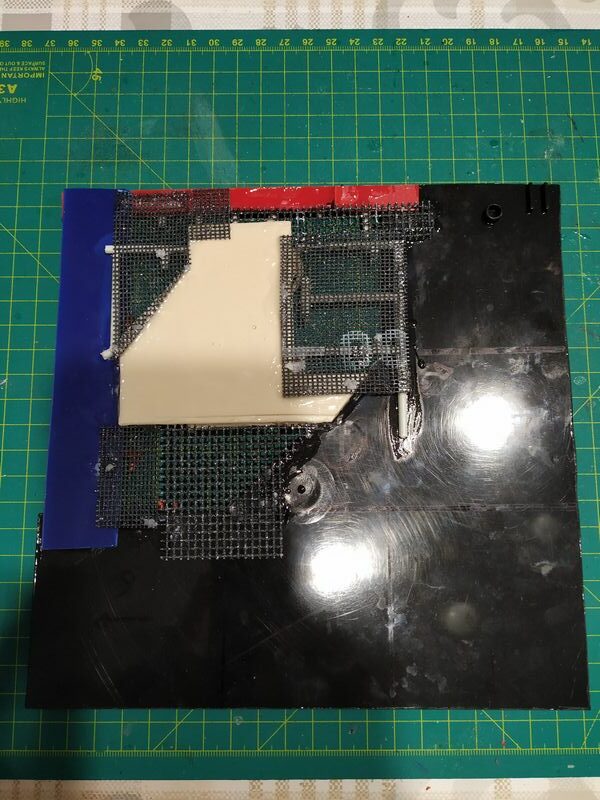
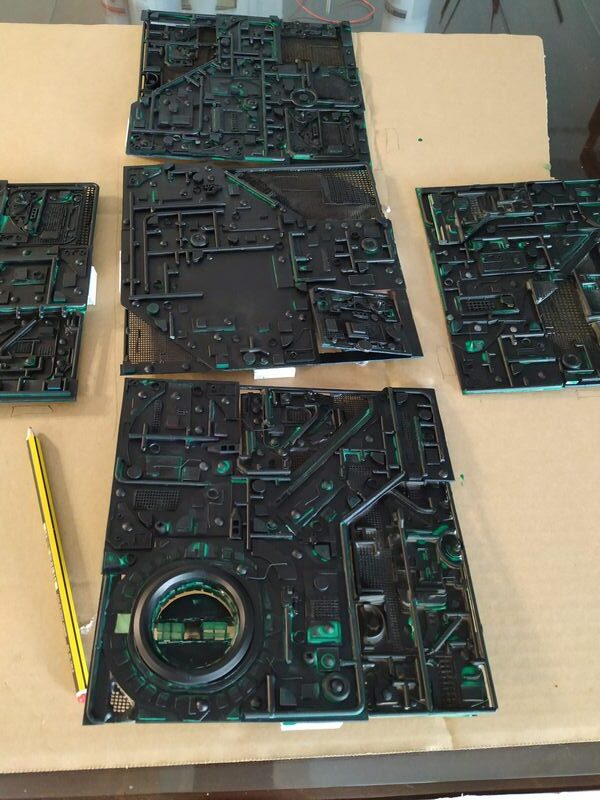
Now it was time to start to think about how to fill all the holes with additional sections that could be raised or lowered in the structure. To do so I decided to create resin molds and cast sections that could be rearranged or cut or sliced for my needs. I started assembling old stuff (old parts, bits of lego, pieces of net, old sprout sections, wheels, and whatever could be useful) and glued with a pattern on a plastic section taken as usual from the paper holders. You can see in the pictures the original assemblies, the silicon mold and the final product in resin. In the pictures you can see also the final result painted in black.
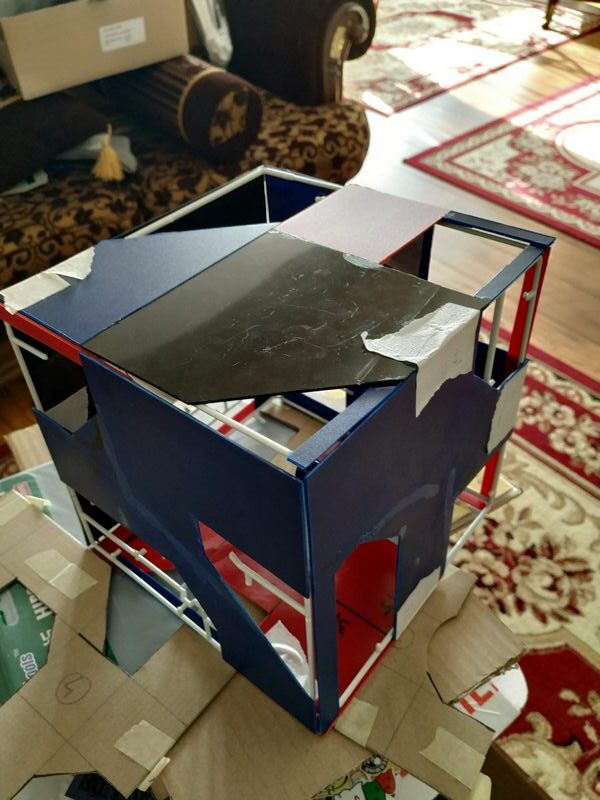
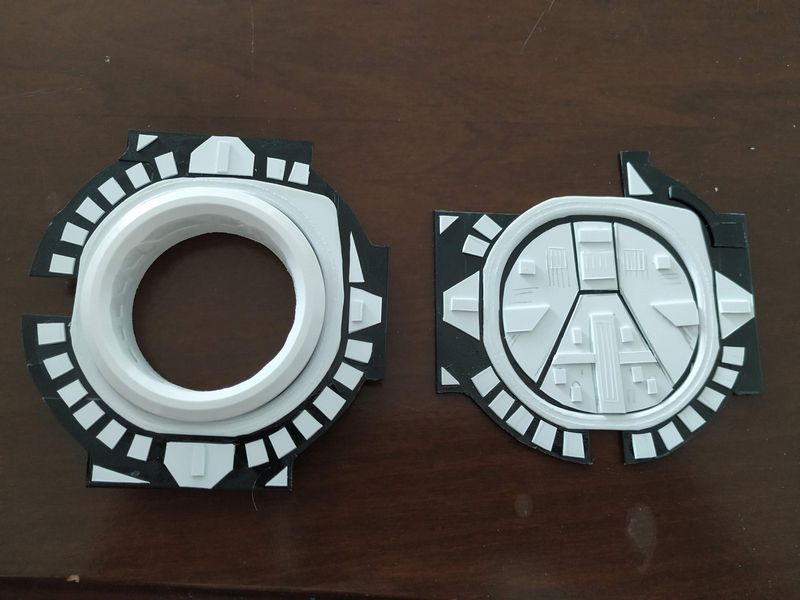
I created with plasticard and old Floppy Disks (they are made in Polystyrene, did you know it?) the two structures for some bug hatches, one closed and another one for the Borg Sphere that will be the next step of the construction.
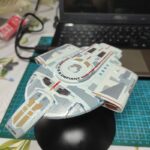
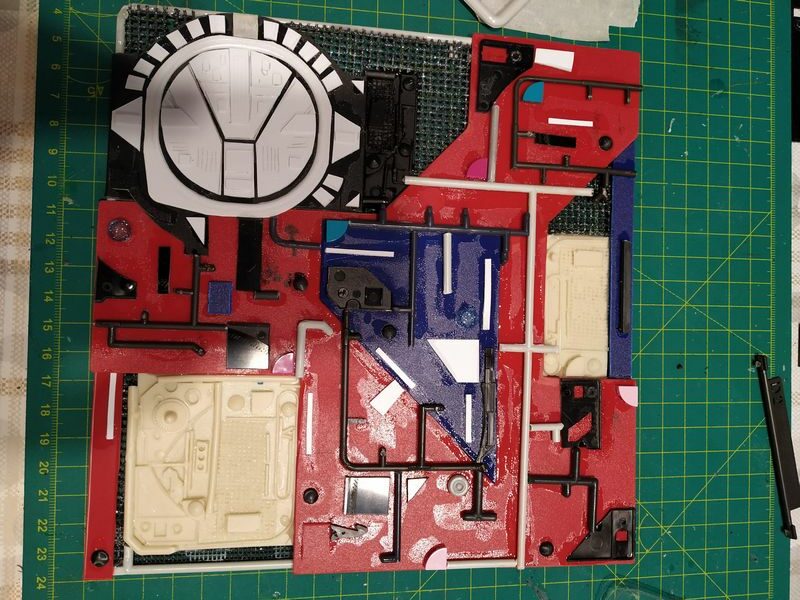
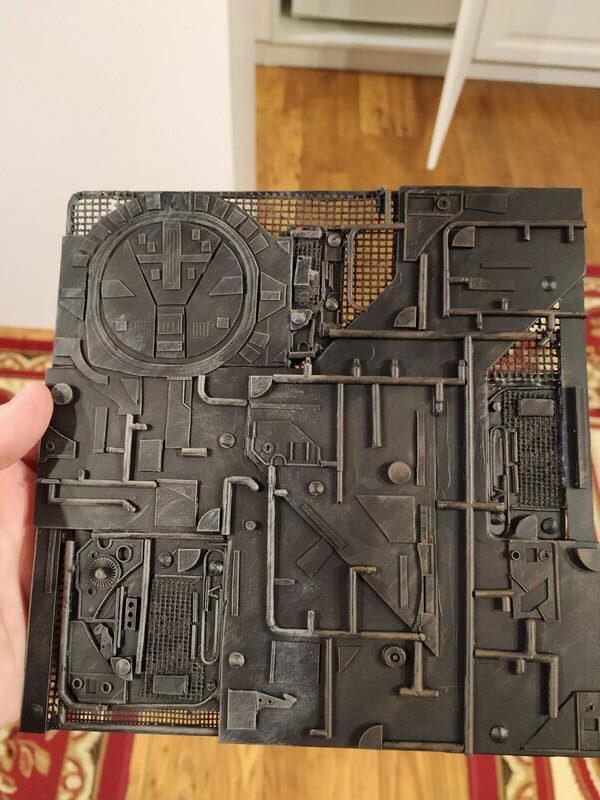
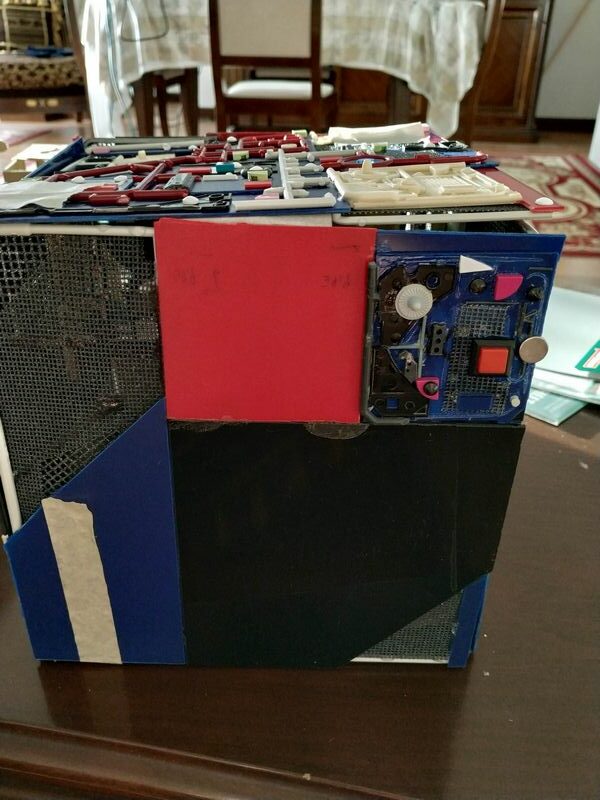
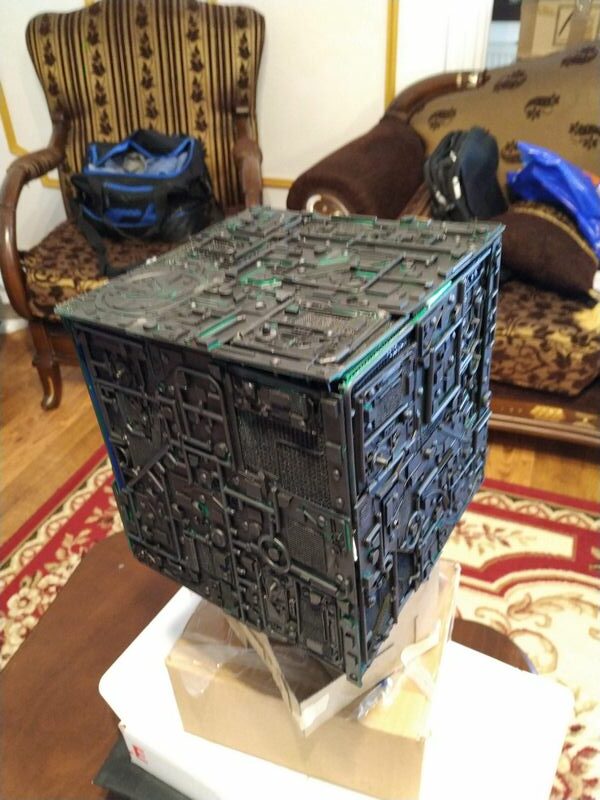
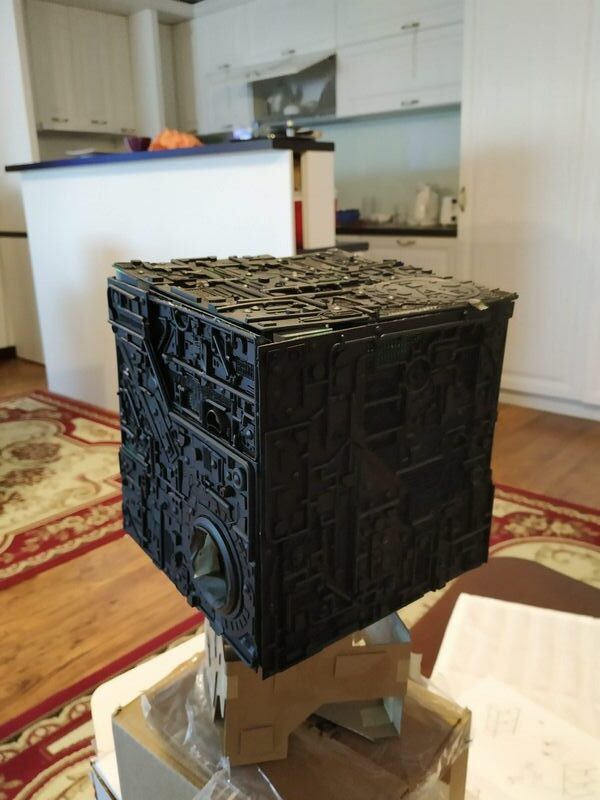
And in the end the final steps of assembling everything on each single side. You can see the result in the following pictures. By the way, to assemble different types of material you should use always Epoxy glue, otherwise everything will fall apart at a certain point and it’s better to add some metallic connections with holes to be sure that everything is rigidly connected. I added some metallic nets to fill some of the gaps. You can see one of the final sides, painted and with a little drybrushing applied to see the final effect.
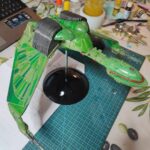
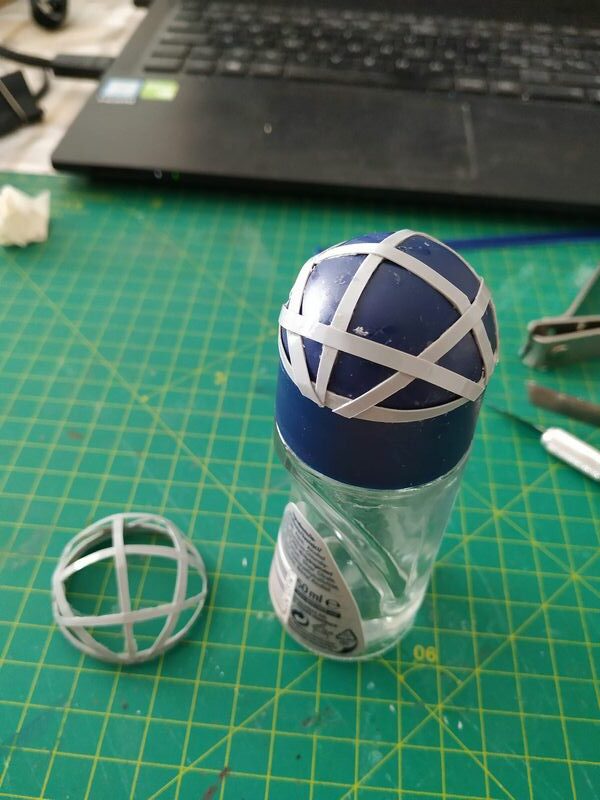
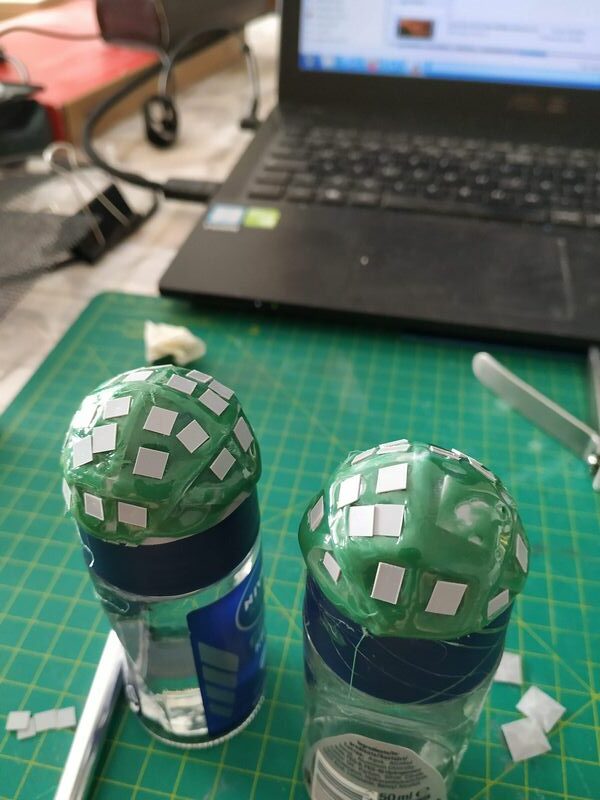
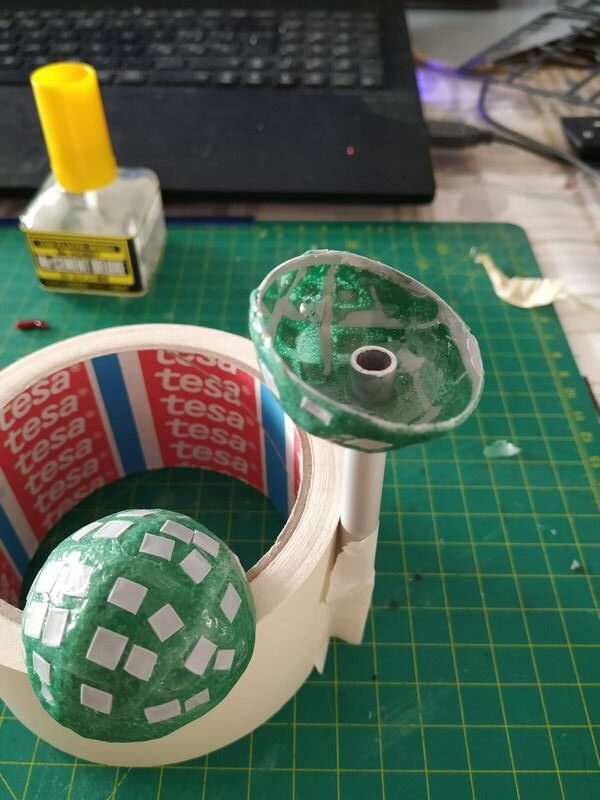
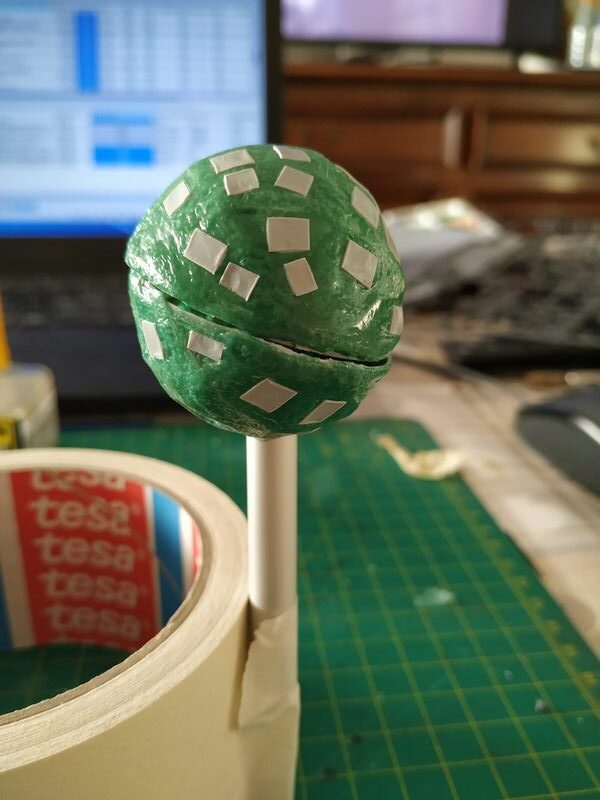
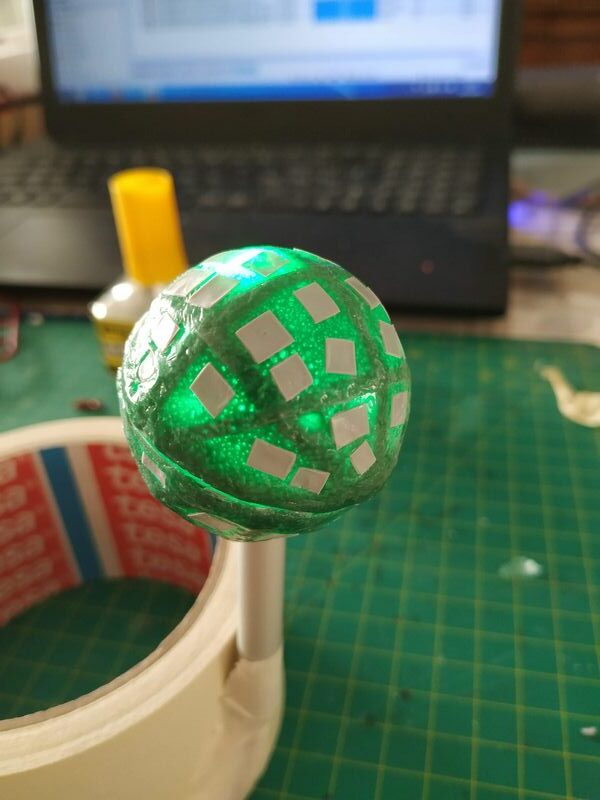
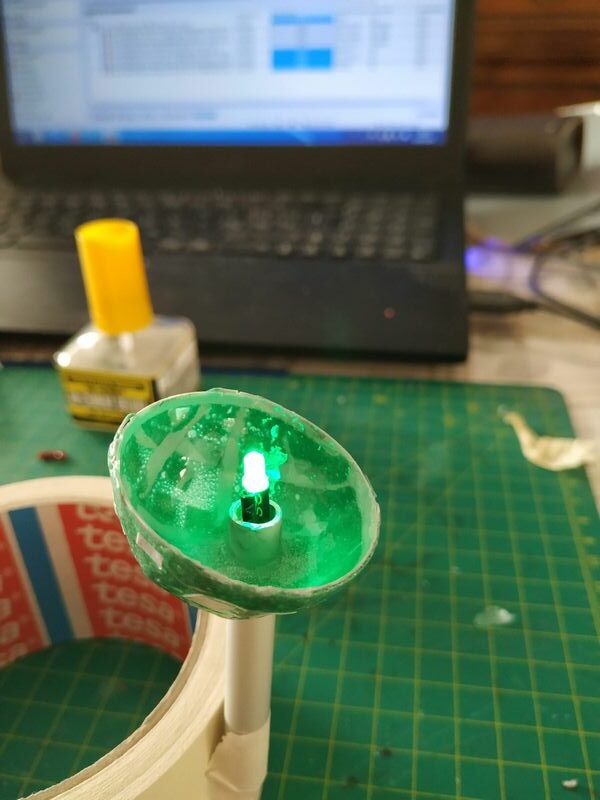
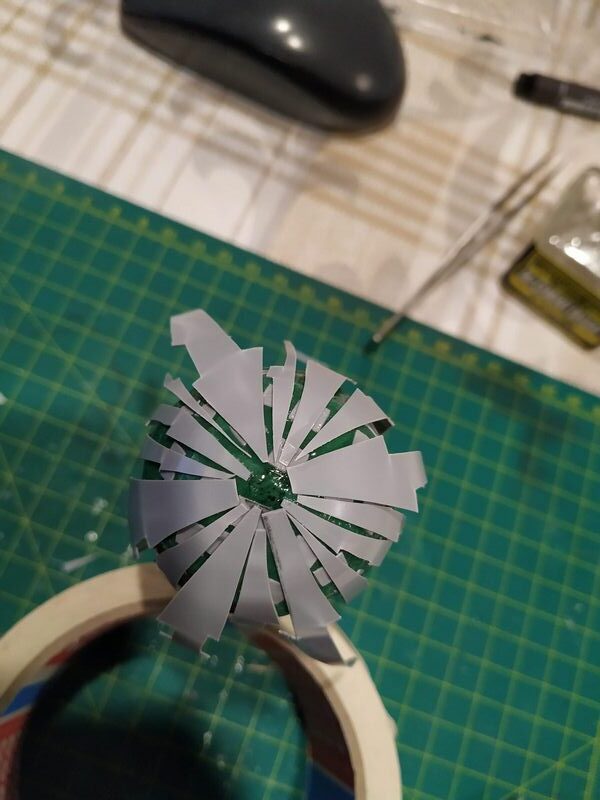
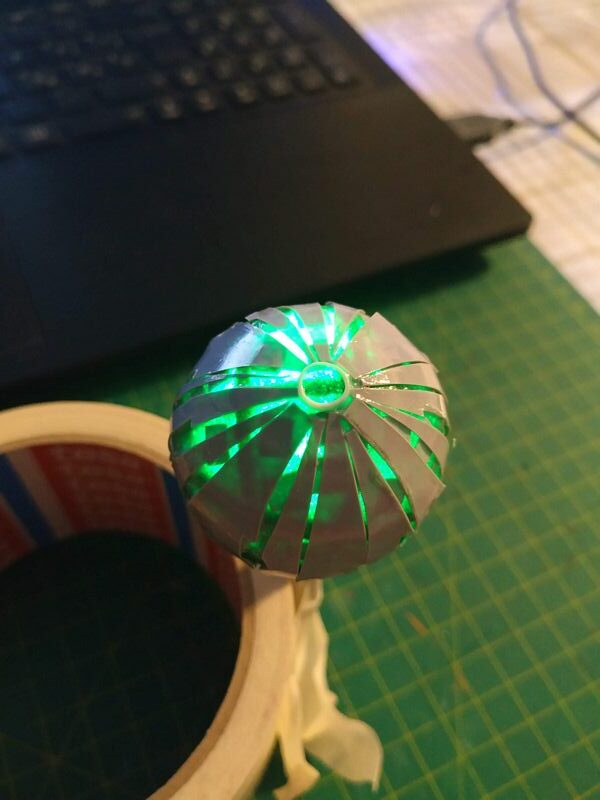
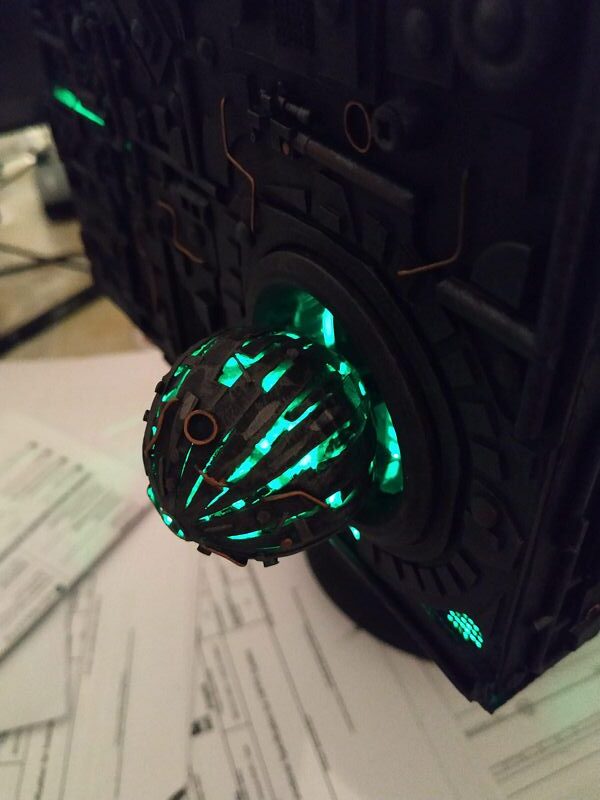
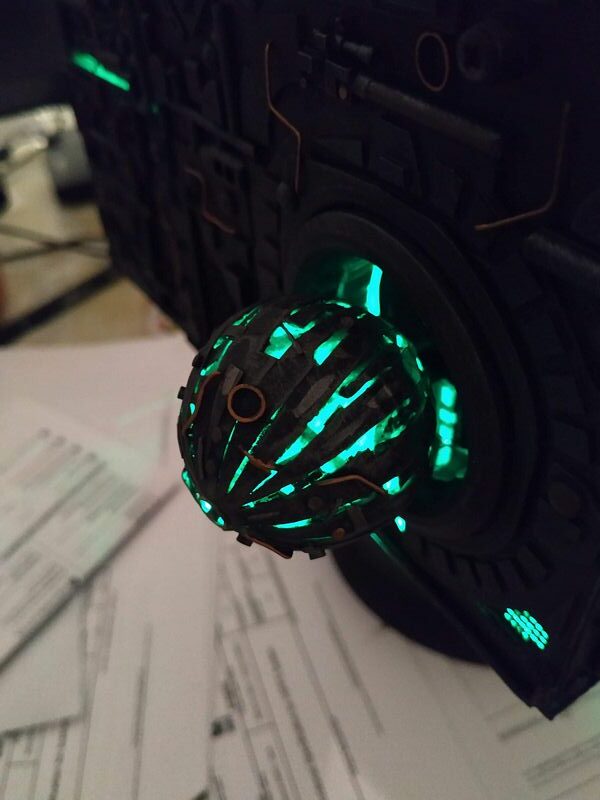
Now time to create the Borg Sphere. It was very complicated because it was done from scratch using thin sheets of polystyrene modeled on a spherical ball. I completed the two halves and connected them. I added a coats of liquid polystyrene (solvant + ploystyrene bits and green color, so the result was mostly transparent) and then continued to build the sphere. The Sphere had a metallic pipe where in the end I placed a green LED for light and can be moved in and out of the Borg Cube.


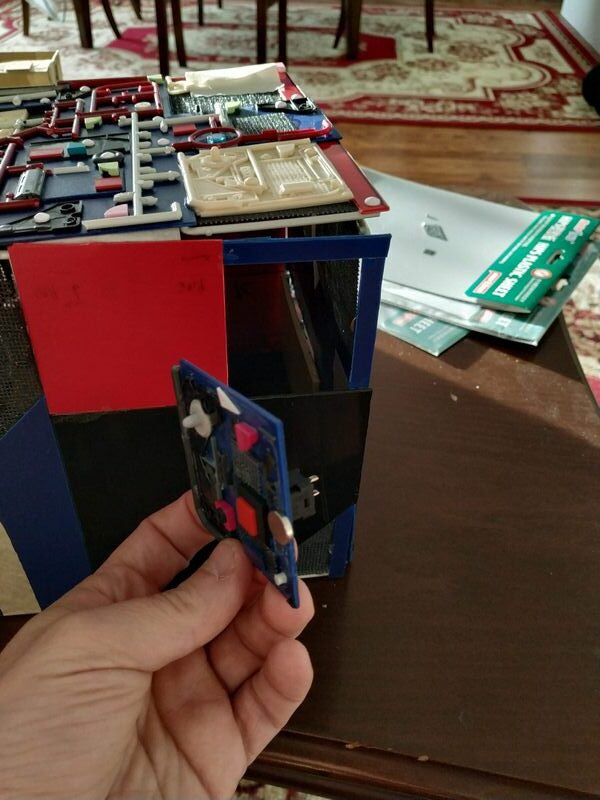
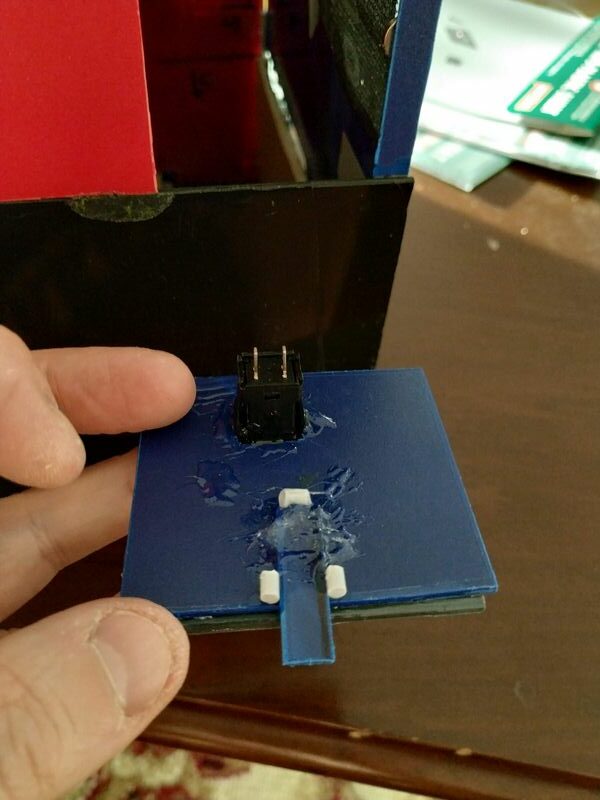
I created a little opening, detachable with a click-in button as part of the borg cube to hold the battery holder for the internal LED lights. This was really simple actually and the closure is magnetic.
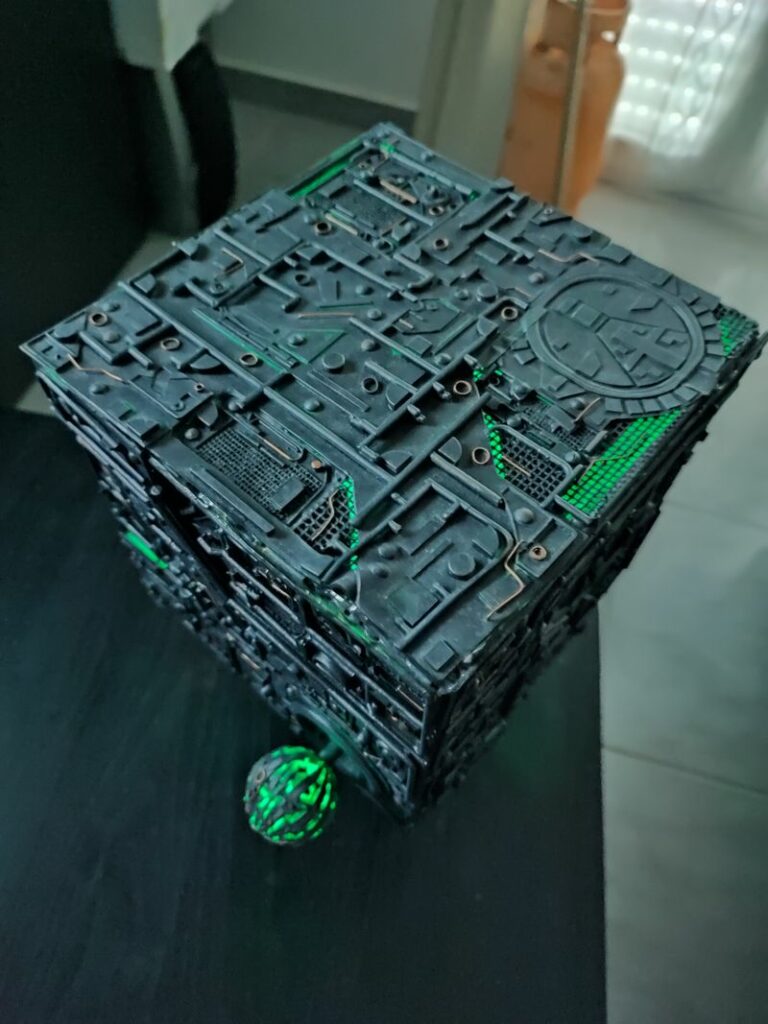
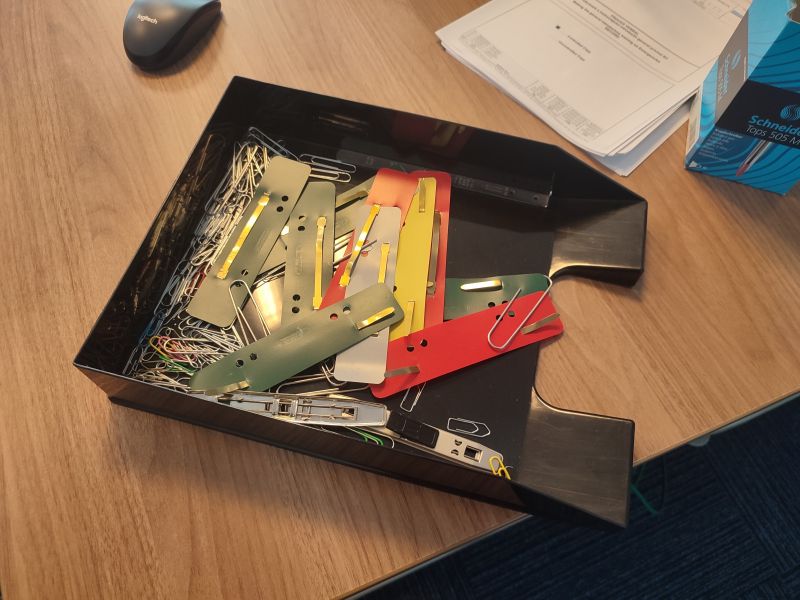
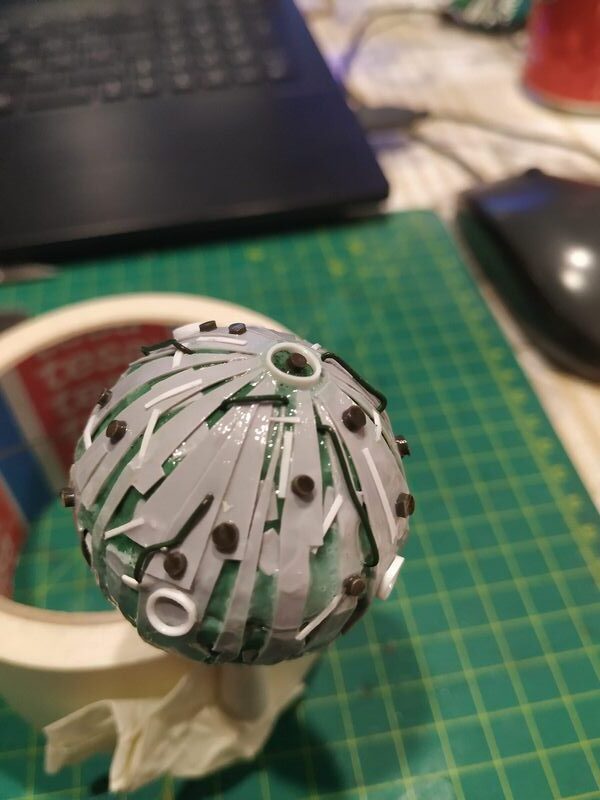
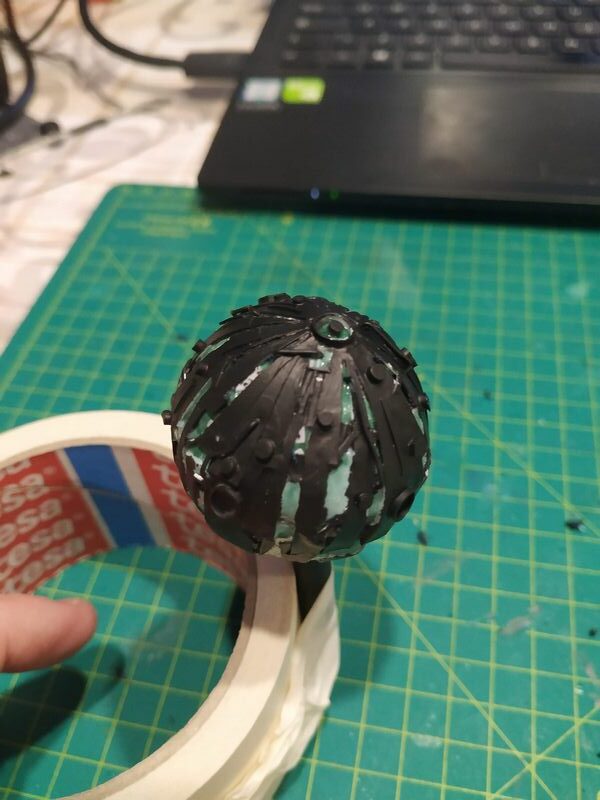
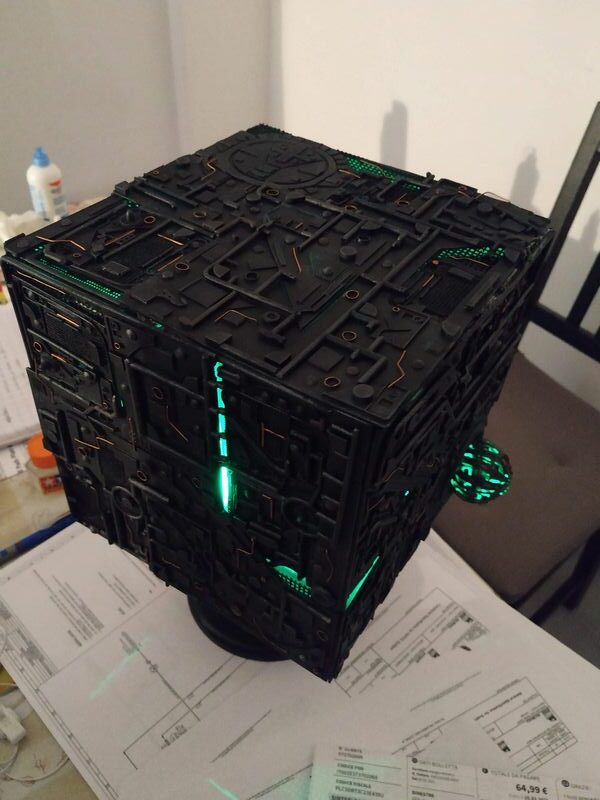
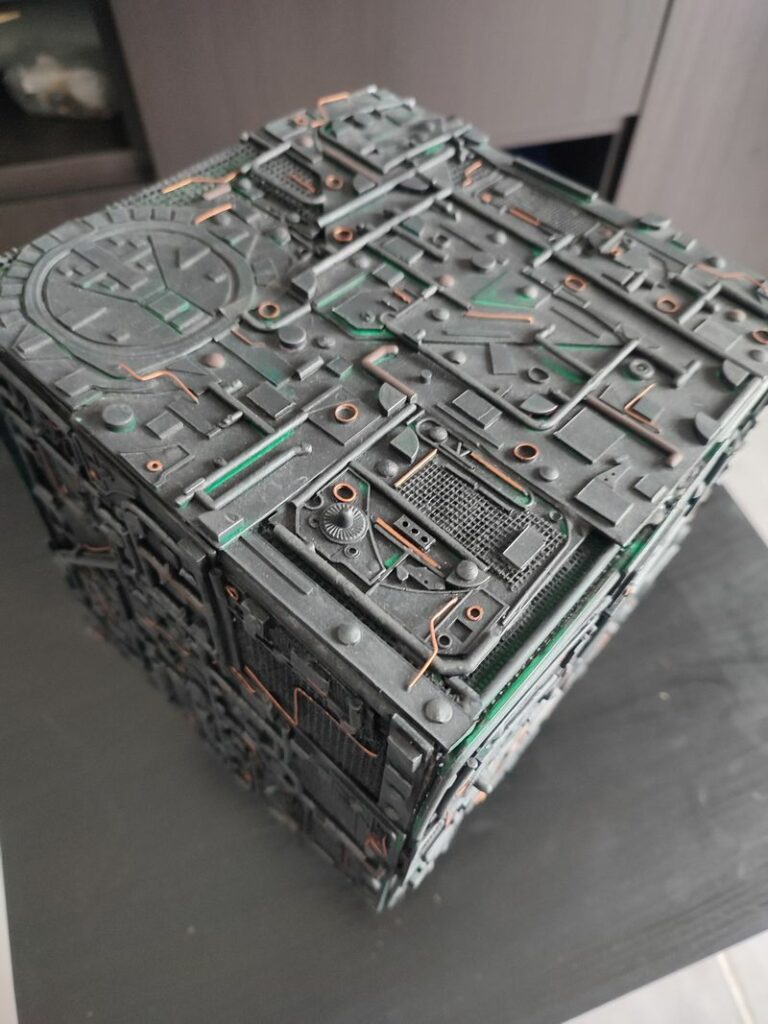
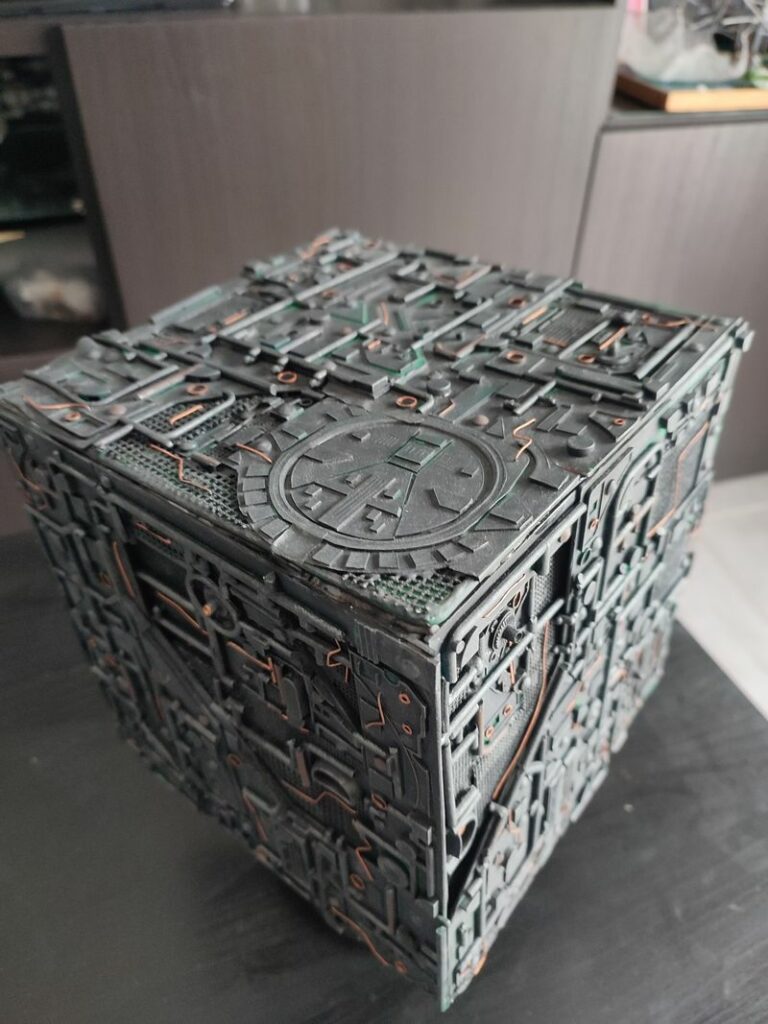
At this point I started to add little details on the cube with bits found everywhere, little LEGO shapes, Dots, metallic connectors, clips for staplers. I painted everything in Black and added a drybrushing finishing and sole heavy washings with green color. At the end and i filled the empty sections remaining with clear sections of a CD painted in green and added some additional stuff and some specific paint on the metallic lines (you can see this later on the final pictures).

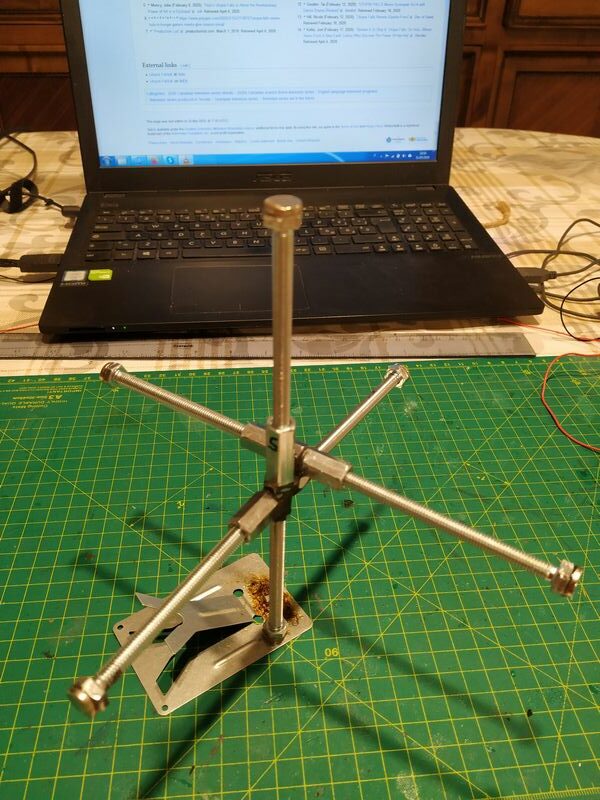
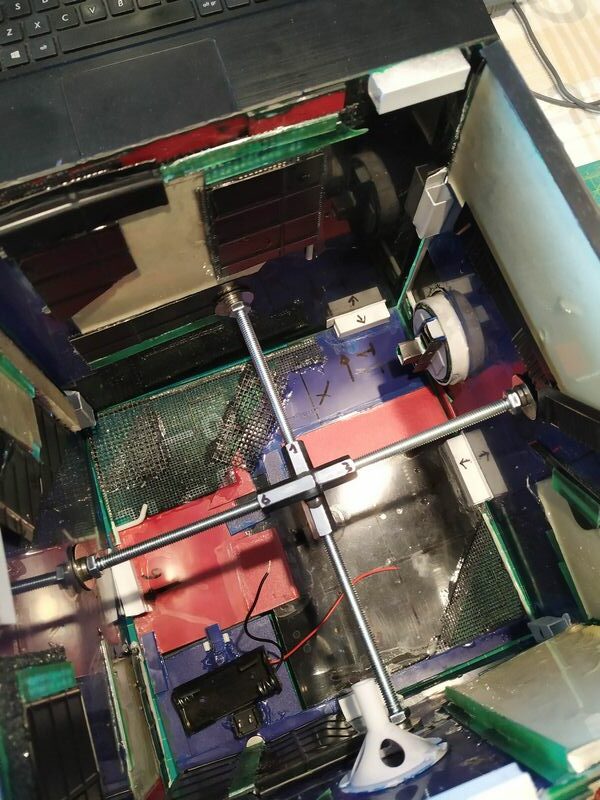
And now one of the most difficult part… putting all together. I decided to use an internal structure made with nuts and bolts linked together and to add metallic plates and Magnets on the back of the squares and on the top of the bolts. The problem was to define the correct distances and positions. When all was ok, a heavy glueing with Epoxy Nontransparent glue was applied, as per some added internal masking with tape to block the light. The LEDS were placed all around the internal structure and fixed with wood glue.
Final touch was the base. In this case I used the base of the Ikea Bathroom mirror, metallic, with a wide standing. I just made an adequate hole and created a wooden seat internally glued with the usual Epoxy. You can see the stand only on the following pictures where basically you can see the Job completed under different angles and light.
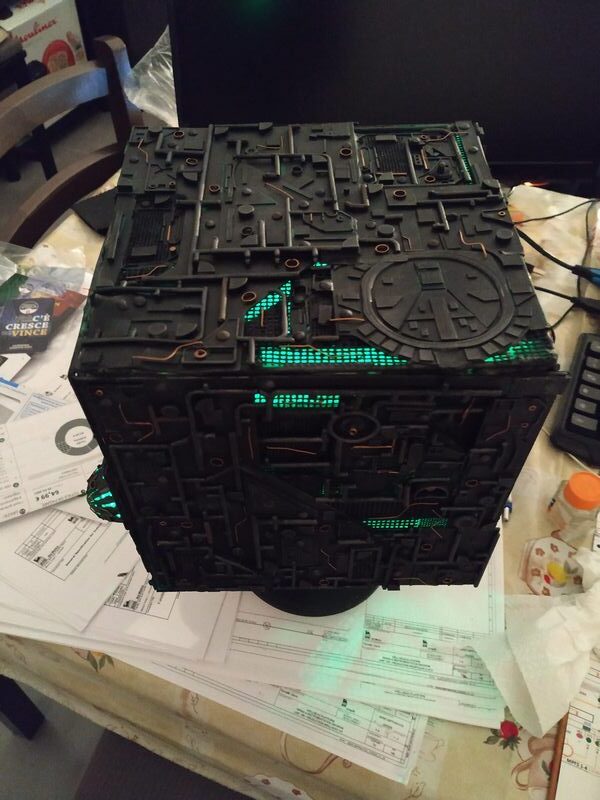
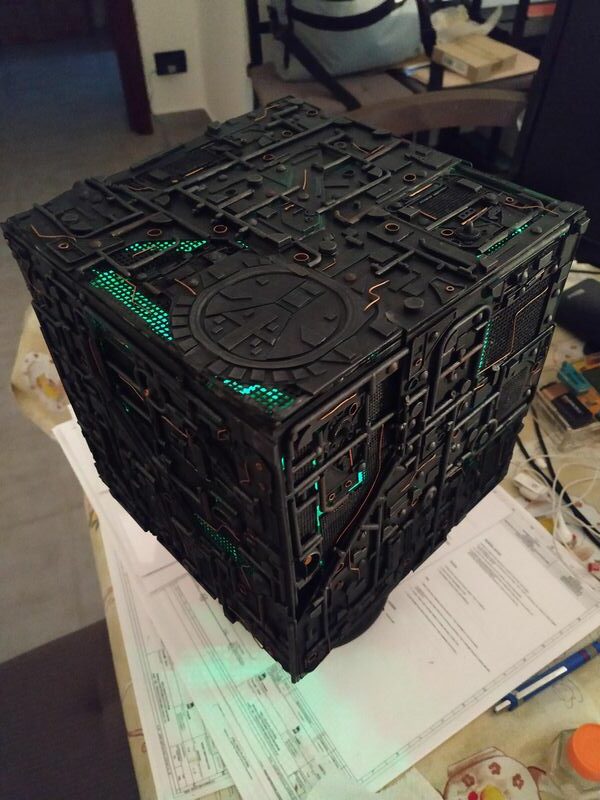
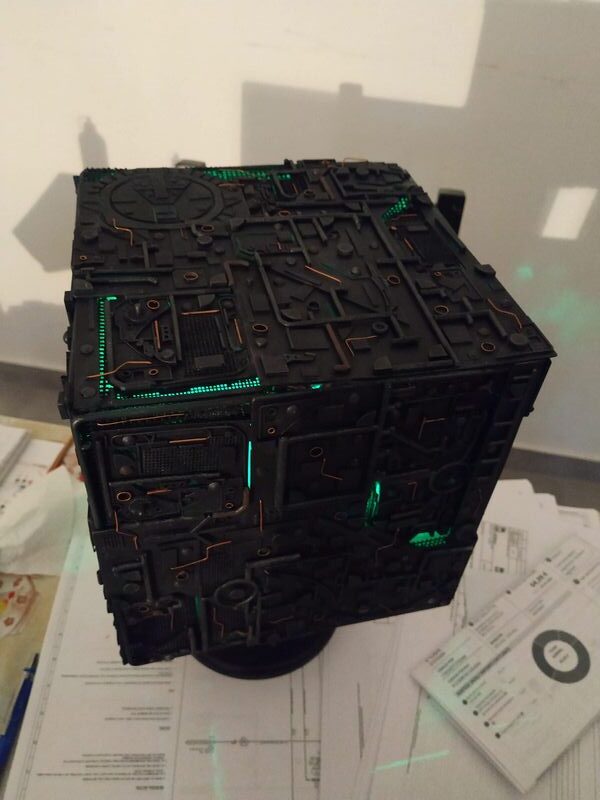
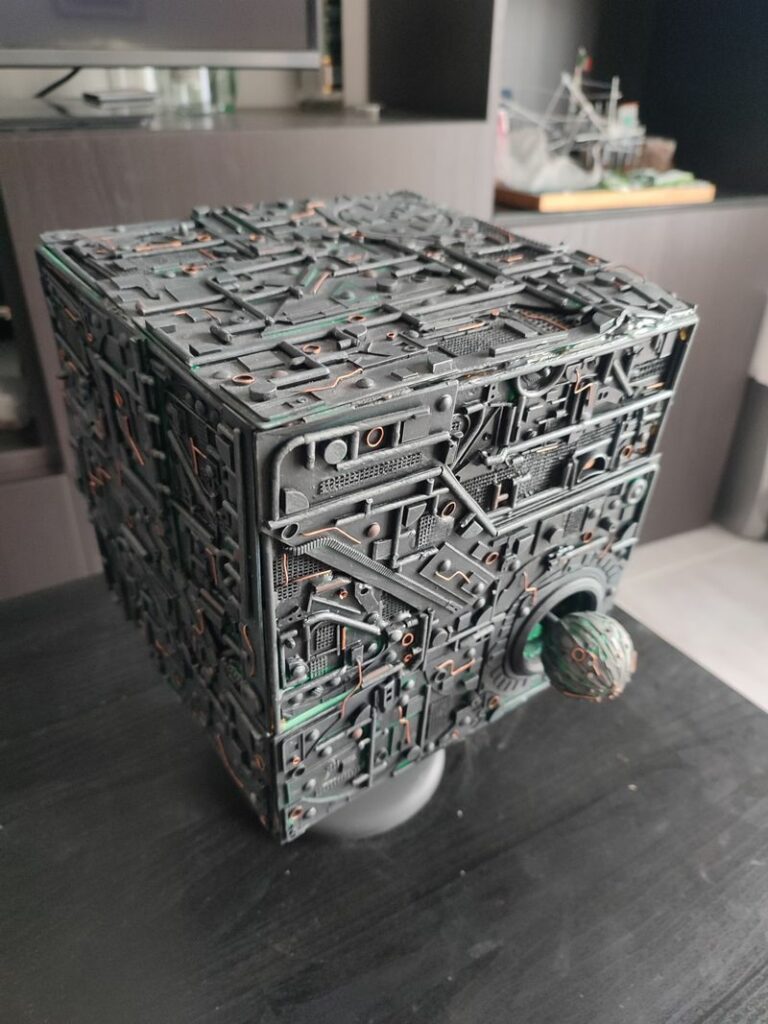

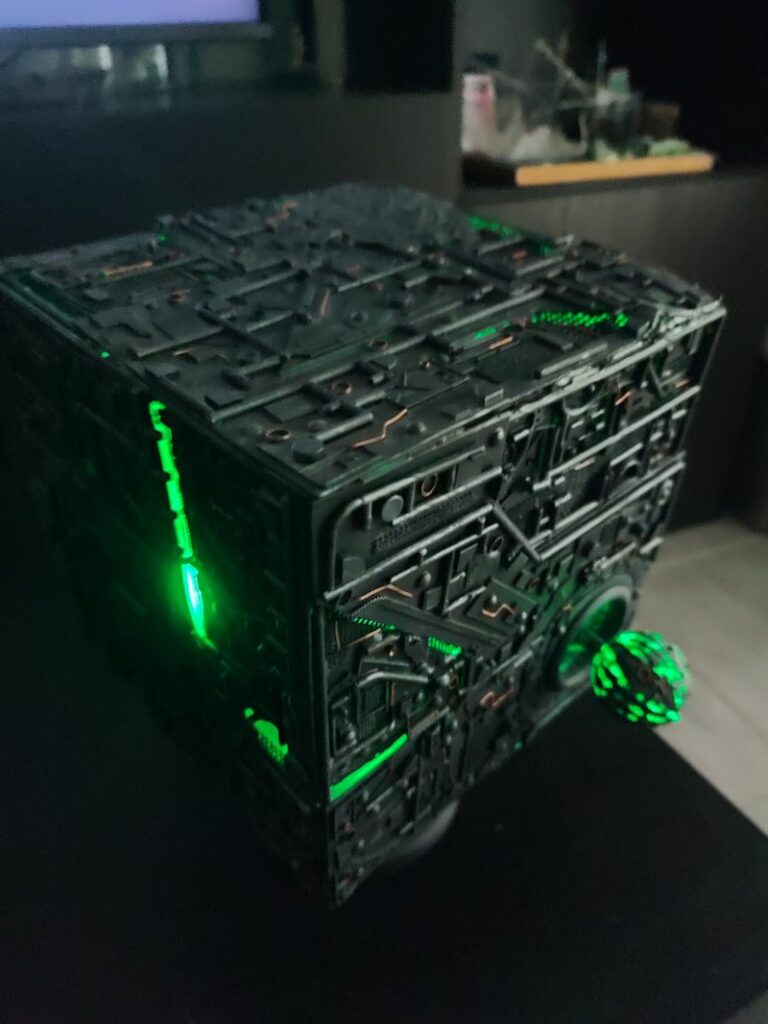
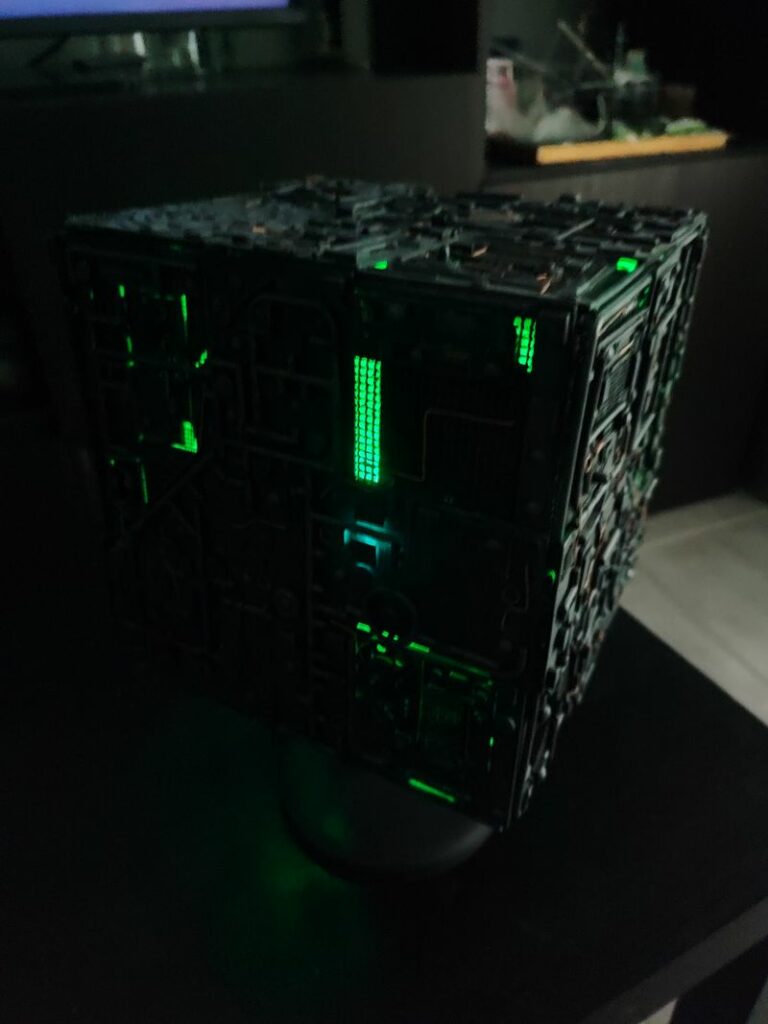

I hope that you enjoyed this overview. Feel free to comment and/or ask for further information or to give me advices on how to improve.
![]()

Related posts: